


We have published quite a number of tutorials using different displays with the Arduino, with the most recent being the tutorial on displaying graphics on all kind of displays with Arduino. For today’s tutorial, we will look into achieving more with displays by implementing a menu based system with the Nokia 5110 LCD display and the Arduino. The menu is one of the easiest and most intuitive ways through which users interact with products that require navigation. From mobile phone to PCs, its applications are endless. Today we will explore how to add this cool feature to your Arduino project.
At the heart of today’s project is the Nokia 5110 LCD Display. The Nokia 5110 LCD is one of the most popular LCD display among makers. It was originally developed for use as a screen for cell phones and was used in lots of mobile phones during the 90’s. The display uses a low power CMOS LCD controller/driver, the PCD8544, which drives the 84×48px graphics display. In a normal state, the display consumes about 6 to 7mA which makes it quite ideal for low power devices. We have published quite a number of tutorials on this display that might help you understand how to drive such a display.
Menu on Nokia 5110 LCD display with Arduino – [Link]
RELATED POSTS
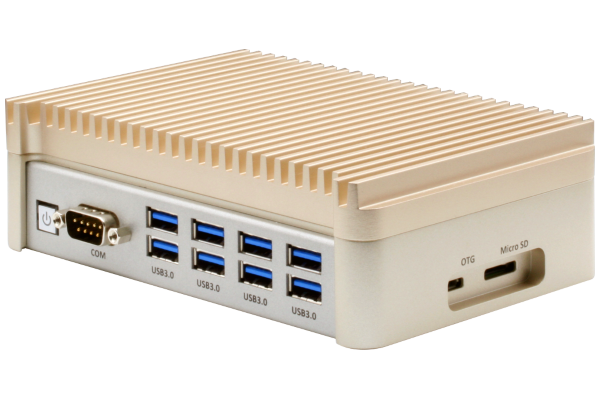 18 June, 2019 BOXER-8150AI: AI at the Speed of Sight
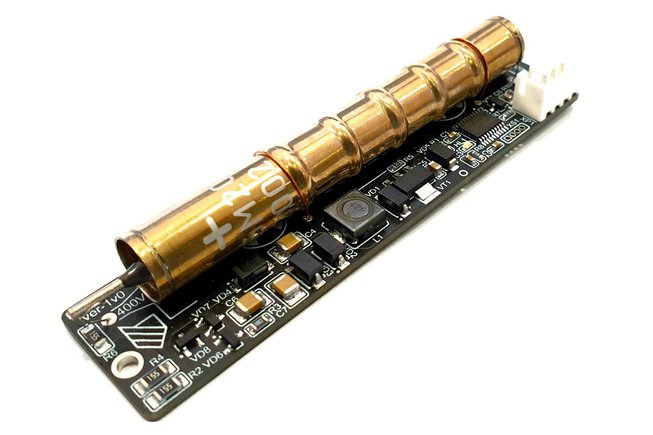 21 June, 2021 RadSens module: An ultracompact Arduino Dosimeter
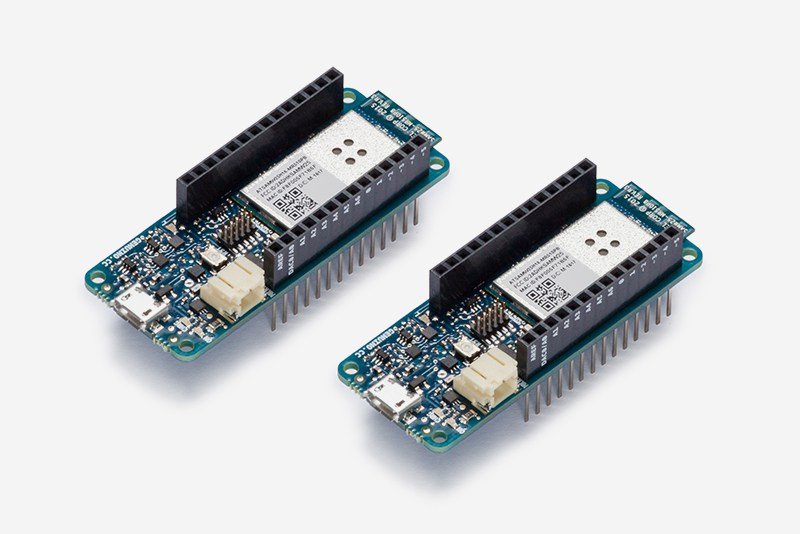 8 June, 2017 Getting started with Python and Arduino MKR1000 for secure IoT projects
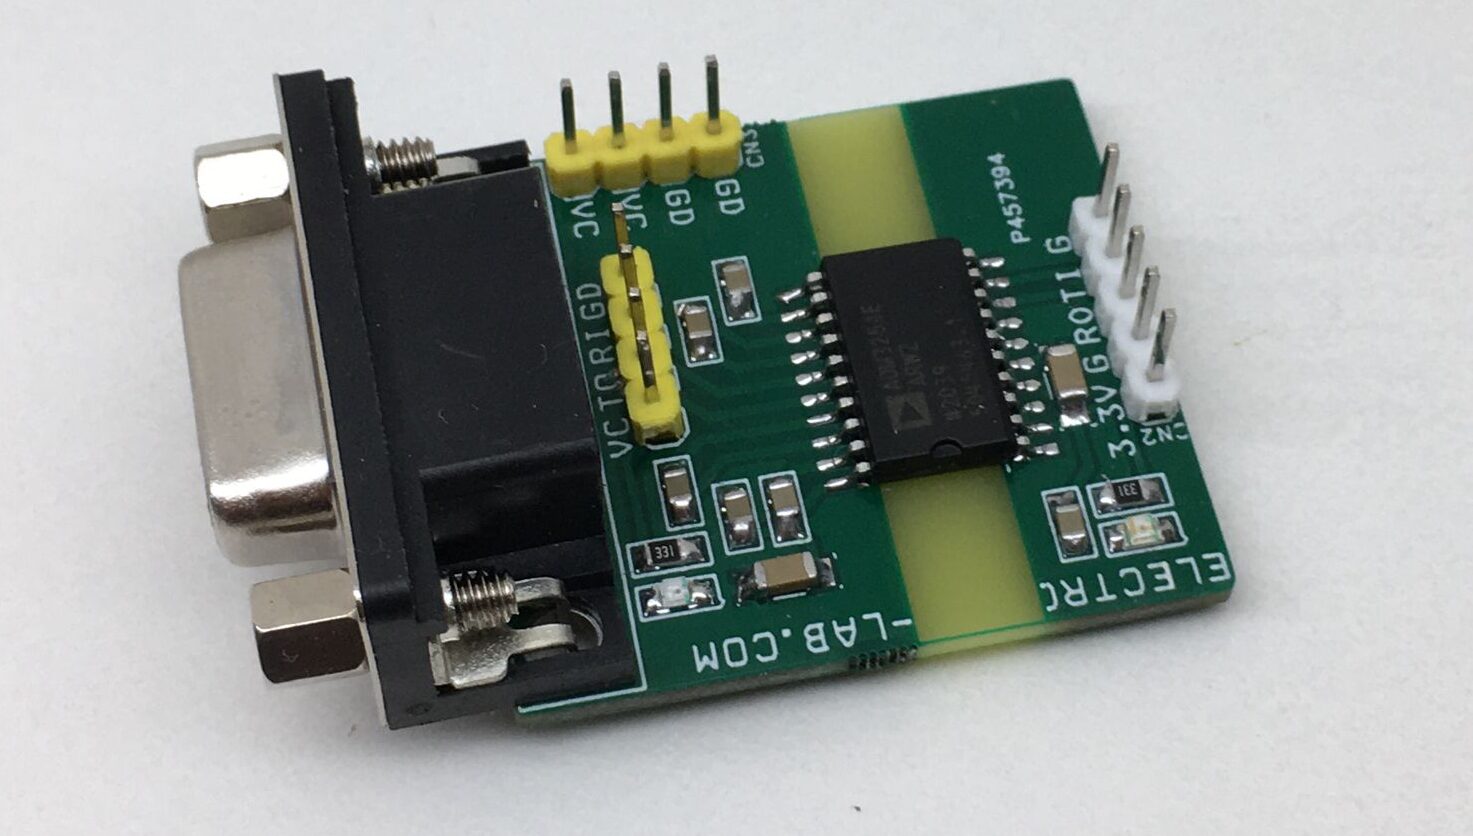 28 December, 2020 Isolated, Single-Channel RS232 transceiver (Isolated RS232 to UART)
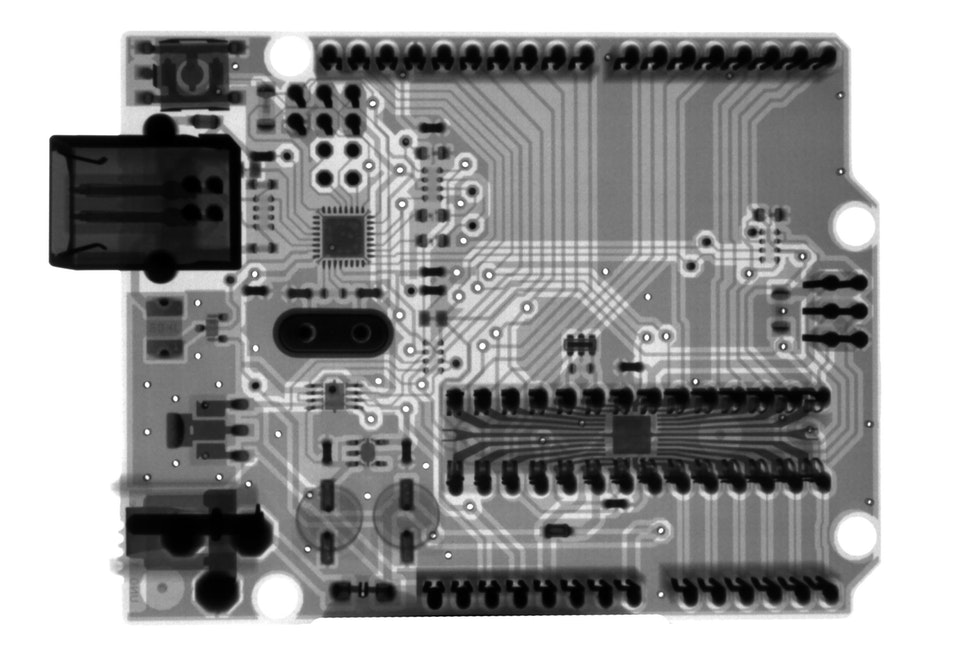 27 August, 2018 Xray of an Arduino Uno
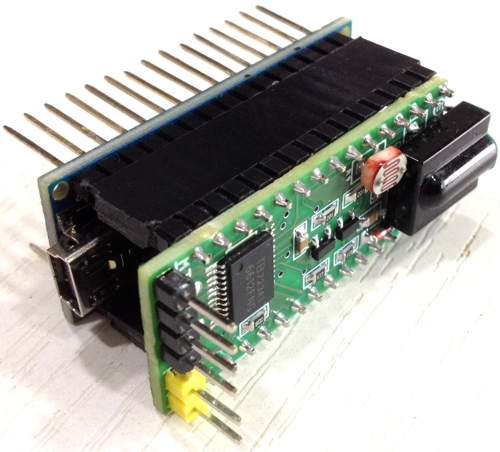 5 March, 2018 Mini Infra-Red Remote Robot Controller Shield For Arduino Nano


