


Gonazar’s PCB stencil jig:
My solution to making a PCB stencil jig.
I need this to do a run of ~30 small boards I got from DirtyPCB who also provided me with the stencil. However, I know that I’m going to be making more later with a new revision so I wanted a jig that I could later reuse with a new design.
One of the challenges of making a pcb jig is alignment and finding something to lie next to the pcb so the stencil doesn’t bow/bend from unsupported areas.
So my design uses two 1/8″ thick acrylic frames on a hinge. The top frame has a large opening to work with the stencil and the bottom frame has a fixed rectangular hole. This hole is for placing a 3D printed jig that perfectly matches the PCB shape and thickness. It’s also exactly the dimension of a 8.5″x11″ cut into 8 pieces. This way I can lock in my PCB and align my stencil, then adjust the height by shimming it with pieces of paper underneath.
PCB stencil jig – [Link]
RELATED POSTS
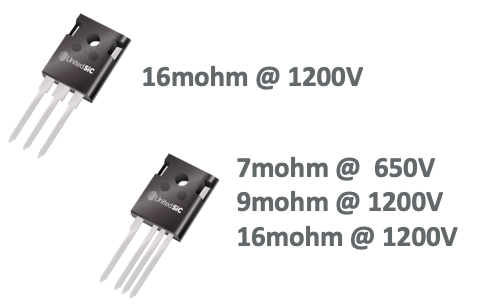 23 December, 2019 7mΩ SiC FETs deliver better performance, improved efficiency and lower losses
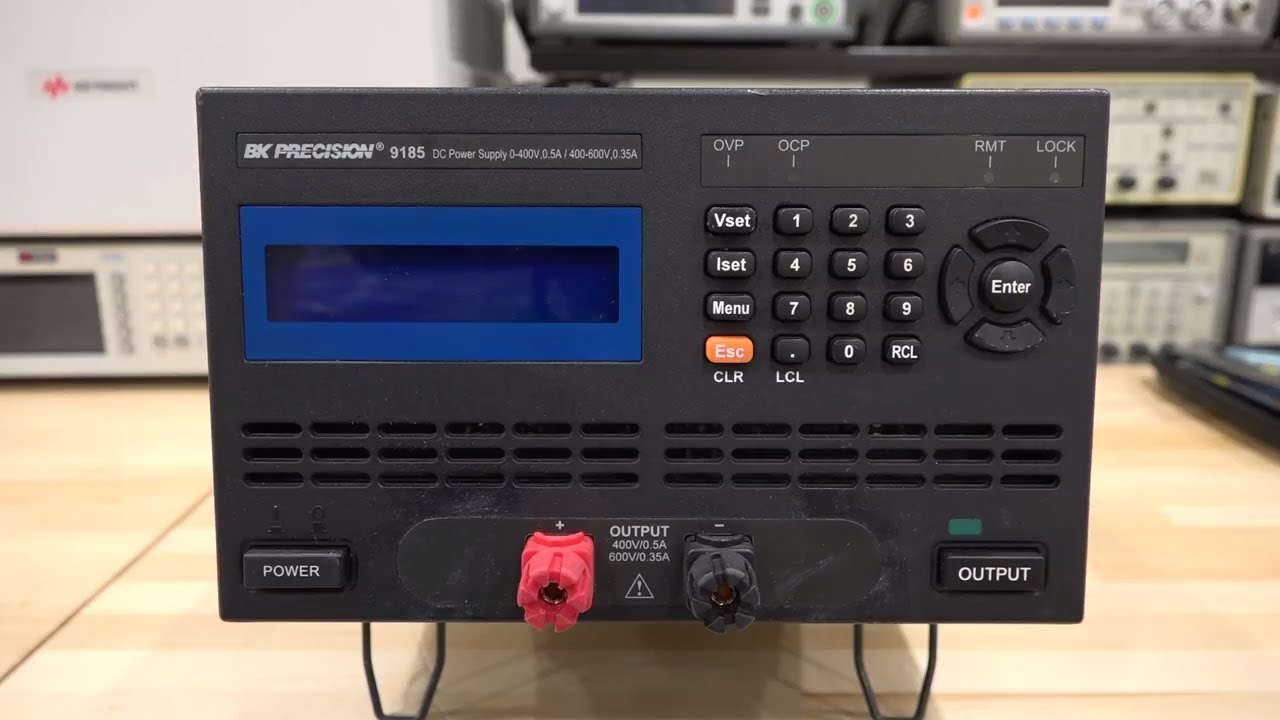 6 December, 2017 Teardown, Repair & Calibration of a BK Precision 9185 DC – 600V Linear Power Supply
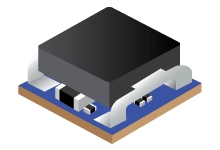 8 October, 2018 TPSM84824 – 4.5V to 17V Input, 0.6V-10V Output, 8A Power Module
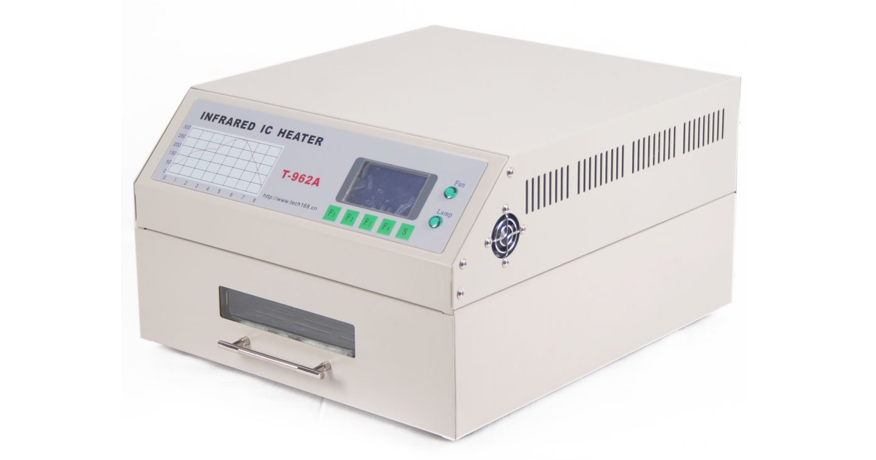 27 March, 2019 How to Maintain a Reflow Oven?
 2 April, 2016 Easy Arduino Menus for Rotary Encoders
 23 May, 2017 AMY Robotics, Multifunctional Autonomous Mobile Robots


really a good idea. Save a lot of money