


The Mini Mac Pi is another project developed by Ruiz Brothers on the Adafruit Learning System. This miniature MAC comes with Raspberry Pi, 320×240 Mini touch screen display, and a speaker. This article will focus on building the Mini Mac classic with 3D printing and the Raspberry Pi.
To get started with Mini Mac Pi, one needs to understand the working of the Raspberry Pi and the Adafruit PiTFT display. A mini PiTFT touch screen display mounts to the front bezel and easily detaches from the enclosure using magnets. Behind the PiTFT screen is a Raspberry Pi model B for controlling display use cases. Mini Mac pi comes with a 3-pin slide switch connected to the power boost 500C and 6000mAh rechargeable Lithium-Ion battery makes it easy to power on and off. This power boost 500C allows you to recharge with a battery or wall charger using a micro USB. Also, the power boost 500C raises the voltage of a Li-Ion battery pack to 5V.
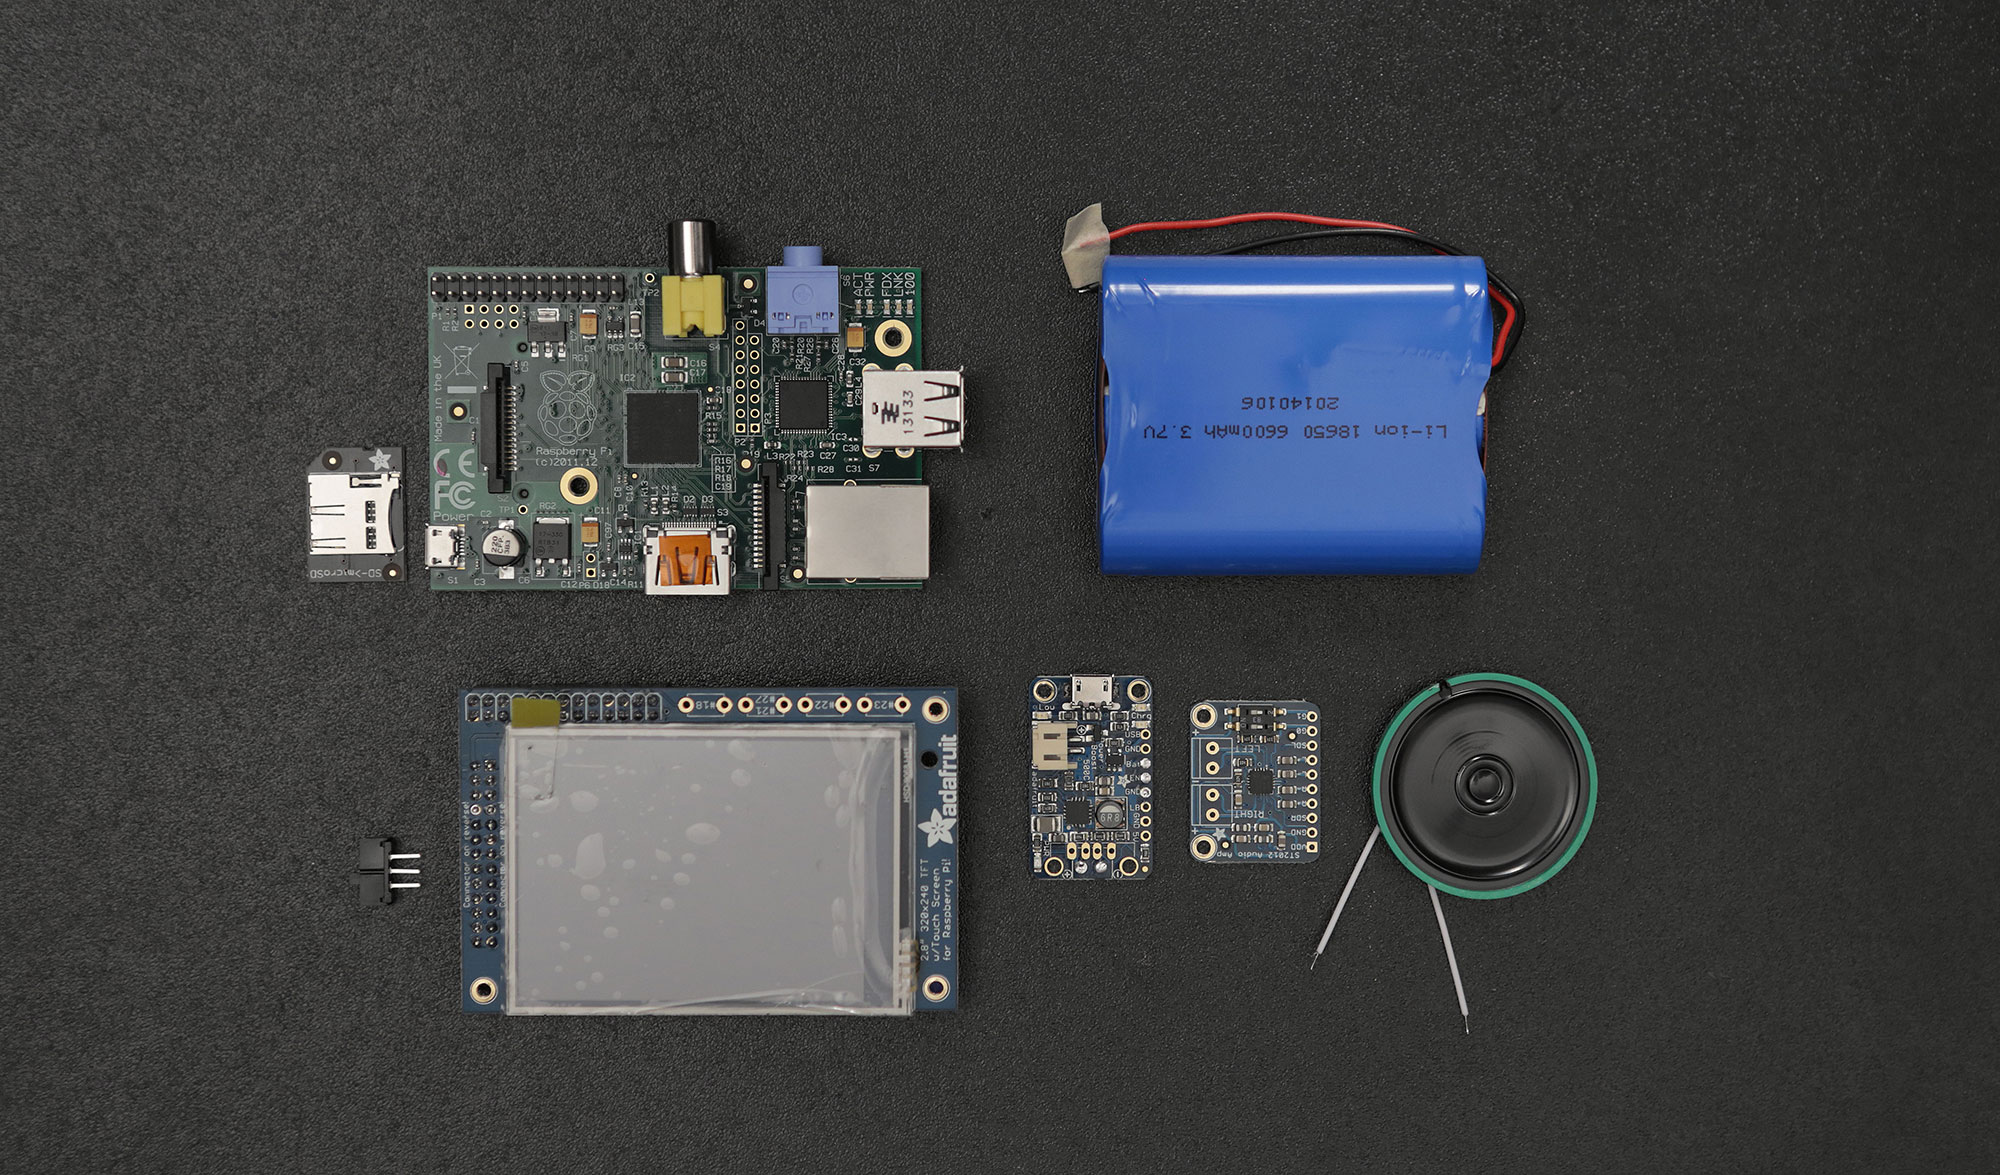
The enclosure even has enough space for a thin 8ohm 0.25W speaker and Stereo Class D amplifier. If you want audio features from internal speakers then you can purchase these as an optional add-on because vmac does not support audio. Additionally, the ethernet and USB ports are easily accessible for networking and connecting other devices. A panel mount HDMI extension cable allows connecting to an external display.
Building Mac Pi with 3D Printing
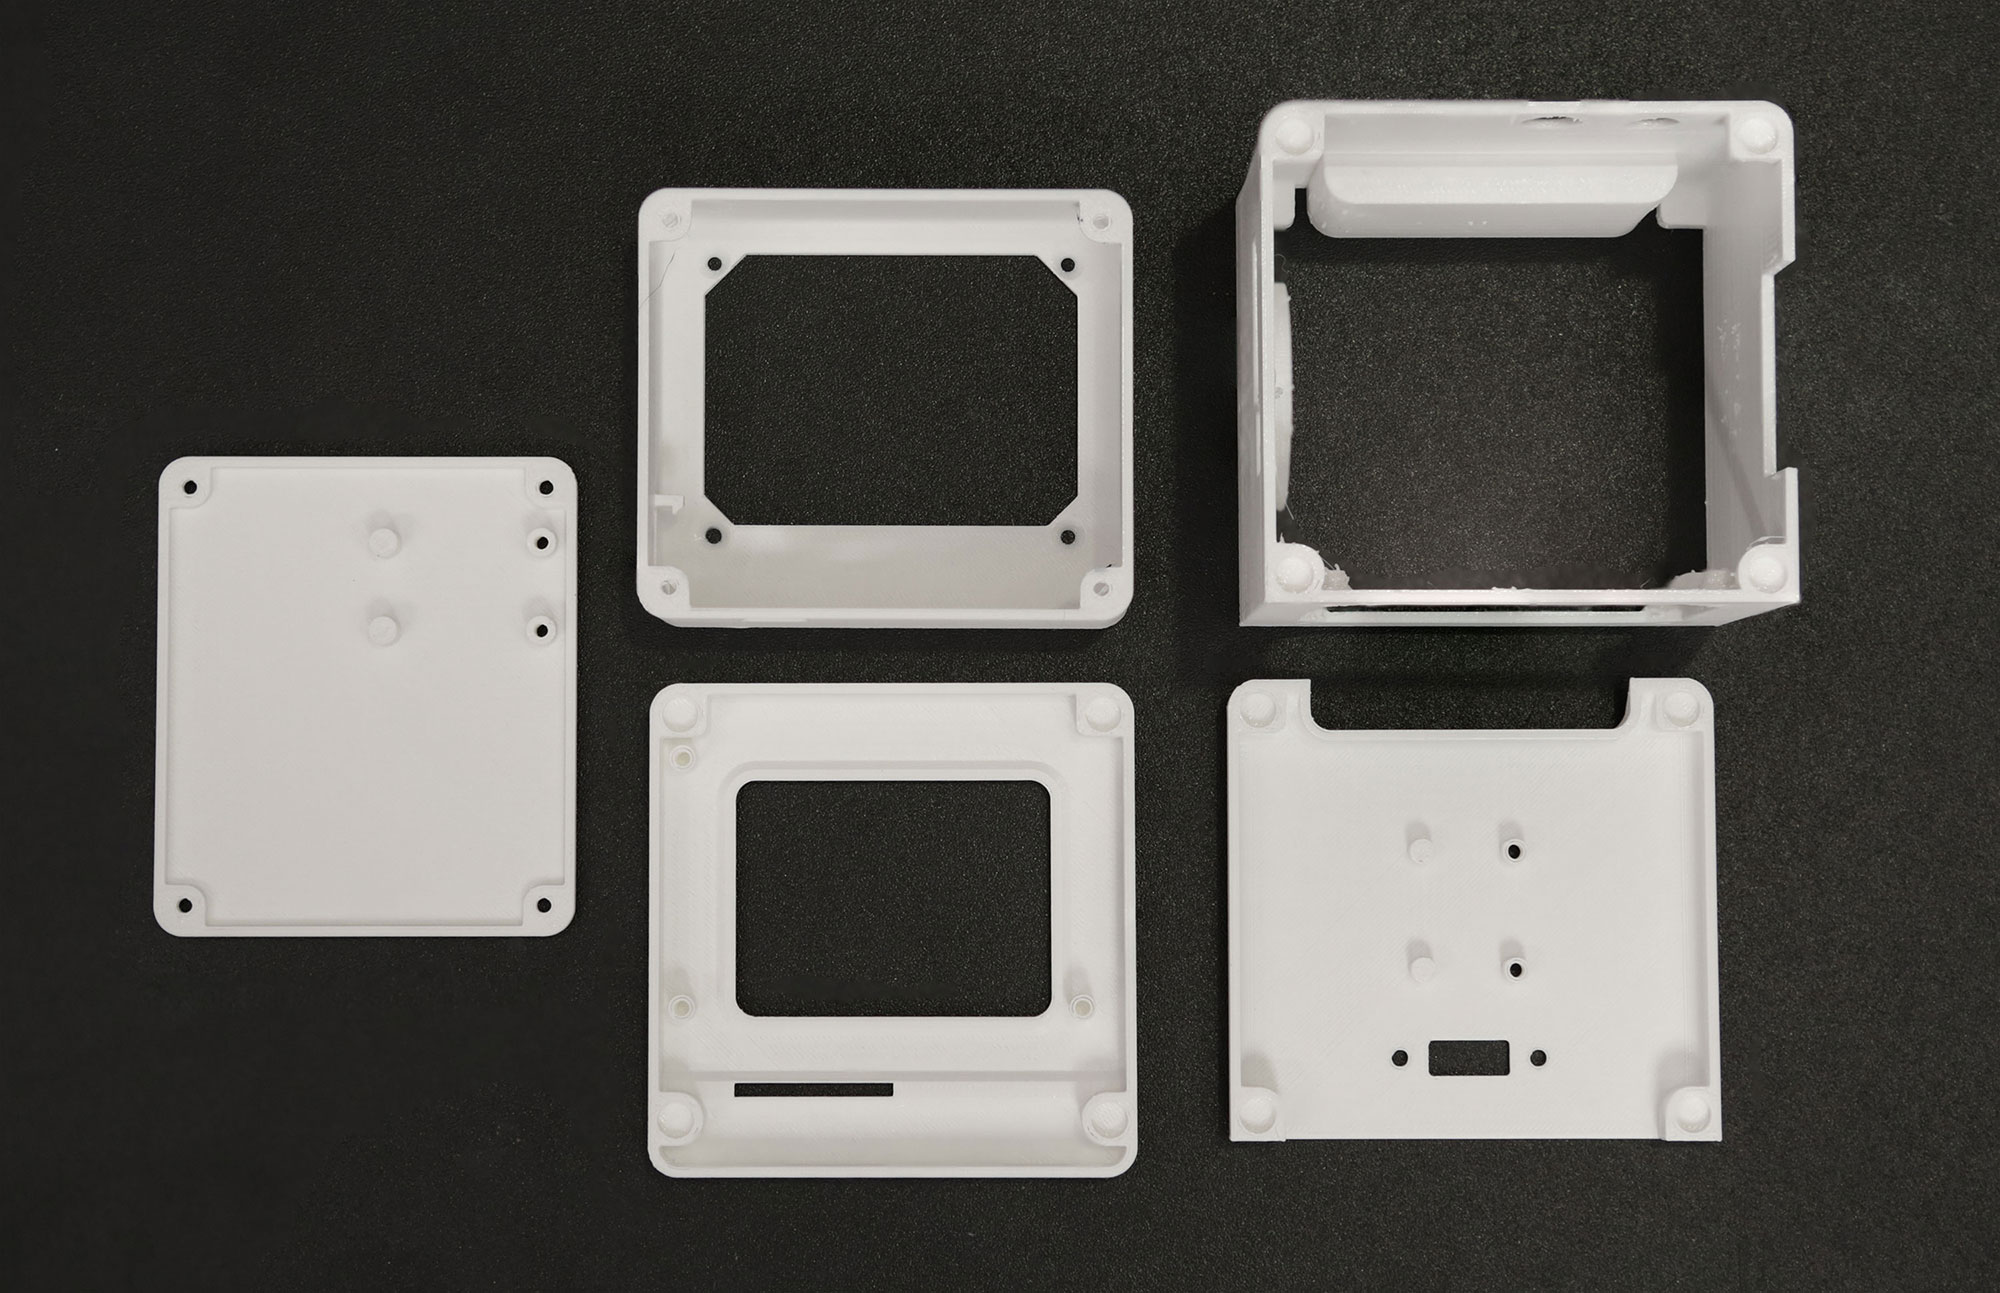
The outside casing is entirely made of 3D printed materials and separated into five parts. This five parts enclosure is optimal for desktop 3D printing using ABS/PLA filament. But PLA material is preferred because ABS prints tend to warp with surfaces that feature fillets and chamfers. According to the Ruiz brothers, you have the option of having the components printed by a service or printing them yourself with an FDM 3D Printer. The open-source design is free to download and available to customize using CAD software. If you are working on 3D printing for the first time, then refer to this documentation.
After assembling all the hardware parts, we’ll move on to the software. This DIY build lets you boot into Mac OS 7 and run classic mac apps like mac paint. The Pi runs a flavor of Mini vMac and emulates booting into Mac OS 7, allowing you to run old school mac apps.
The Mini vMac is an emulator that runs software for early Macs that ran Motorola’s 680×0 microprocessors. This project doesn’t require original hardware and runs alongside raspbian.
Even though mac emulator can run some basic apps, there are some limitations:
- Minor Application Support
- No Audio Support
- Only Mac 7
- No Networking
- Screen Size Cut to 320 x 240 so we can use the PiTFT (original was 512×342)
You can make this project even more interesting by using a Raspberry Pi camera module as a webcam. They will also provide you with the STL files for 3D printing so you can customize the housing with whatever other features you want, such as a webcam port. Depending on the cost of 3D printing, the project might cost anywhere from $140-$160.
For more information and step by step tutorial, visit the official product page
RELATED POSTS
 13 June, 2019 Intrinsyc Announces Immediate Availability of the Open-Q™ 820Pro High-Performance System on Module
 4 September, 2015 A Xively AMbient QUality MOnitor built on ATmega328
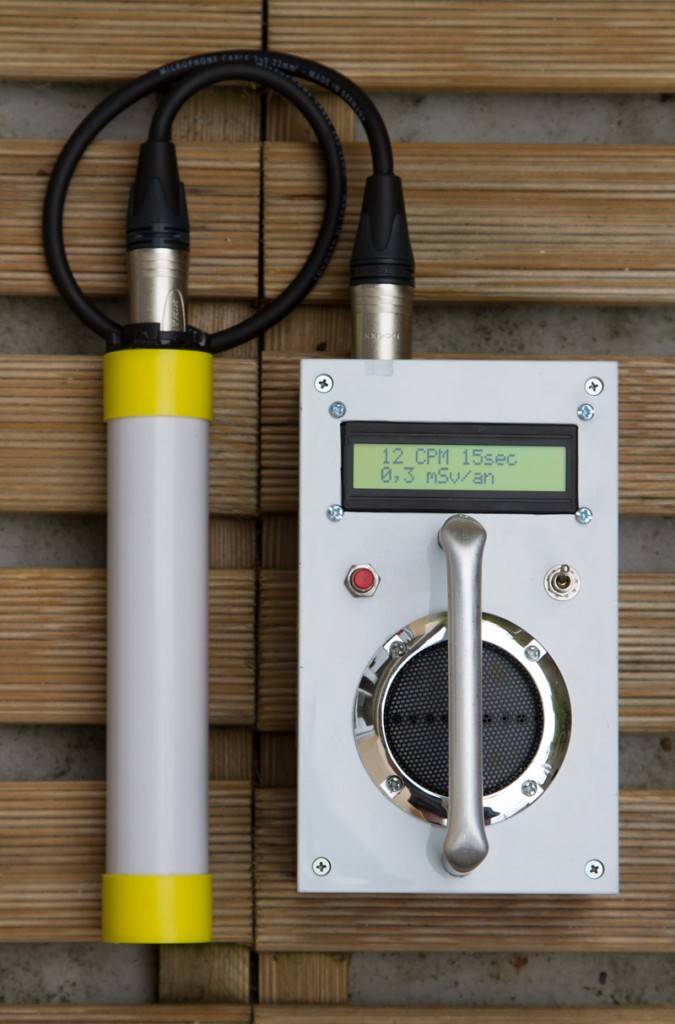 17 August, 2015 Geiger counter with SBM20 tube
 18 May, 2017 MCUXpresso IDE: Blinky the NXP LPC800-DIP Board
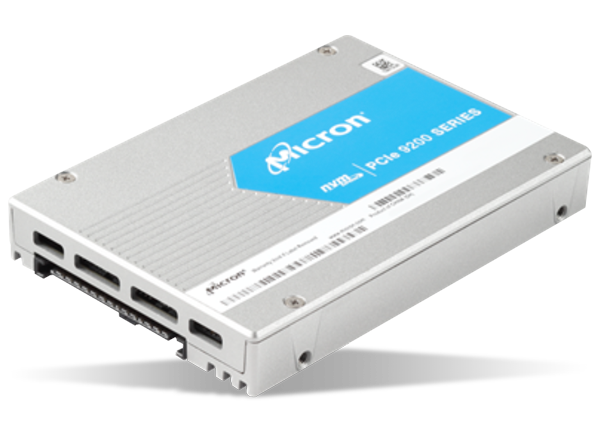 29 April, 2019 Micron’s 11TB NVMe SSDs now at Mouser
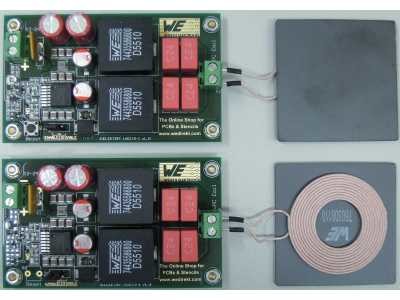 4 October, 2016 Enhanced Wireless High Power Transmission


