


A Compact Camera Using Raspberry Pi A+ And Adafruit TFT Display
PiJuice at instructables.com designed an interesting compact camera project with raspberry pi. Raspberry Pi A+ is used in this project as it is the cheapest and smallest available Raspberry Pi. The real challenge in this kind of portable Pi projects is powering the Raspberry Pi. This issue is solved using PiJuice—an all in one battery module for the Raspberry Pi.
Required Parts
- 1 × PiJuice
- 1 × Raspberry Pi Model a+
- 1 × Raspberry Pi Camera Module
- 1 × LaserCut Kit
- 1 × 2.2″ Adafruit TFT screen
- 1 × Push Switch
- 1 × Micro SD card
- 1 × Plastic Spacers
- 4 × Screws
- 1 × Right Angle Header
Set Up The Raspberry Pi
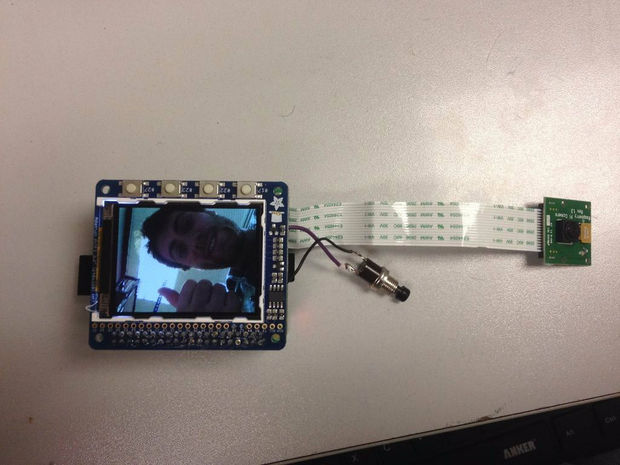
Download the latest version of the Raspbian image from the Raspberry Pi Website and burn it on your blank SD card. You can use win32DiskImager or your favorite software to get the job done. Now, you need to install the drivers for the TFT screen by running the DIY installer script, explained on the Adafruit page. Connect the TFT to the Raspberry Pi, attach the PiJuice with a charged battery, and switch it on. Your screen now should display boot up messages.
Connect The Camera
Insert the ribbon cable of your camera module properly ensuring that the blue side of the ribbon is facing away from the HDMI port. Now, go to the terminal and type the following command,
sudo raspi-config
Enable the camera in the menu and then reboot the Pi. The camera should work properly after a successful reboot. To test the camera, enter the following command:
raspistill -o pic.jpg
This will take a snap and save it in the /home/pi directory.
Connect A Push Button
You need a push button to simulate a shutter action. Locate the pin 17 on the GPIO breakout on the top of the TFT screen. Now, solder two wires to the terminals of the push button. You can either solder a right angle header to the pin 17 or you can directly solder one wire from push button to that pin. There is a pad labeled WP on the board. It is actually connected to the ground. Solder another wire from the push button to this pad.
Install And Test The PiCam Software
To install the software, the Raspberry Pi must be connected to the internet. Enter the commands given below to download and install PiCam.
sudo apt-get install git-core
sudo mkdir PiCam
cd /PiCam
git clone git://github.com/pijuice/PiCam.git
Once the software has been downloaded, navigate to the PiCam directory using the command:
cd /picam
You can run it by typing the command:
sudo python picam.py
Now, you can take pictures by simply pressing the push button. Once the button is pressed the picture will be taken. Once the captured image gets loaded, your photograph will be displayed.
Conclusion
Your Raspberry Pi camera is ready now. If you want to make it even more compact as well as portable, grab the official laser-cut compact camera case from the Kickstarter page by pre-ordering a Maker Kit. You can also build your own simple chassis for housing the camera.
RELATED POSTS
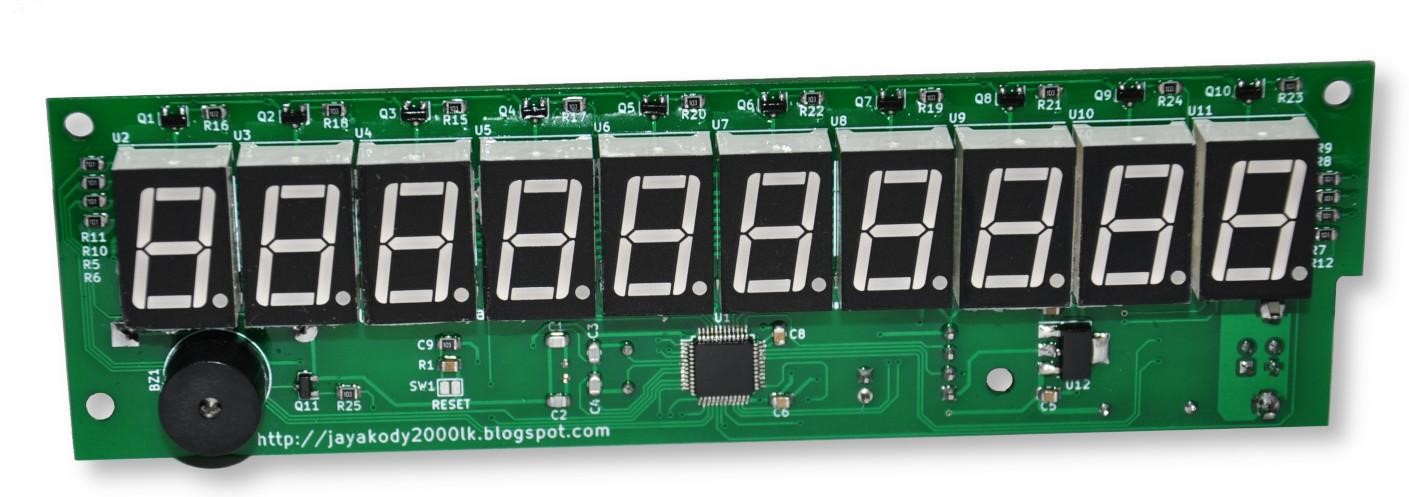 8 July, 2019 USB 10-digit Seven Segment Display Module
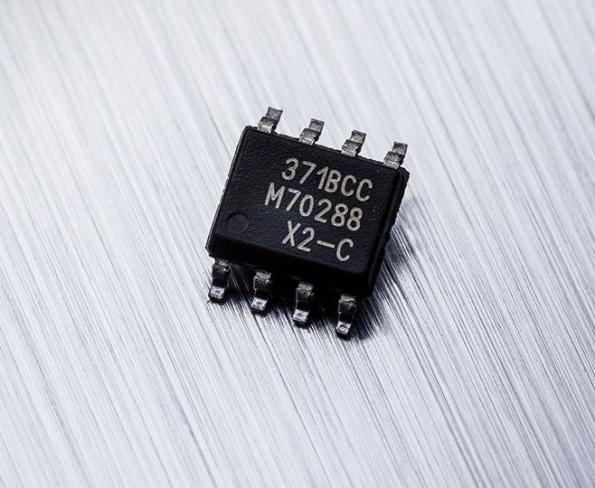 27 March, 2018 Triaxis magnetic position sensor IC is ASIL-ready
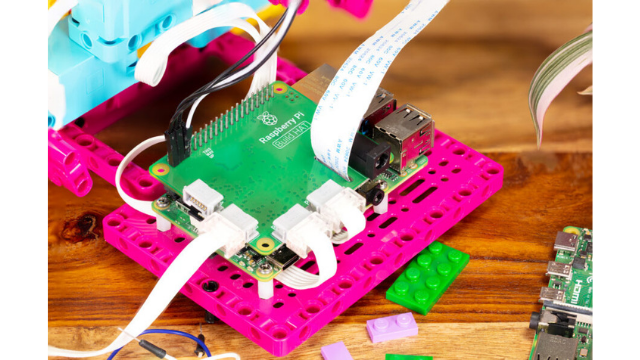 25 October, 2021 Raspberry Pi Foundation Collaborates with LEGO Education for the ALL-NEW RPi Build HAT
 9 June, 2016 Eagle – Create Nixie tube footprint
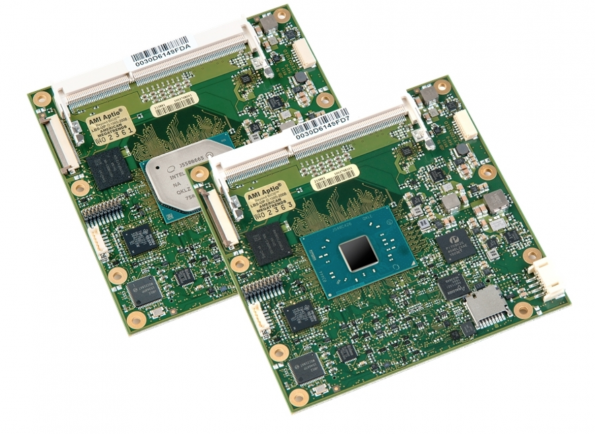 26 May, 2019 Avnet Integrated adds AMD’s R1000 to its COM Express
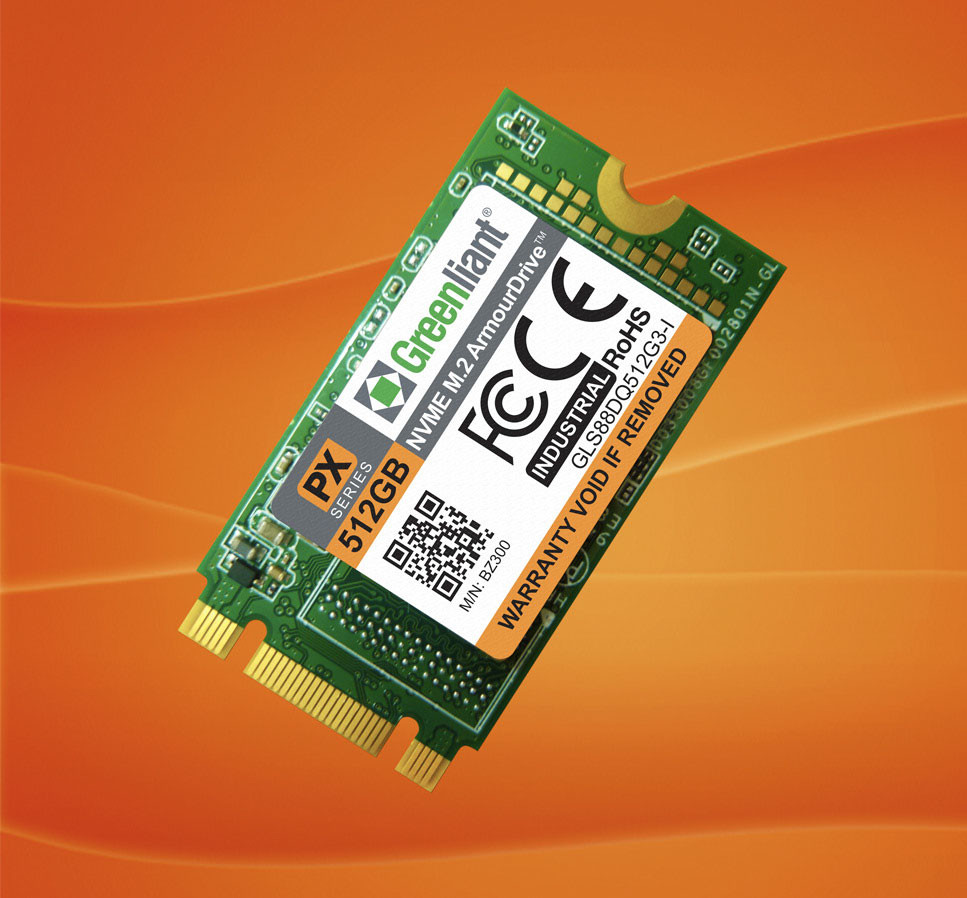 19 July, 2019 Greenliant Delivers Ultra-Fast Speeds with NVMe M.2 ArmourDrive SSDs


