

Interfacing Arduino with Micro SD card Module
- Nick Koumaris
- http://educ8s.tv/
- info@educ8s.tv
- 32.311 Views
- easy
- Tested
- 0 Likes

Introduction
Often times, we have the need for a way to store data in our projects, and most of the time, the EEPROM which comes readily to mind has a limited storage capacity, and issues with the format and nature of data it can hold. All this and more makes it probably not the best for storing data like text, CSV, audio, video or image files. To get around this we could use an SD card to store the data, and remove the card when we need to view on some other platform etc. That is why today’s project is focusing on how to interface an SD card module with an Arduino.

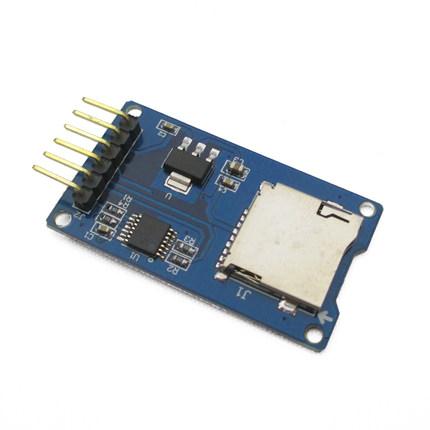
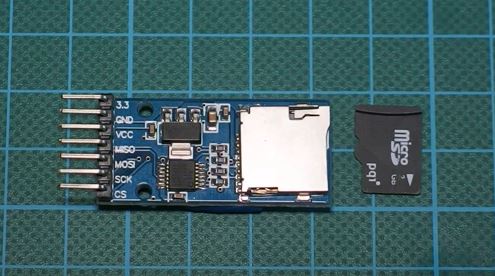
The Arduino Micro SD card Module is an SPI Communication based device. It is compatible with the TF SD cards used in mobile phones and can be used to provide some sort of external storage for micro controller and microprocessor based projects, to store different kind of data types from images to videos. SD cards generally are 3.3v logic level based devices, but with the aid of the Micro SD card module, the signals are converted to 5v via a logic level converter implemented on the SD card Module.
Required Components
To achieve the goals of this tutorial i.e. learn to interface the Arduino with the Micro SD card module, we will need the following components;
As usual, the exact components used for this tutorial can be gotten by clicking on the components above.
Schematics
Connect all the components as shown in the schematics below.
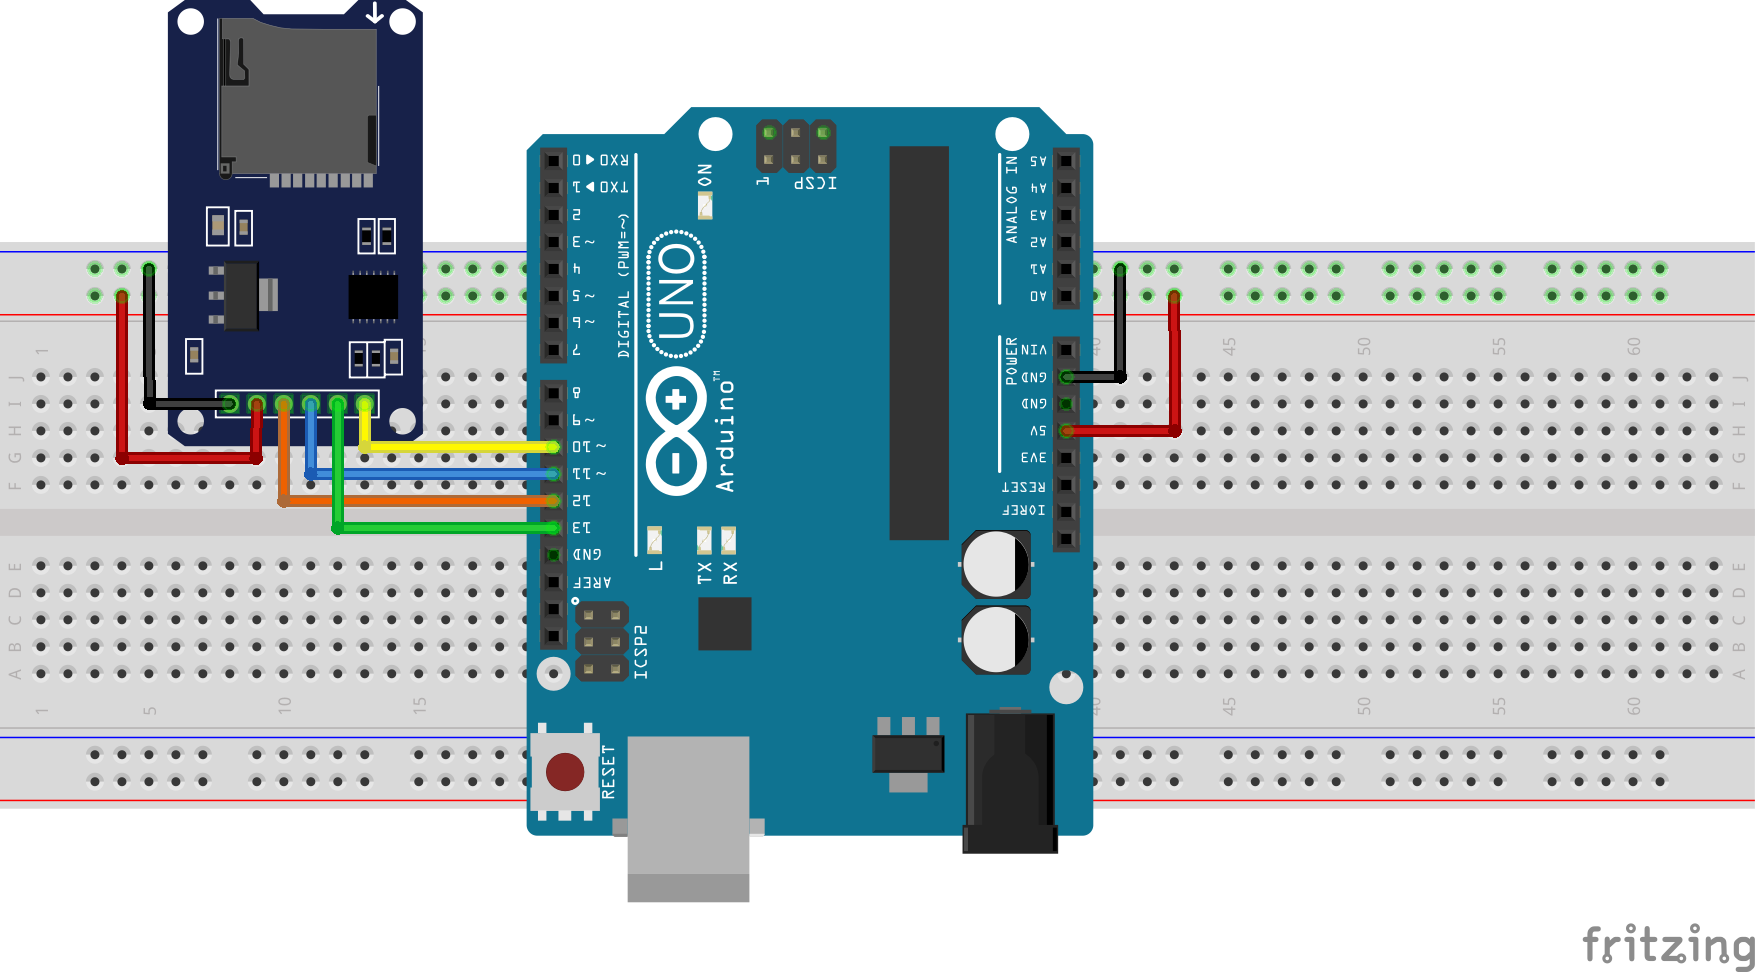
The SD card module as earlier stated, communicates with the arduino over the SPI (serial Peripheral interface) communication protocol and it is connected to the arduino hardware SPI pins. The SPI pins on an Arduino differs from one arduino to the other, but on the UNO which was used for this project, it is found between pin 10 to 12. To further highlight the connection made in the fritzing schematics above, below is a pin map of the connection between the SD card and the Arduino Uno;
SD – Arduino
GND - GND
vcc - vcc
MISO - D12
MOSI - D11
SCK - D13
CS - D10
Code
The code for this tutorial will be based on the standard SD.h arduino library. It is one of the libraries that comes with the the installation of the IDE. The aim of this code is to basically show us the functions that can be performed with the SD card module, including read, write, etc.
As usual, I will do a breakdown of the code here, and will then drop the full code at the end. The code will also be attached in a zip file at the end of this post.
So to jump right in, the first thing we do in the code is include the libraries that we will be using as shown below. We will basically be using the Arduino SD library and the SPI.h library which allows us to easily use the Arduino hardware SPI.
    /////////////////////////////////////////////////////////////////
   //              Arduino SD Card Tutorial     v1.00             //
  //       Get the latest version of the code here:              //
 //         http://educ8s.tv/arduino-sd-card-tutorial           //
/////////////////////////////////////////////////////////////////
#include <SD.h>
#include <SPI.h>
After the libraries have been declared, the next thing we do is declare the pin to which the CS pin of the SD card module is connected to the arduino. The CS pin is the only one that is not really fixed as any of the Arduino digital pin. We didn’t need to declare the other SPI pins since we are connected to the generic SPI pins and we have the SPI library included. After declaring the pin, we then create an object file, which will be used later on to store data on the SD card.
int CS_PIN = 10;

File file;
Next we move to the setup() function of the arduino code. The first thing we do is start the serial communication at 9600 baud rate. We then initialize the SD card with the next line of code, after which we create a file named test.txt and then write to it using the writeToFile() function. After writing to the file, it is closed. This section of the void setup() function was just used to demonstrate how easy it is to write text/data to a file.
void setup()
{

  Serial.begin(9600);

  initializeSD();
  createFile("test.txt");
  writeToFile("This is sample text!");
  closeFile();
With that done we then move to the second part of the void setup where we will attempt to read the data stored in a file and display it on the serial monitor.
The first thing we do is open the file, then we use the next line of code to print each line of the text found in the file using the readline() function. After the data has been read, we close the file.
It should be noted that the prefs.txt file was already created on the SD card initially or else we would have an error when we tried to open it.
 openFile("prefs.txt");
  Serial.println(readLine());
  Serial.println(readLine());
  closeFile();
}
Since this was just a demo sketch to show how to read and write files, there was no point to run the code multiple times so they were all placed in the void setup() function which runs just once, instead of putting it in a void loop which runs for as long as you have power. Thus the void loop was included but with nothing inside, as you may have noticed, your arduino code will not compile without the void loop() function included. After the loop() function,are the code for the functions that were used under the void setup(), to read or write to the SD card.
void loop()
{
}
The full code is written below, and also attached in a zip file at the end of the post.
    /////////////////////////////////////////////////////////////////
   //              Arduino SD Card Tutorial     v1.00             //
  //       Get the latest version of the code here:              //
 //         http://educ8s.tv/arduino-sd-card-tutorial           //
/////////////////////////////////////////////////////////////////
#include <SD.h>
#include <SPI.h>

int CS_PIN = 10;

File file;

void setup()
{

  Serial.begin(9600);

  initializeSD();
  createFile("test.txt");
  writeToFile("This is sample text!");
  closeFile();

  openFile("prefs.txt");
  Serial.println(readLine());
  Serial.println(readLine());
  closeFile();
}

void loop()
{
}

void initializeSD()
{
  Serial.println("Initializing SD card...");
  pinMode(CS_PIN, OUTPUT);

  if (SD.begin())
  {
    Serial.println("SD card is ready to use.");
  } else
  {
    Serial.println("SD card initialization failed");
    return;
  }
}

int createFile(char filename[])
{
  file = SD.open(filename, FILE_WRITE);

  if (file)
  {
    Serial.println("File created successfully.");
    return 1;
  } else
  {
    Serial.println("Error while creating file.");
    return 0;
  }
}

int writeToFile(char text[])
{
  if (file)
  {
    file.println(text);
    Serial.println("Writing to file: ");
    Serial.println(text);
    return 1;
  } else
  {
    Serial.println("Couldn't write to file");
    return 0;
  }
}

void closeFile()
{
  if (file)
  {
    file.close();
    Serial.println("File closed");
  }
}

int openFile(char filename[])
{
  file = SD.open(filename);
  if (file)
  {
    Serial.println("File opened with success!");
    return 1;
  } else
  {
    Serial.println("Error opening file...");
    return 0;
  }
}

String readLine()
{
  String received = "";
  char ch;
  while (file.available())
  {
    ch = file.read();
    if (ch == '\n')
    {
      return String(received);
    }
    else
    {
      received += ch;
    }
  }
  return "";
}
Demo
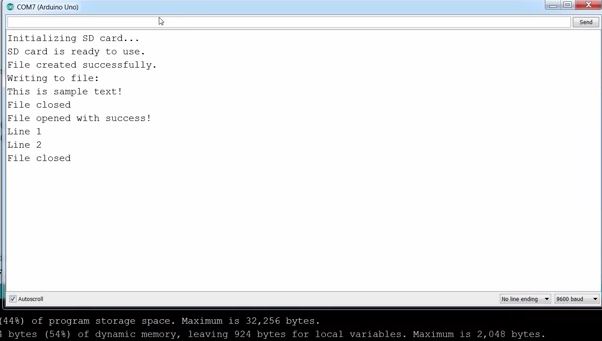
Copy the code above and paste it into the Arduino IDE, Upload it to your board and you should see something like what is displayed below on your serial monitor.
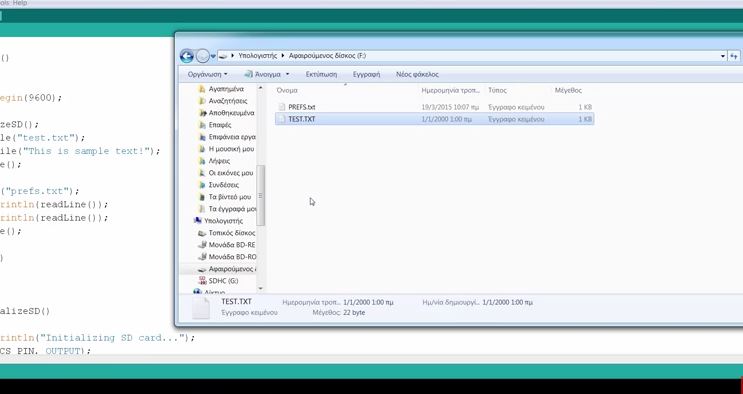
When the SD card is removed and inserted into a computer, the following is seen.
That’s it for this tutorial guys, let me know if you have any questions via the comment box.
A video of this tutorial can be found on the educ8s.tv channel here.


hi i connected sd card interfacing with Arduino uno and i given pin description MOSI 11, MISO 12, SCK 13, CS 10, i am trying to save the ultrasonic sensor values in sd card excel format if any body can know this please reply me thank you