Search the Community
Showing results for tags 'iot'.
-
AI Smart agriculture control Device Abstract: Agriculture is the broadest economic sector and plays an important role in the overall economic development of a nation. Technological advancements in the arena of agriculture will ascertain to increase the competence of certain farming activities. Smart Farming is a farming management concept using modern technology to increase the quantity and quality of agricultural products. Farmers in the 21st century have access to LoRa, soil scanning, data management, and Internet of Things technologies, web. Our device focuses on the measurement of physical parameters such as soil moisture content, nutrient content, automatic irrigation, pH of the soil and automatic sent notification phone application that plays a vital role in farming activities. Keyword: Agricultural innovation, IoT, LoRa, Power Management, ARM, Data Management Introduction: Smart farming based on IoT technologies will enable growers and farmers to reduce waste and enhance productivity ranging from the quantity of fertilizer utilized to the number of journeys the farm vehicles have made. In IoT-based smart farming, a system is built for monitoring the crop field with the help of sensors (light, humidity, temperature, soil moisture, etc.) and automating the irrigation system. The farmers can monitor the field conditions from anywhere using smart app. IoT-based smart farming device is highly efficient when compared with the conventional approach. The applications of IoT-based smart farming not only target conventional, large farming operations, but could also be new levers to uplift other growing or common trends in agricultural like organic farming, family farming (complex or small spaces, particular cattle and/or cultures, preservation of particular or high quality varieties etc.), and enhance highly transparent farming. Now, let’s discuss the major applications of IoT-based smart farming device that are revolutionizing agriculture. Hardware: Soil Sensor: The Soil Moisture Sensor uses capacitance to measure the water content of soil (by measuring the dielectric permittivity of the soil, which is a function of the water content). Simply insert this rugged sensor into the soil to be tested, and the volumetric water content of the soil is reported in percent. Temperature sensor (DHT 11): Measure the Temperature and humidity Photoresistor (LDR): Check day or night position LoRa ARM development board : This is a low power single board computer inbuild Wi-Fi, LoRa connectivity also has Digital and analog pins. Smart Agriculture Device Features: 1.This device no need external power (inbuild 5-volt Power bank & solar cell), 2. real-time Soil Moisture sensor measure the soil and sent data to the Server, 3.Temperature, photoresistor measure the weather condition. 4. Both way communication (device can send notification & received command from web or app) 5. Dual control (Device ca run manual mode and automatic mode). 6. Dual communication (LoRa and wi-fi mode) System Hardware Implementation: First configure the FreeRTOS on EFB-REV1 board after successful configure of operating system we need configure GPIO library(J-Tag) to access the its GPIO. Install 5-volt solar cell and power bank for powerup the device 24x7. Soil Sensor connected to analog pin of A0, DTH11 connected to A3, Photoresistor connected to A6. Analog sensors measure data and sent via wireless media. EFB_REV1 development come with LoRa, Wi-fi also Bluetooth, for our project we used Wi-Fi and LoRa. For Wi- fi communication need a wifi receiver module which receive and sent sensor data to the cloud server. Another hand implemented the device for loRa communication (data send rang up to 5km), here we need a loRa receiver to receive and sent sensor data to the cloud server. Wi-Fi and LoRa connective protocol of our smart agriculture device uses depend on different location & situation. Firmware & Application software implementation: Application Software: Here we used cloud server to store the data, and help of Rest API sent the command to the device. Device firmware has two measure function (i) Manual mode: In manual mode device will work, user pre set value of the sensor in device using web or smart app. (ii) Automatic Mode: In automatic mode device sent the sensor value to cloud server and machine learning algorithm take decision according the data. Conclusion Thus, the IoT agricultural applications are making it possible for ranchers and farmers to collect meaningful data. Large landowners and small farmers must understand the potential of IoT market for agriculture by installing smart technologies to increase competitiveness and sustainability in their productions. With the population growing rapidly, the demand can be successfully met if the ranchers, as well as small farmers, implement agricultural IoT solutions in a prosperous manner.
-
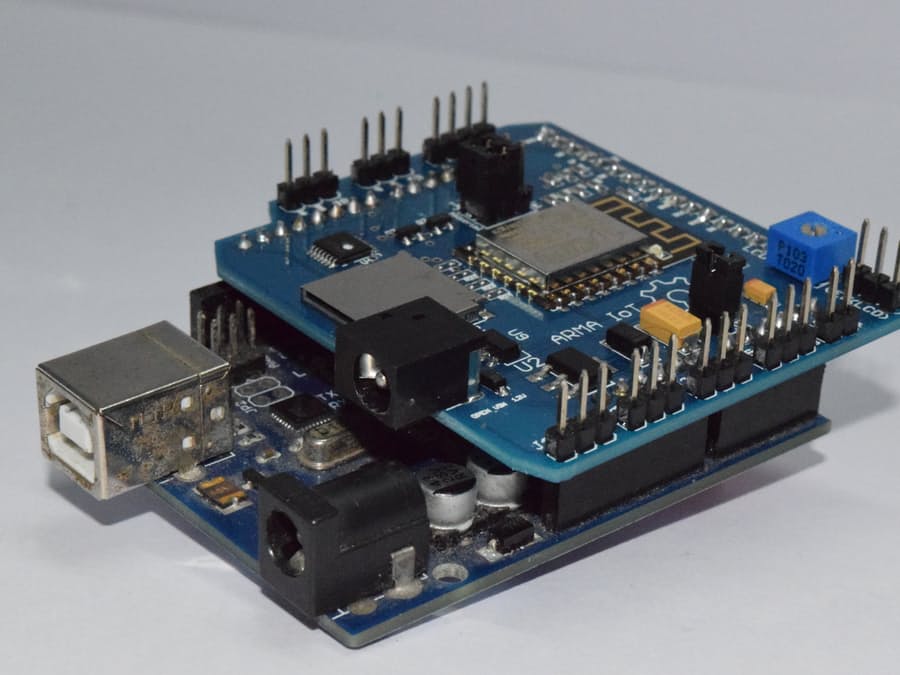
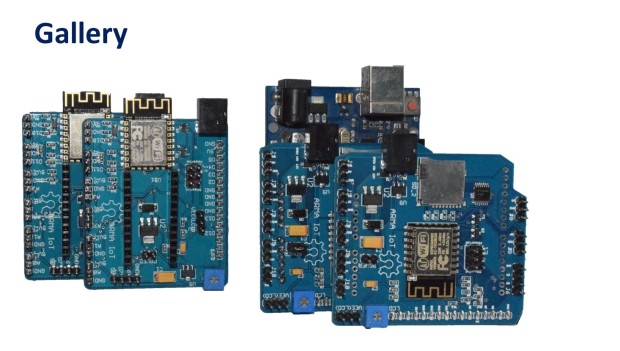
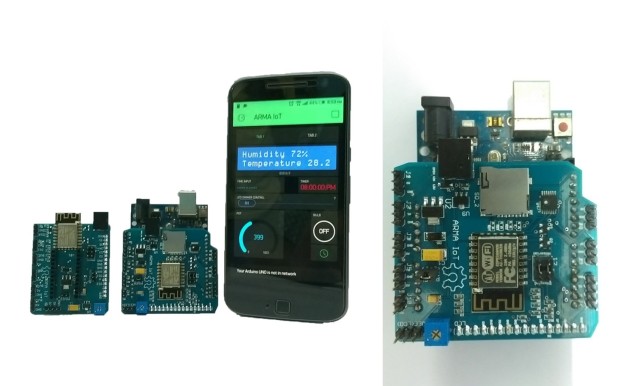
Are u looking for a way to connect the Arduino to the internet easily? Do you want to develop your IoT project quickly without much hassle? ARMA IoT might just be the thing for you! The simple and efficient Arduino shield is powered through a esp12f wifi module, which enables it to be connected to the wifi network. it also has an SD card slot for for extra data storage like its wired brethren the Ethernet Shield. The ARMA IoT goes a step further and provides an easy plug and play feature for most of the common devices such as sensors, motors, LCDs and relays. The ARMA IoT is a great place for beginners to start their IoT project, as it requires minimum time to setup the hardware all thanks to the plug and play feature. Even the programming is simplified through the help of apps such as Blynk, which provides easy feature of controlling the Arduino through your Android or iOS phone. Thingspeak an upcoming IoT platform is also supported by the shield. The ARMA IoT platform proves as a tool for aspiring beginners and also a prototyping tool for advanced users. IoT products can be developed much faster with the help of this board. Weather it is creating a simple IoT project such as blinking LEDs or controlling relays, or developing your own Home automation system, the ARMA IoT facilitates it all and things seem to happen rather quickly with all the features provided on the board. The wifi connection feature can provide fast communication between devices or two instances of ARMA itself, making it applicable for simple swarm robotics, wireless controllers etc. The applications can also be extended to simple robotics, Energy management systems and it does not stop there as it all depends upon the users creativity. To get started simple tutorials are provided on the YouTube page of ARMA IoT, the link below guides on the setup of Arduino and ARMA IoT with the help of Blynk app More tutorials and projects will be posted to help you make the most of the shield. Of Course there are also various DIY communities that can provide you with both support and inspiration for your upcoming IoT projects. thus ARMA is another simple board that has the ability to bind many devices together. The ARMA IoT is still undergoing a crowdfunding campaign in Indiegogo and is available for pre-order. https://www.indiegogo.com/projects/arma-iot-breakout-board-for-arduino#/


