

4Duino – An Introduction and a Weather API Demo
- 8.911 Views
- medium
- Tested
- 0 Likes

Ιntroduction
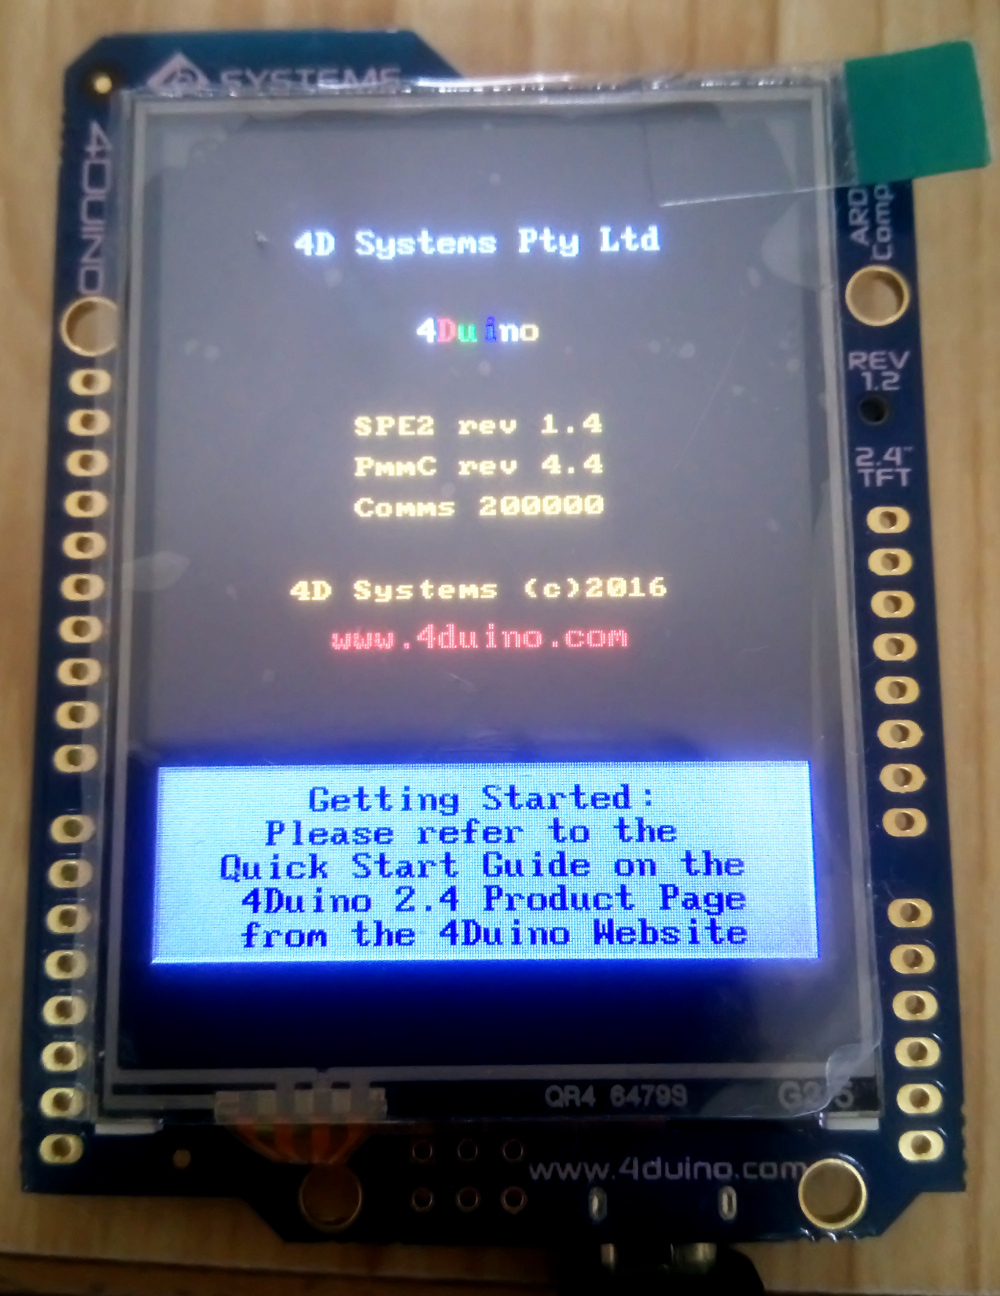
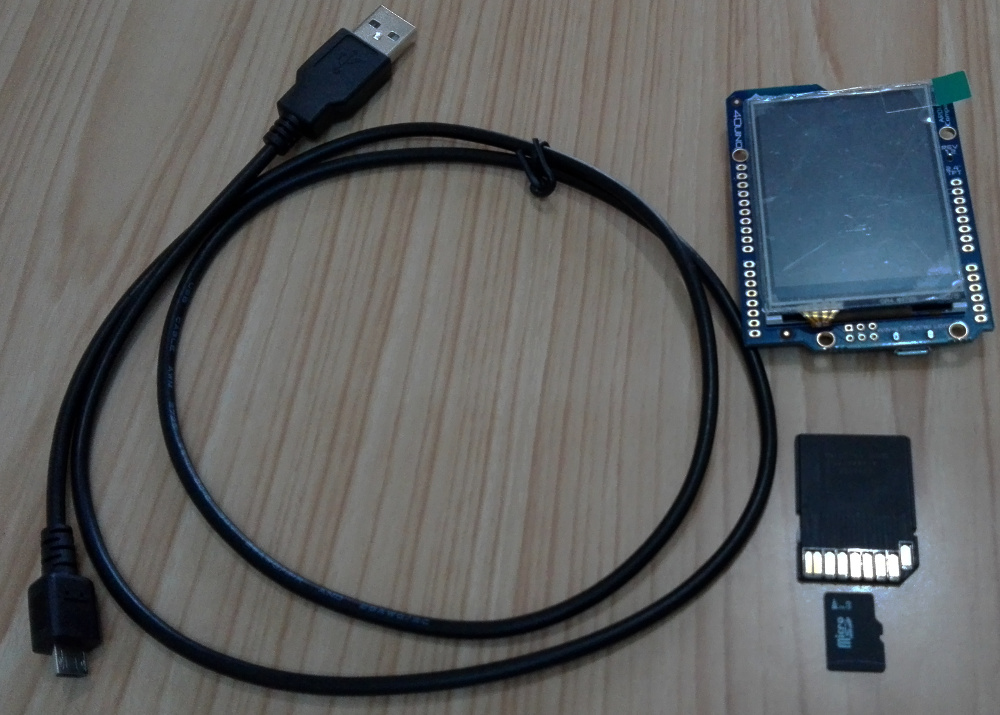
We covered 4Duino in one of our previous blog posts. 4Duino is a 2.4” Arduino based programmable display module. In our article today, we are presenting a hands-on experience with this product by building a simple project. Many thanks to 4D Systems for sending us a sample and giving us a chance to try this new product.
Let us start by making a simple circuit design overview. 4Duino consists of three main parts:
- The main MCU is ATmega32U4 which is the same microcontroller inside Arduino Leonardo. 4Duino also preserves Arduino UNO pinouts using the same Arduino’s headers footprint.
- An ESP8266 WiFi module ESP-06 model is embedded in 4Duino making it suitable for IoT (Internet of Things) applications.
- 4Duino features a 2.4” 320 x 240 pixels 65K colors TFT LCD display with resistive touch. LCD is powered by the feature-rich 4D Systems Picaso Graphics Processor connected also with an SD card socket.
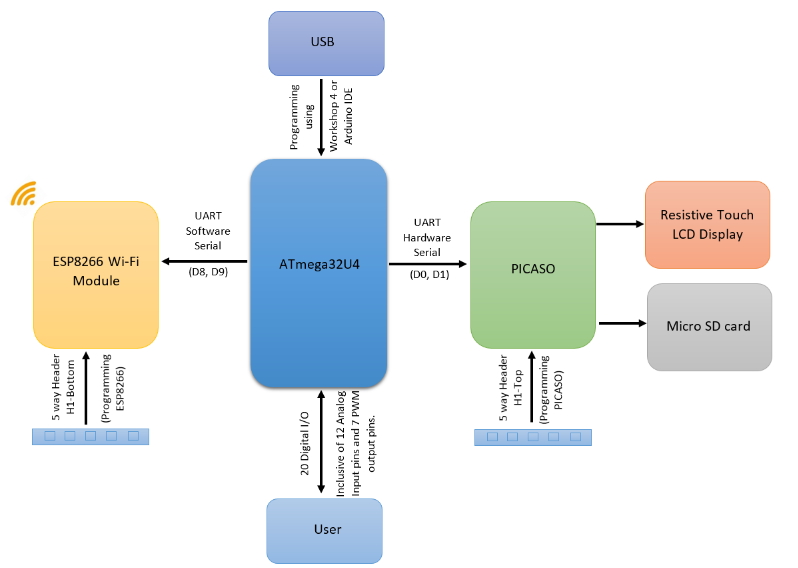
You can program the main MCU (ATmega32U4) via USB using Arduino IDE after adding 4Duino in the IDE from the “Boards Manager” as we’re going to see in this intro.
4D Systems Picaso Graphics Processor and ESP8266 WiFi modules both use UART to interface with Atmega32U4, but there is only one available UART interface in this MCU. So 4Duino uses the embedded UART peripheral in the MCU to interface with Picaso and a software emulator for UART to interface with ESP8266, this technique is regularly known as Software Serial.
The 4Duino datasheet clarifies this point as follows:
D0 (RX), D1 (TX) are already occupied in order to communicate to PICASO via Hardware Serial. Hence, those pins are not available if communication between PICASO and ATmega32U4 is required. Similarly, D8 and D9 are occupied in order to communicate to ESP8266 via Software Serial. As a result, those pins are not available if communication between Wi-Fi module and ATmega32u4 is required. The ESP8266 could be held in reset to utilise these pins for other purposes.

Programming 4Duino
We have two options:
- Using Arduino IDE.
- Using 4D Workshop4 IDE.
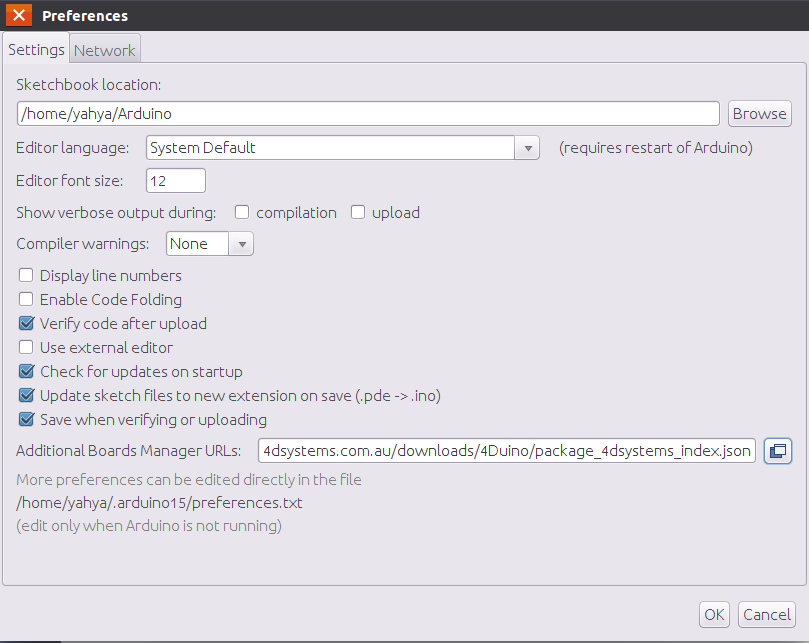
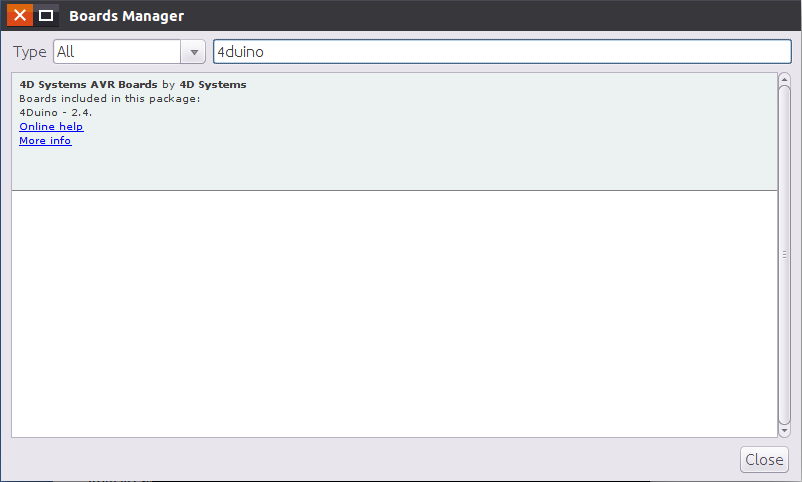
To use Arduino IDE we need to add 4Duino from the Boards Manager. From File > preferences, add the following URL in the “Additional Boards Manager URLs” field.
http://www.4dsystems.com.au/downloads/4Duino/package_4dsystems_index.json
Now you should be able to see 4D Systems package in tools>board>board manager.
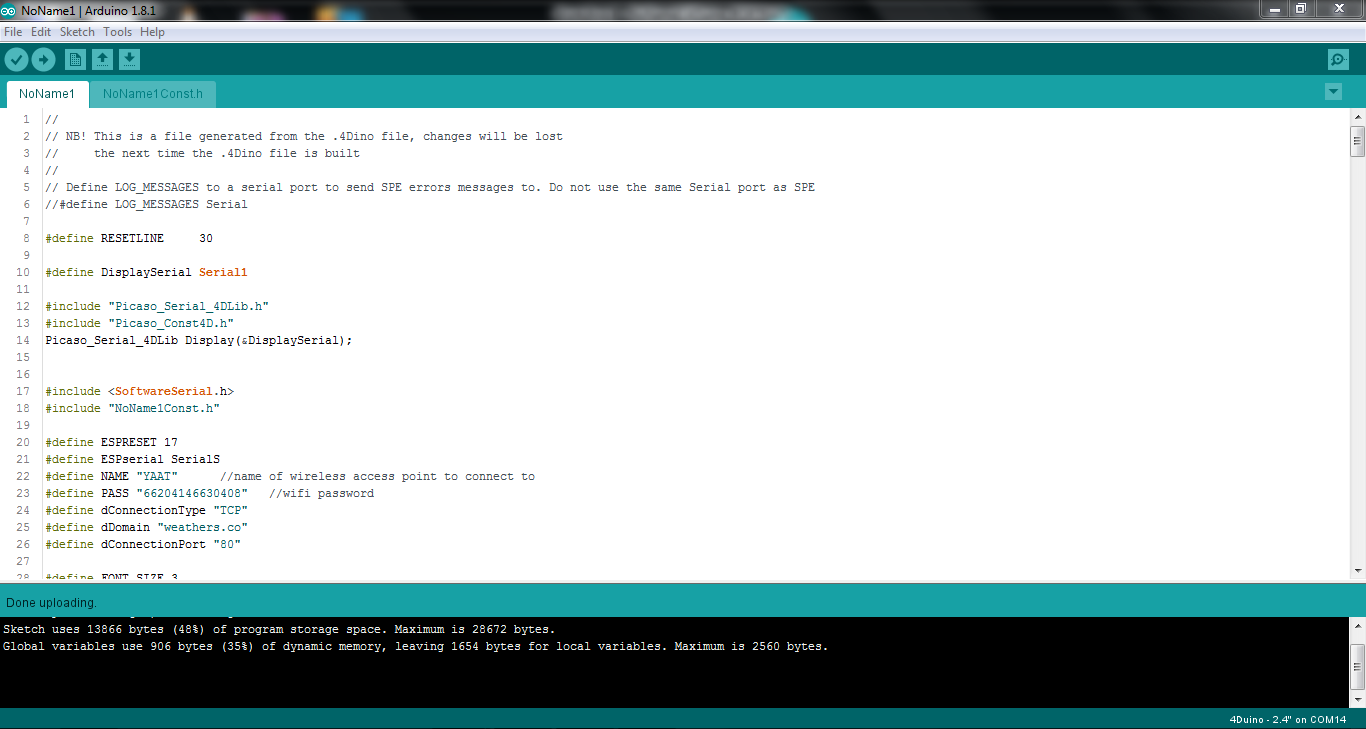
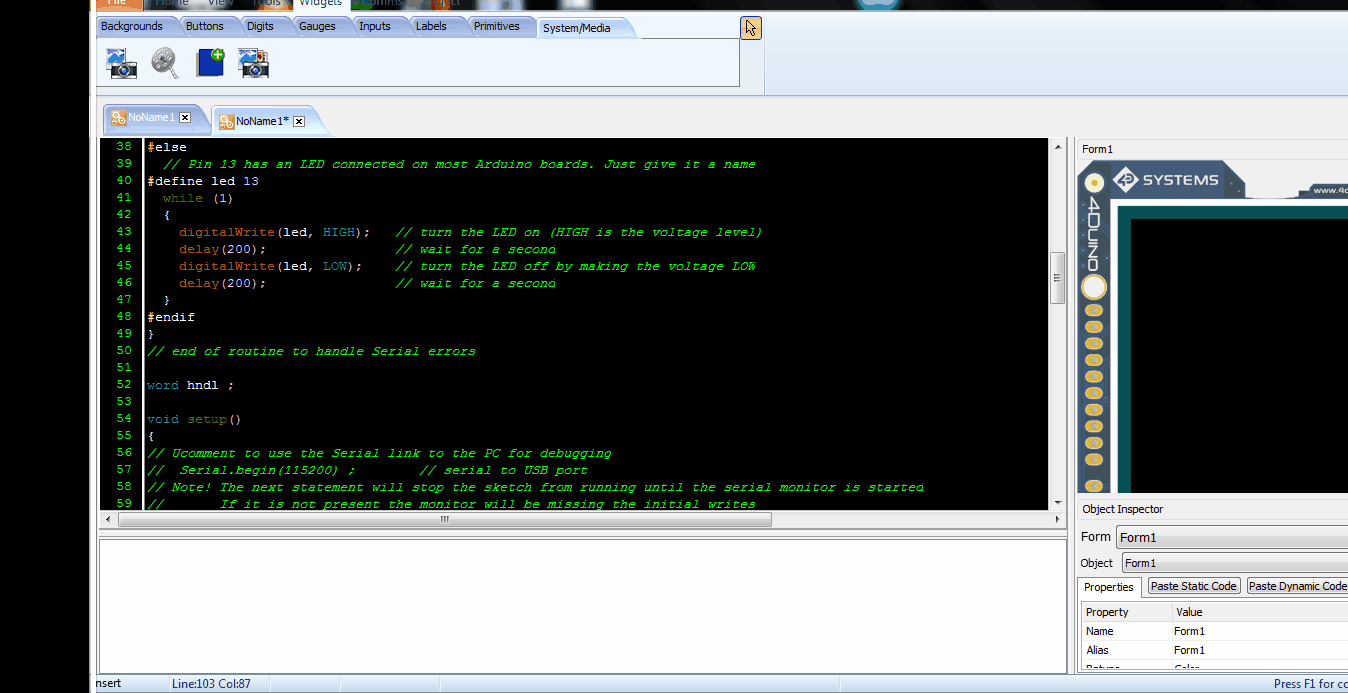
You can see the demo project compiled using Arduino IDE on the screenshot below :
As we said, 4D Systems’s Workshop IDE is another option to develop 4Duino projects, but you can’t compile and upload 4Duino sketches without installing Arduino IDE on your machine, because Workshop uses Arduino IDE tools (AVR GCC and AVRdude) to compile and upload the code.
Downloading and installing Workshop and 4Duino drivers from 4D Systems website is straightforward. Now let’s explore Workshop environment.
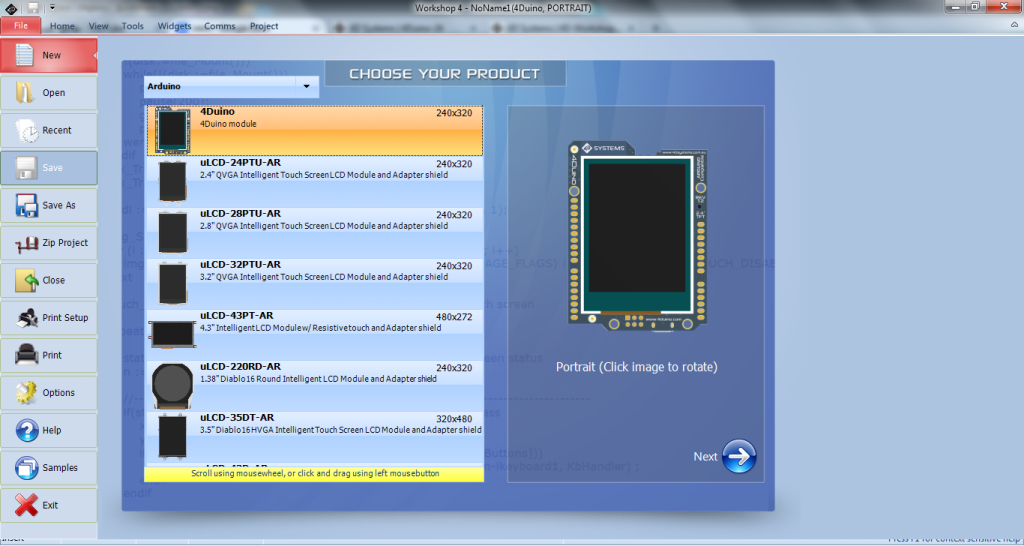
First you select your product:
Then you need to choose between 2 types of projects (in the future you would be able to choose between 3):
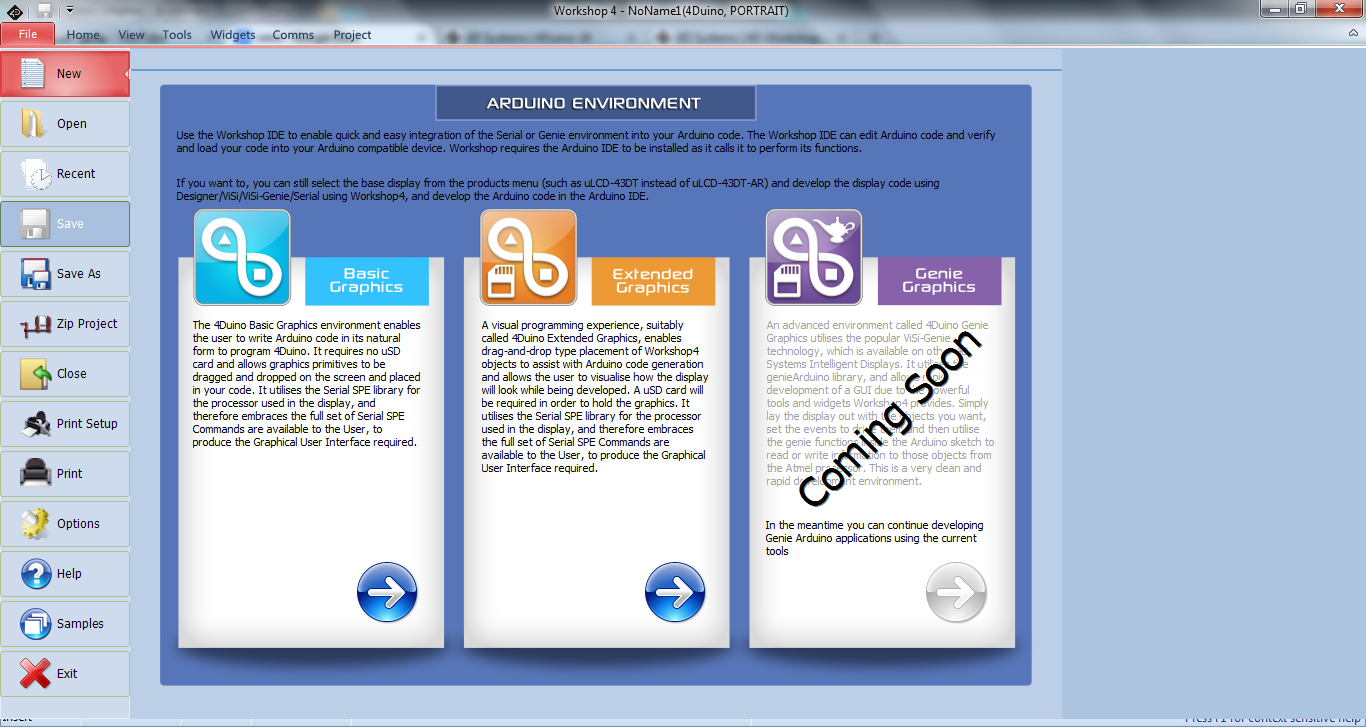
Basic Graphics, enables the user to write Arduino code with basic widgets. It requires no uSD card and allows graphics primitives to be dragged and dropped on the screen and placed in your code. It utilizes the Picaso Serial library, and therefore embraces the full set of Picaso Serial SPE Commands and make them available to the user.

Extended Graphics, enables the user to write Arduino code with extended widgets. So a uSD card will be required in order to hold the graphics. It also utilizes the Picaso Serial library, and therefore embraces the full set of Picaso Serial Commands, to produce the Graphical User Interface required.

Both environments enable drag-and-drop type placement of Workshop4 objects to assist with Arduino code generation which allows the user to visualize how the display will look while being developed.
API Demo Project
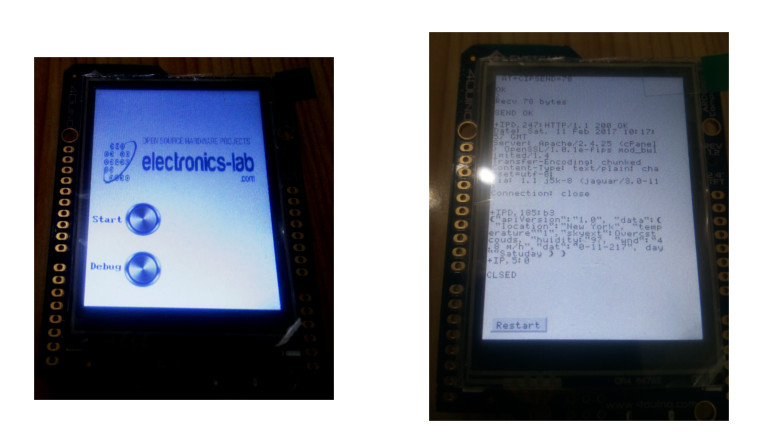
The concept of this demo is simple. 4Duino connects to my access point using the embedded ESP8266 module, then it makes a TCP connection with weathers.co website.
I used this website because it has a very simple and straightforward API.
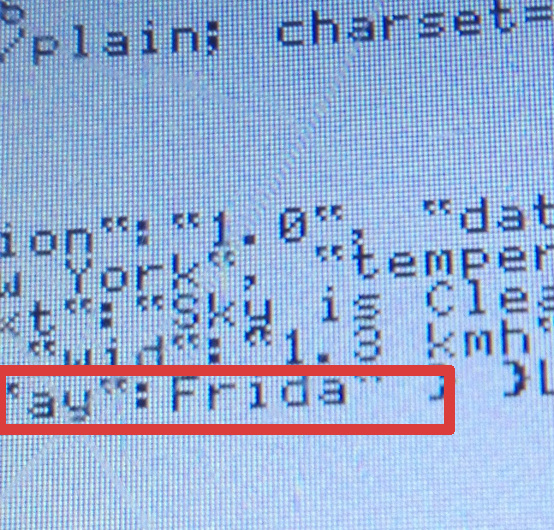
The API allows you to retrieve information from the website via GET request, ex:
http://weathers.co/api.php?city=NewYork
And the response will be something like this:
{"apiVersion":"1.0", "data":{ "location":"New York", "temperature":"1", "skytext":"Moderate rain", "humidity":"100", "wind":"15.41 km/h", "date":"02-12-2017", "day":"Sunday" } }
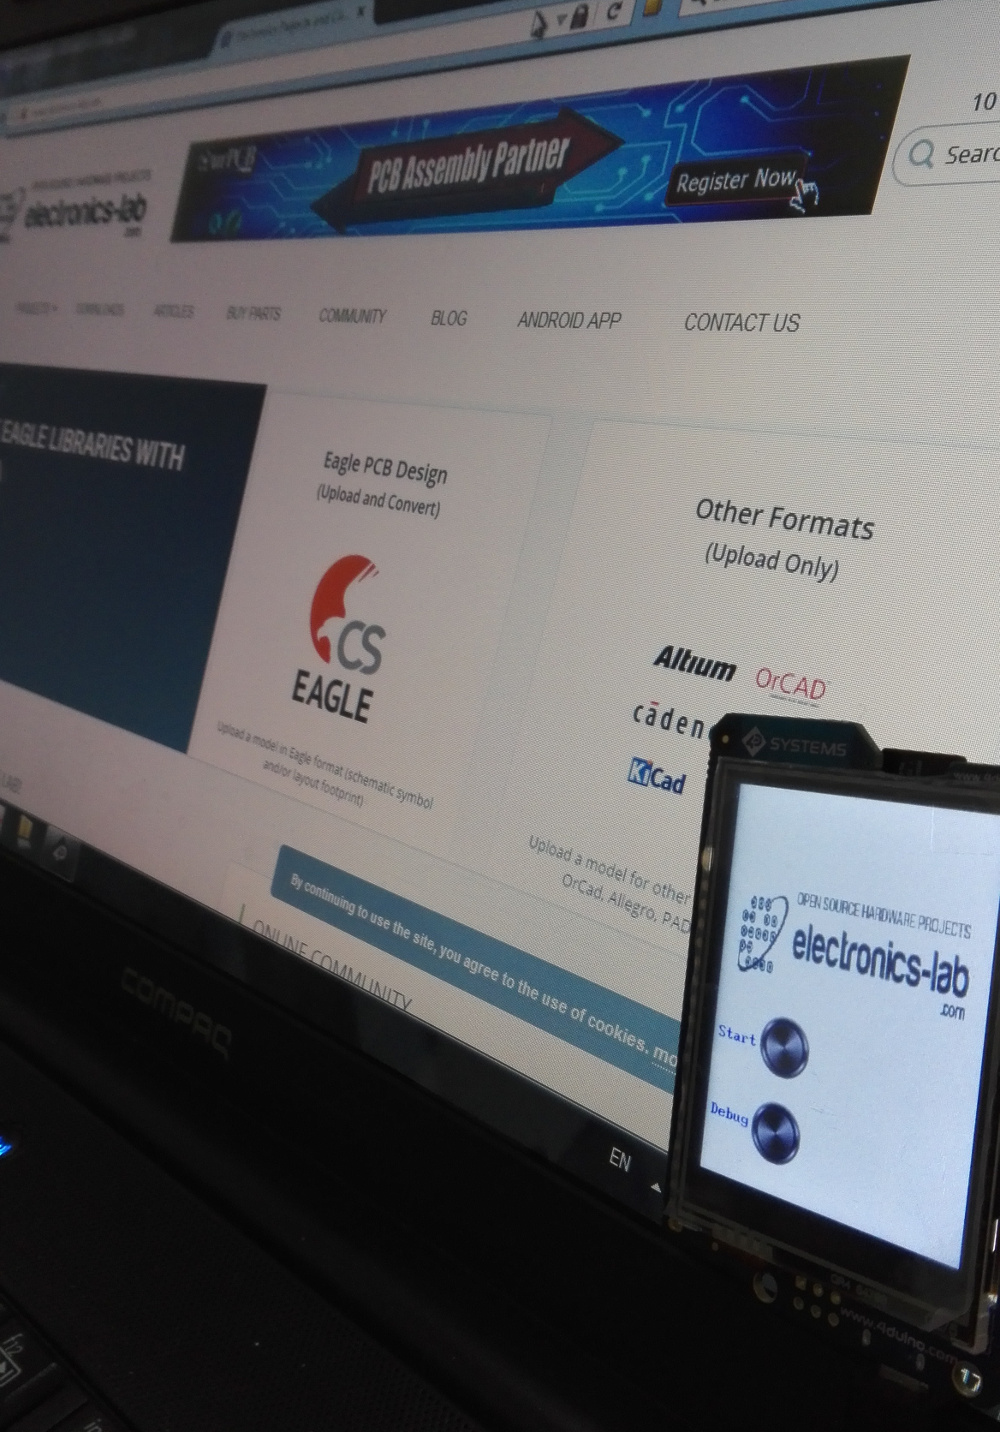
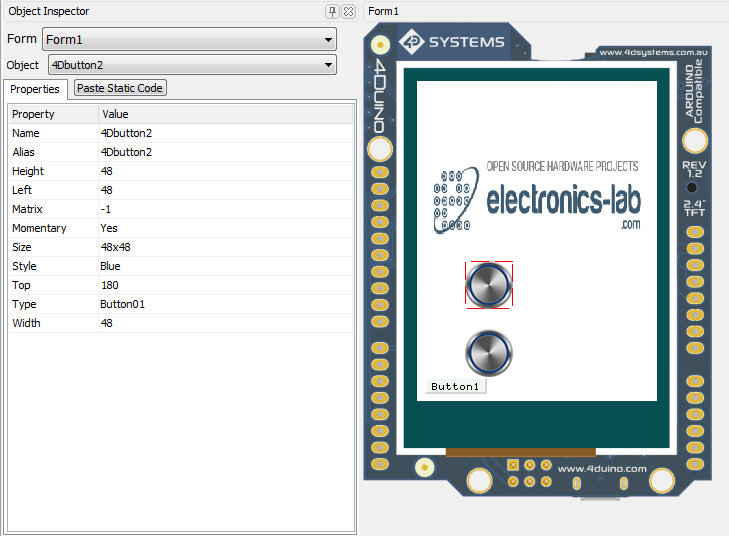
I used Extended Graphics environment because I needed to add buttons and the Logo of electronics-lab.
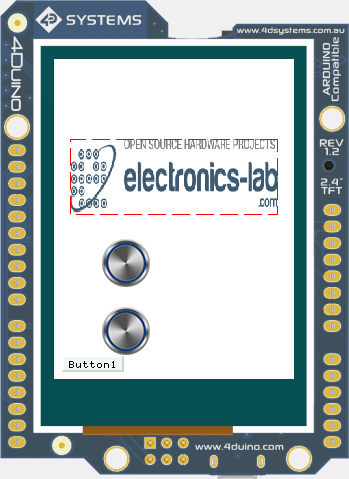
To insert images or buttons, you need to drag and drop these objects from widgets menu to the preview screen and the corresponding code will be generated.
As mentioned earlier, 4Duino has a feature-rich 4D Systems Picaso Graphics Processor connected with an SD card socket. 4Duino sketch uses Picaso Serial SPE Commands which are available to the user, to produce the Graphical User Interface required. I will list some of the commands that I used in the demo project.
- Graphics Orientation gfx_ScreenMode(PORTRAIT)
- graphics background colour gfx_BGcolour(WHITE)
- text background colour txt_BGcolour(WHITE)
- text foreground colour txt_FGcolour(BLUE)
- Clear the screen gfx_Cls()
- Move writing pointer gfx_MoveTo(5, 200)
- Printing a string putstr()
- Printing function pritnln()
- Enable touch touch_Set(TOUCH_ENABLE)
- Return the touch state touch_Get(TOUCH_STATUS)
- Return the touch position touch_Get(TOUCH_GETX)
- Set the font txt_FontID(FONT1)
- Set text wrap txt_Wrap(200)
To see the full list of the SPE functions, refer to this file (C:\Program Files\4D Labs\4D Workshop 4 IDE\Serial\PICASO\PROGRAM.INC) using Notepad.
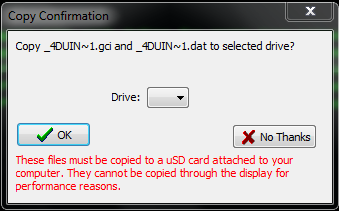
Before uploading the sketch file to 4Duino you need to upload the image files to the SD card using an SD card adapter.
Video
Download
Download the code of this demo here
Conclusion
Using 4Duino makes prototyping an IoT/connected/ordinary Arduino based application very fast and easy. I can say that I haven’t faced any major difficulties while developing this demo project.
But I think there are some issues that 4D Systems should take care of:
- Workshop IDE is not so user friendly, especially the text editor. It is not rich with shortcuts and some important tools like “Auto format” are missing. Anyway, if you don’t feel comfortable with Workshop then you can use Arduino IDE.
- Using Arduino Software Serial is not very stable. This issue is addressed by a lot of Arduino users and I’ve faced this problem in previous projects. It is common to have some corrupted data when using Software Serial.


Hello,
Can you help me for use 4Duino please ?