Search the Community
Showing results for tags 'esp-01'.
-
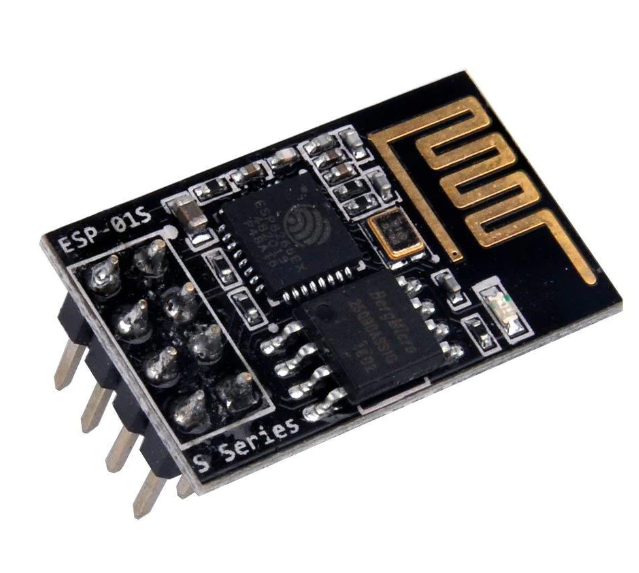
Introduction: The ESP-01 is a popular and versatile Wi-Fi module that can be easily programmed and interfaced with various sensors. In this project, we will use the ESP-01 along with the DHT11 temperature and humidity sensor to create a simple weather station. We will measure temperature and humidity readings and display them on a web server hosted by the ESP-01. Materials Required: ESP-01 module DHT11 temperature and humidity sensor USB to TTL converter Breadboard and jumper wires 3.3V power supply Arduino IDE and ESP8266 board support package Circuit Diagram: Steps: Setting up Arduino IDE: Open Arduino IDE and go to File > Preferences. Add the following URL to the Additional Board Manager URLs: http://arduino.esp8266.com/stable/package_esp8266com_index.json Go to Tools > Board > Boards Manager, search for "ESP8266" and install the package. Connecting ESP-01: Connect the ESP-01 to the USB to TTL converter as follows: ESP-01 VCC to 3.3V, GND to GND, TX to RX, and RX to TX. Enable GPIO0 and GPIO2 by connecting them to VCC with a 10k resistor. Connect the DHT11 sensor to the ESP-01 as follows: DHT11 VCC to 3.3V, GND to GND, and data pin to GPIO2. Coding: Open Arduino IDE and select the ESP8266 board from Tools > Board menu. Use the following code to read temperature and humidity from the DHT11 sensor and host a web server to display the readings: #include <ESP8266WiFi.h> #include <ESP8266WebServer.h> #include <DHT.h> const char* ssid = "your-ssid"; const char* password = "your-password"; DHT dht(2, DHT11); ESP8266WebServer server(80); void handleRoot() { float temperature = dht.readTemperature(); float humidity = dht.readHumidity(); String message = "Temperature: " + String(temperature) + "°C\nHumidity: " + String(humidity) + "%"; server.send(200, "text/plain", message); } void setup() { Serial.begin(115200); WiFi.begin(ssid, password); while (WiFi.status() != WL_CONNECTED) { delay(1000); Serial.println("Connecting to WiFi..."); } Serial.println("WiFi connected"); dht.begin(); server.on("/", handleRoot); server.begin(); Serial.println("Web server started"); } void loop() { server.handleClient(); } Replace your-ssid and your-password with your Wi-Fi network credentials. Testing: Upload the code to the ESP-01. Open the serial monitor to view the ESP-01's IP address. Enter the IP address in a web browser to see the temperature and humidity readings. Conclusion In this project, we successfully built a weather station using the ESP-01 and DHT11 sensor. This project can be further expanded by adding more sensors or incorporating data logging capabilities. The ESP-01's flexibility and ease of use make it an ideal choice for IoT projects.
-
- weather station
- esp-01
-
(and 1 more)
Tagged with:


