Installation of Casa OS on Raspberry Pi
In this tutorial, I will show you how to build a beautiful home server with Raspberry Pi and CasaOS. Things Needed All you need is a Raspberry Pi 4B board, That's all.
In this tutorial, I will show you how to build a beautiful home server with Raspberry Pi and CasaOS.
Things Needed
All you need is a Raspberry Pi 4B board, That’s all.
Introduction to Casa OS
CasaOS is a simple, easy-to-use, elegant open-source home cloud system that allows you to run self-hosted apps on your Raspberry Pi or other Linux devices. You can manage your files, share them across the network, protect your private data, and freely add disks and expansion spaces. CasaOS also has an app store with over 20 pre-installed Docker-based apps and 50+ community-verified apps.
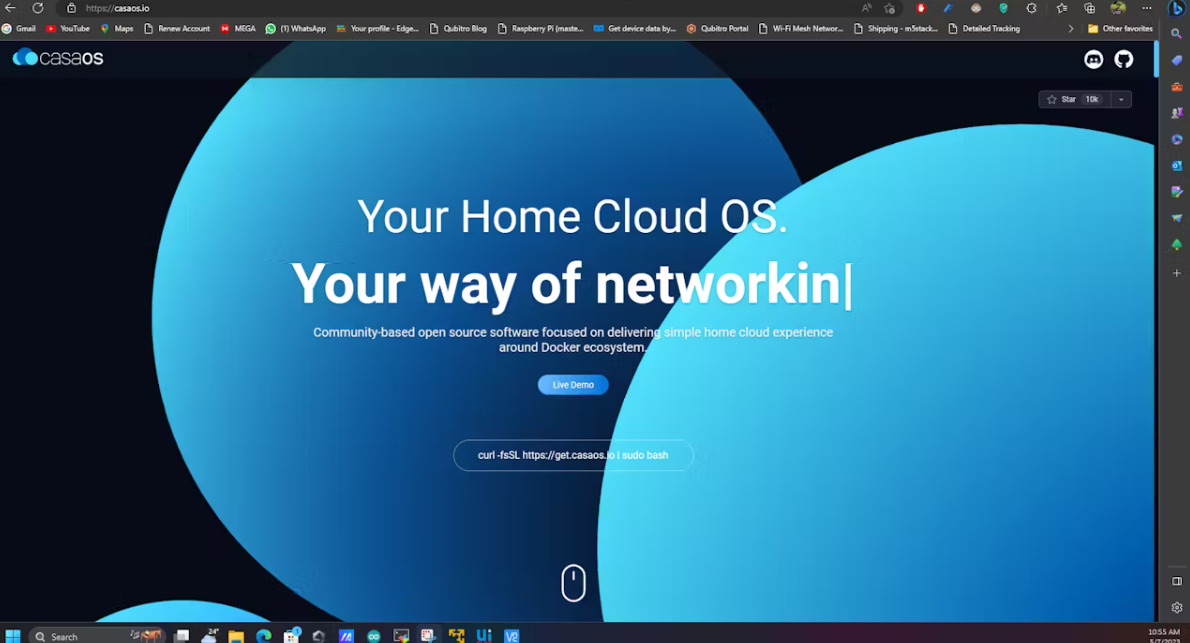
If you want to try out the casa os before the installation, use this demo site.

The username is casaos, and the password is also the same.
CasaOS fully supports Raspberry Pi. Also, additional computers and development boards are fully compatible including Ubuntu, Debian, Raspberry Pi OS, and CentOS with one-liner installation.
Get PCBs for Your Projects Manufactured (Sponsor)

It’s recommended to check out PCBWAY for ordering PCBs online for cheap!
You get 10 good-quality PCBs manufactured and shipped to your doorstep for cheap. You will also get a discount on shipping on your first order. Upload your Gerber files onto PCBWAY to get them manufactured with good quality and quick turnaround time. PCBWay now could provide a complete product solution, from design to enclosure production. Check out their online Gerber viewer function. With reward points, you can get free stuff from their gift shop.
Hardware Compatibility
- amd64 / x86-64arm64armv7
System Compatibility:
- Debian 11 (✅ Tested, Recommended)
- Ubuntu Server 20.04 (✅ Tested)
- Raspberry Pi OS (✅ Tested)
Quick Setup of CasaOS
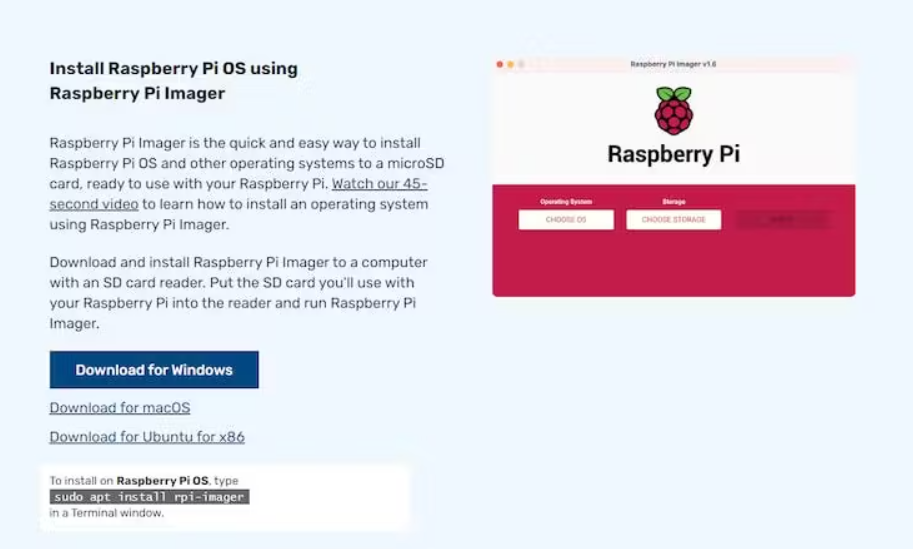
Now we have enough information about the Casa, let’s try to install it. Before installing the casa, first boot your Raspberry Pi with Raspian OS. Use the Raspberry Pi imager tool to do that.
Once installed, the software opens the tool.
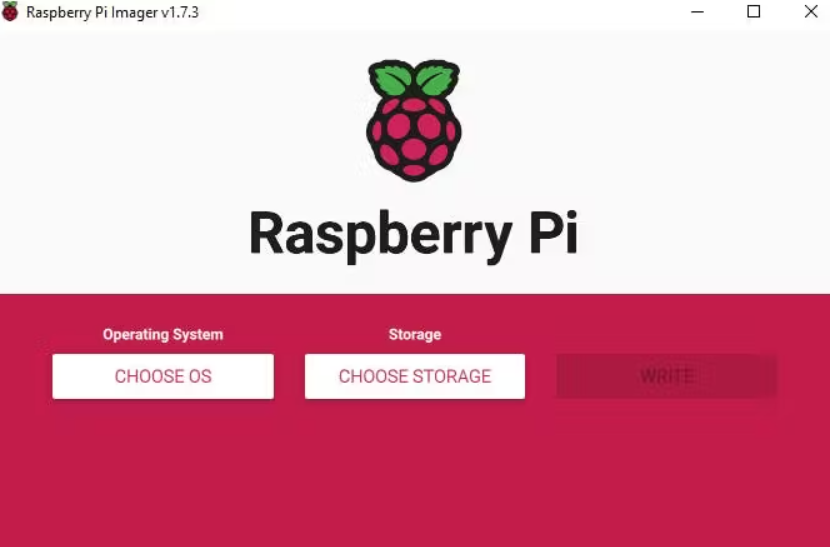
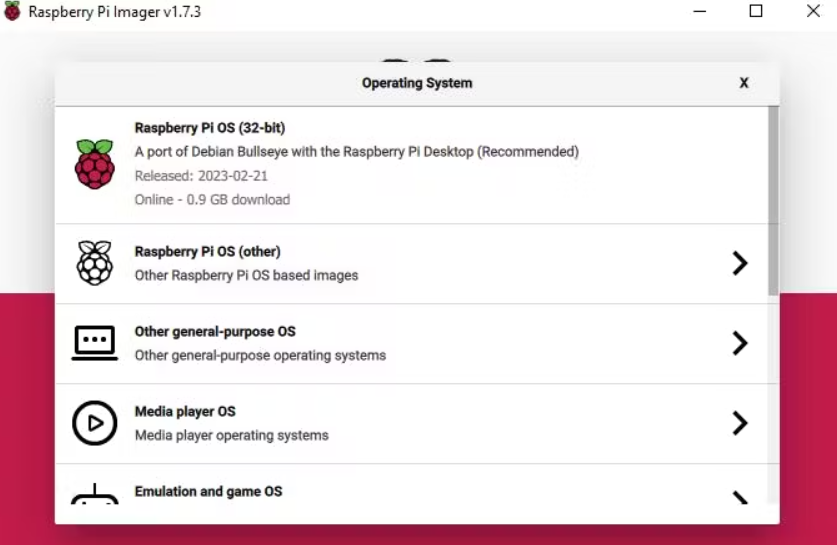
Next, choose the OS type.
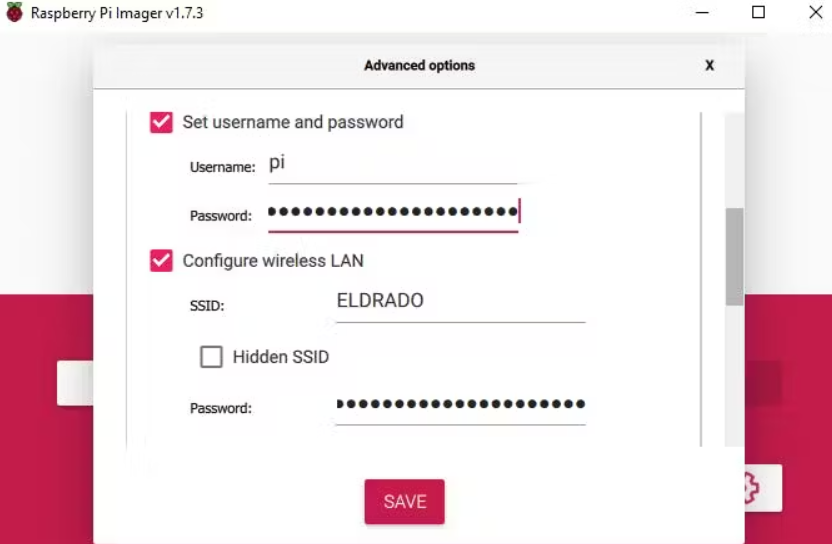
Then select the drive. One of the great features of this tool is we can add the SSH and Wi-Fi credentials directly into the OS file, even without turning on the Raspberry Pi. For that, select the settings icon in the tool.
Next, start burning the OS into the SD card.
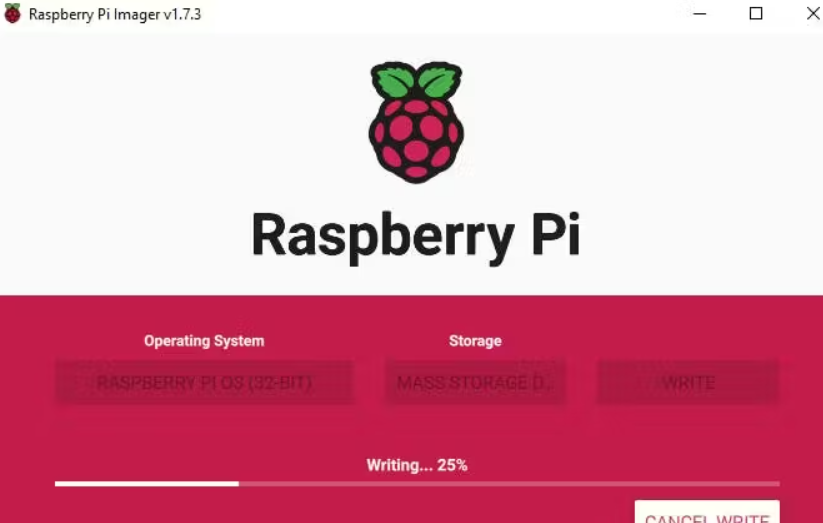
Once the writing is finished, insert the SD card into the Raspberry Pi.
Then power on the device. The first time it will take some time to boot and connect to Wi-Fi. In about 5–10 minutes look at your router status, and you can see there will be a new device connected to your router.

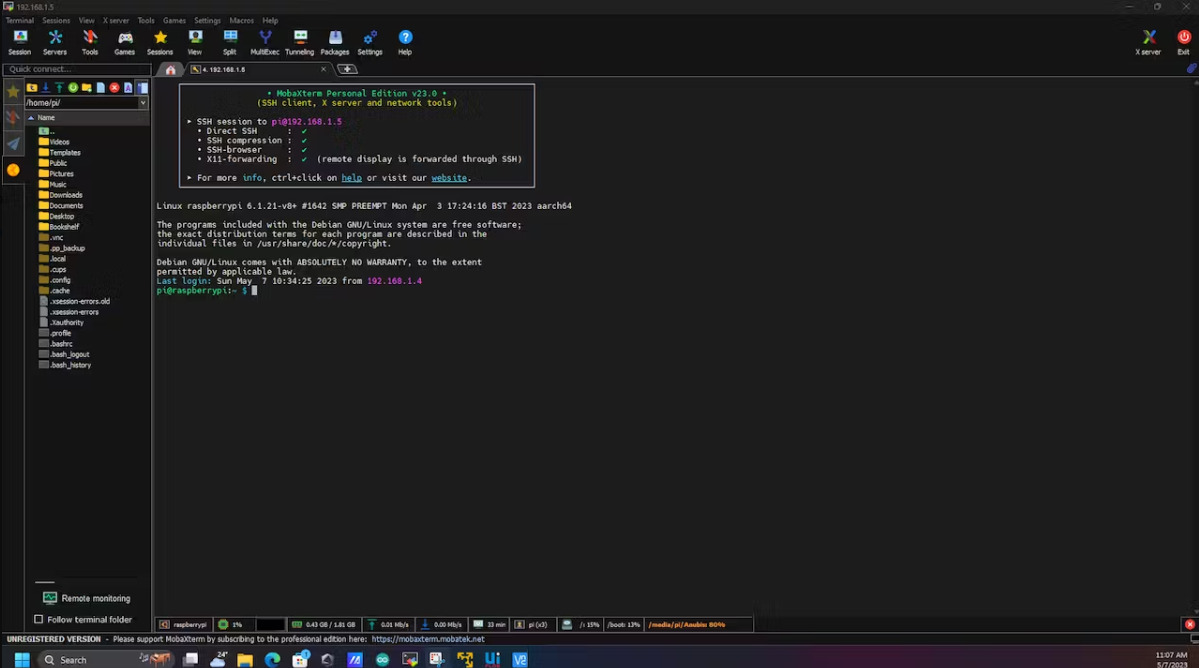
Next, use serial terminal software to communicate with SSH.
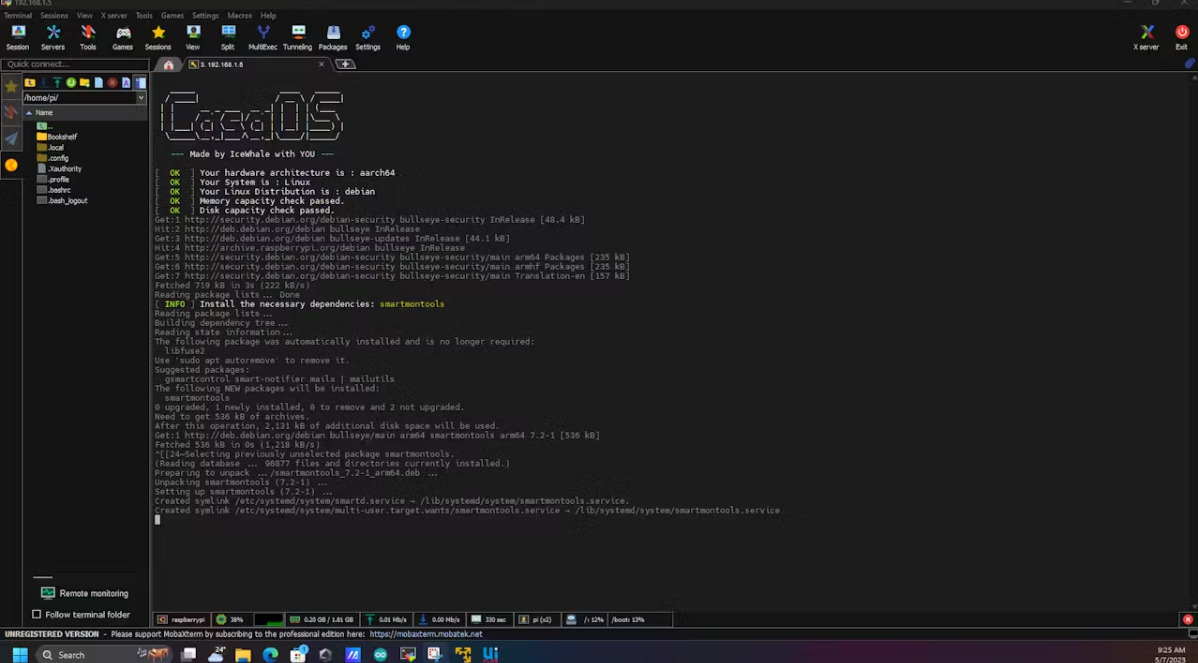
Then run this command to install the CasaOS.
curl -fsSL https://get.casaos.io | sudo bash
You will see this message on the terminal, and the entered command will try to install all the necessary components regarding the CasaOS.
Once the installation is finished, you will see this kind of message also the IP address of the Casa Server.
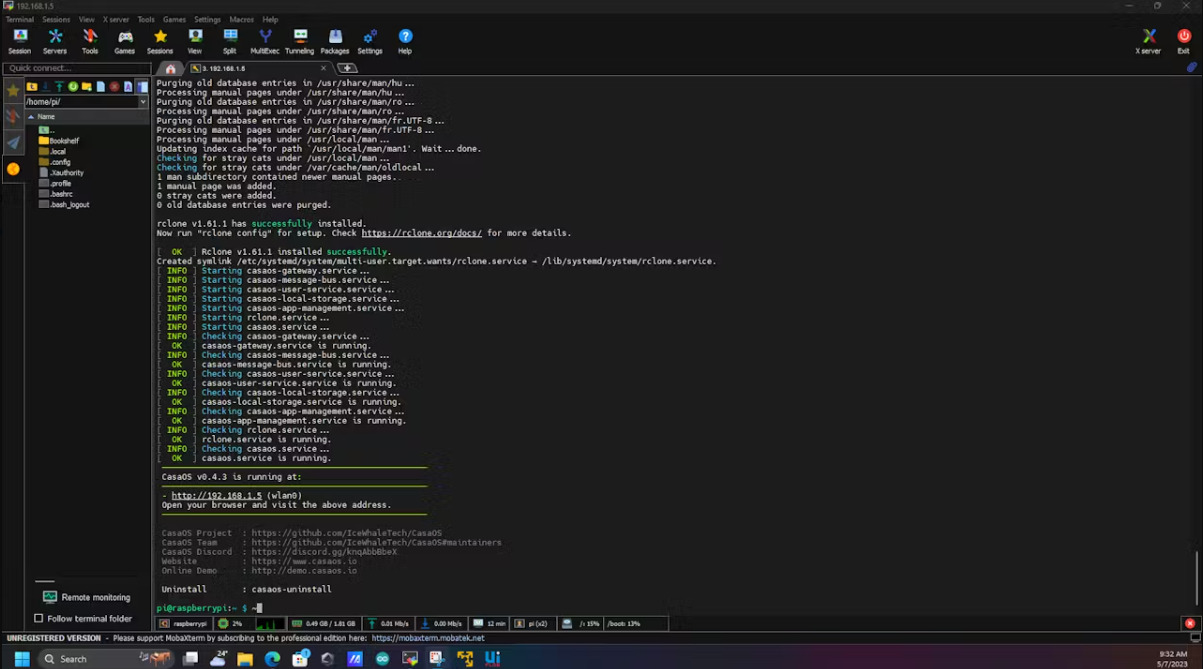
Next type the IP in your Brower, and you will see the CasaOS on screen.
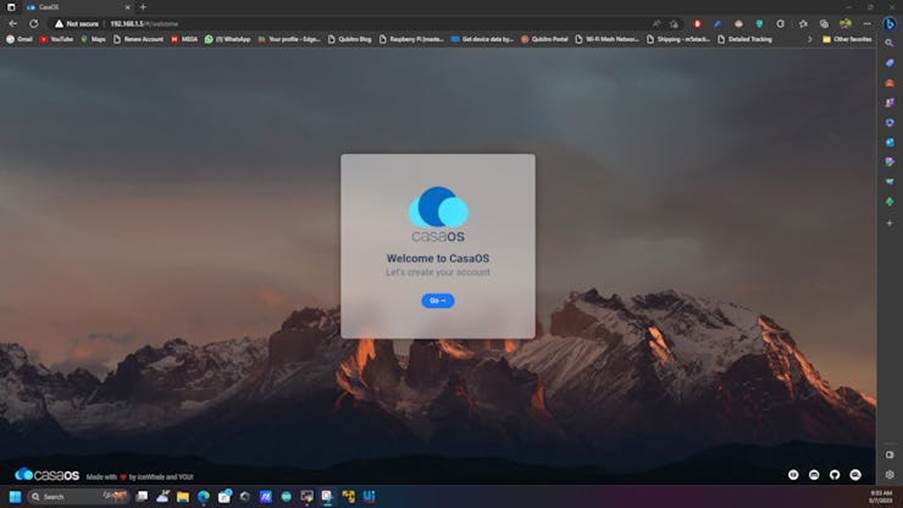
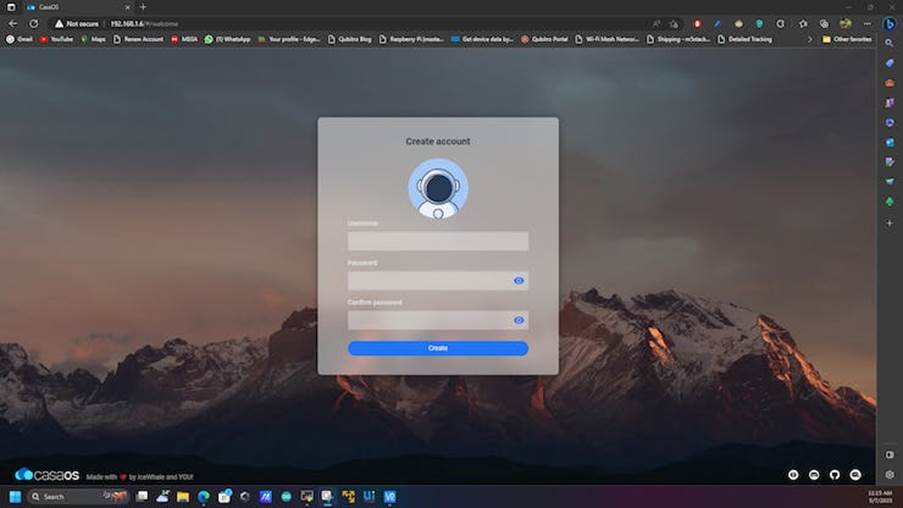
And then click Go and enter your access details for the CasaOS.
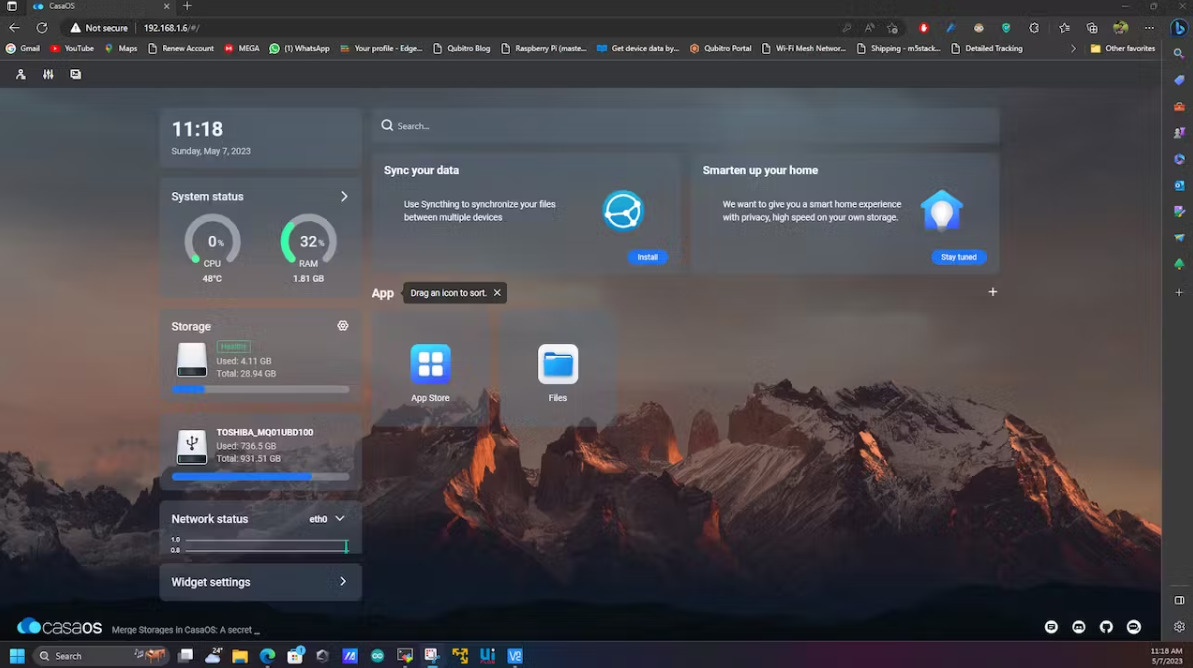
Finally, you will see the beautiful home screen.
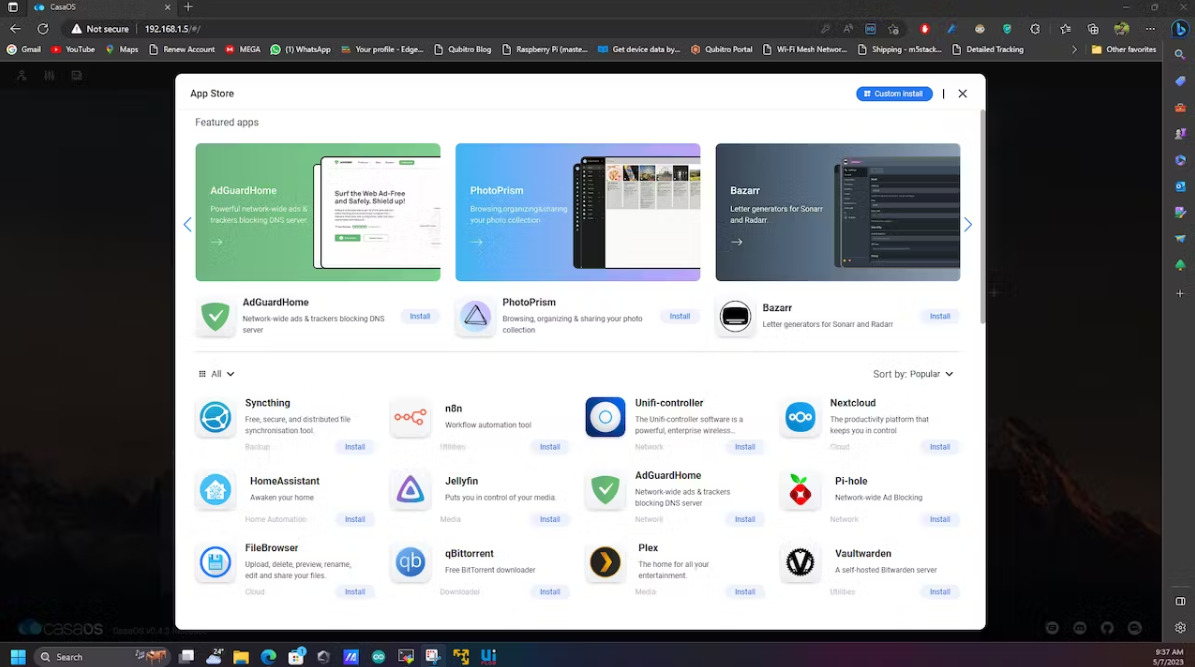
Next, click on the app store, and you can see there is a bunch of available apps.
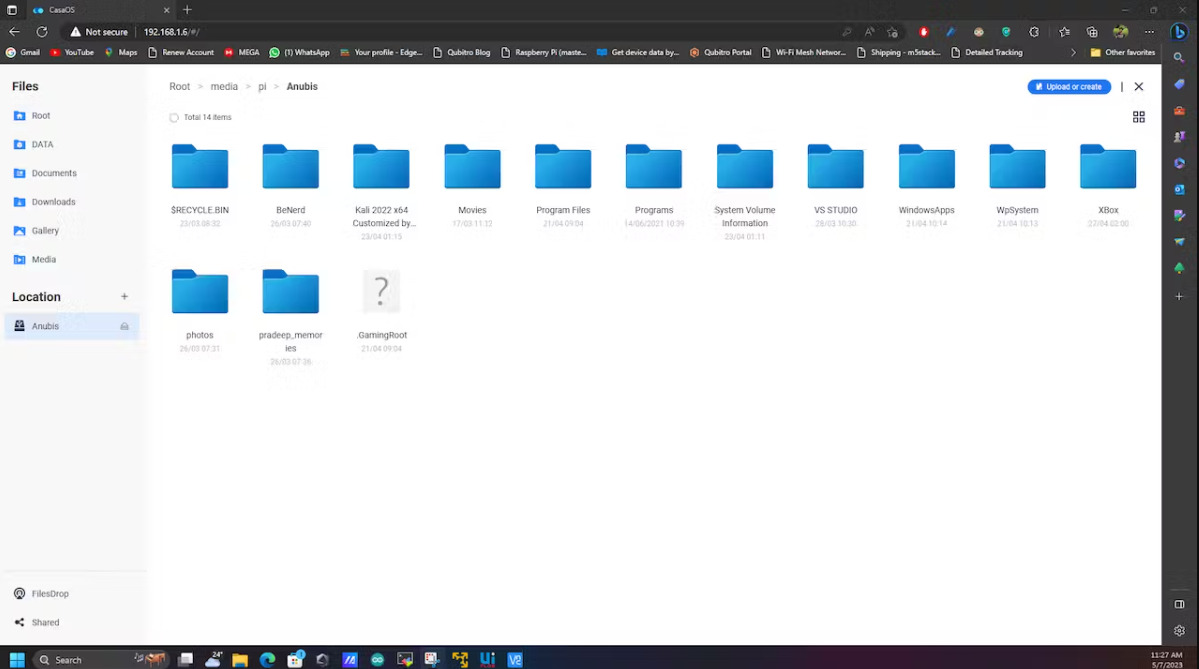
Also, open the file manager, and you will see all the files of your Raspberry Pi,
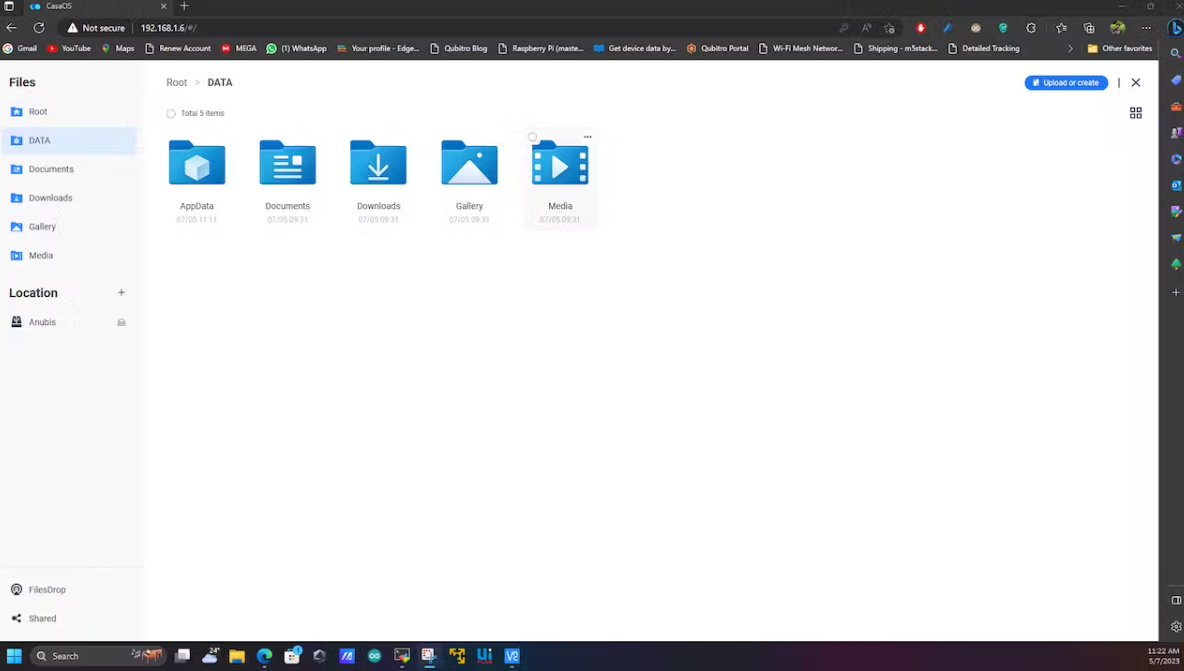
Not only the system drive, but It will show you the removable drive also.
Wrap-Up
That’s all about the CasaOS, it’s a very beautiful, simple, and lightweight OS, right? And it also includes a bunch of apps, including Pihole, Plex, and many more.
Will see you in another tutorial.