A more professional delay code without sleep() in microPython
Introduction If you use Arduino you may use it to implement code with delay() or delayMicroseconds(). Let's write more professional code without sleep() in microPython.

Introduction
If you use Arduino you may use it to implement code with delay() or delayMicroseconds(). Let’s write more professional code without sleep() in microPython. If you are just starting with microPython, I invite you to start the right way.
MicroPython has its own “delay()” functions, called “time.sleep()”, “time.sleep_ms()” and “time.sleep_us()”. I intend to show you another way of controlling your sketches, without relying on such functions.
This is already achieved and very well known in Arduino. There is even a sketch called “BlinkWithoutDelay” to do such a thing. But what exactly is the problem with using delays in your code? The problem is that your code will get “stuck” at that point, wasting time and energy it could be using to account for other things.
Literally when using a “delay()” or a “time.sleep()” (in microPython) your code will stop what it is doing and wait for the time to pass. It will not read any input nor drive any output, it won’t do any calculations nor decide anything. It will just wait.
Architecting the solution
So what do we do? How can we avoid using delays in our code? Can we implement multiple things like read various sensors and drive various outputs?. The answer to all that relies on keeping check of the time as it passes.
In Arduino, there are two main functions to achieve just that: micros() and millis(). These are “counters” that start when the microcontroller is powered up and never stop (until powered down). micros() will increment every one microsecond and millis() every one millisecond.
By capturing such a value once at the beginning of the cycle and then comparing it to the current value, one can decide whether to enter an IF statement (for example) and execute some action. MicroPython also has its current time function, called “time.ticks_ms()” and “time.ticks_us()”, which we will use to achieve our freedom from “time.sleep()”.
The Hardware
For this tutorial, I am using a Raspberry Pi Pico 2, which is based on the RP2350 chip. You could use any other microcontroller capable of running microPython, like the ESP32 for example.
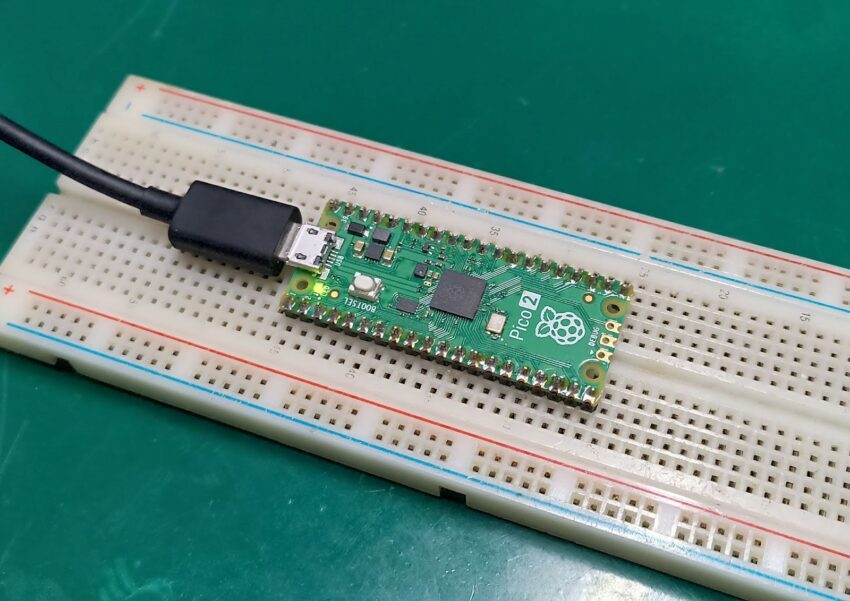
You don’t need anything else material-wise, since all we need is an LED which is already present in the Pi Pico 2. It is wired to pin 25 and is lit when the logic level written is HIGH (1). Just in case, connect your Pi Pico 2 to a breadboard (not necessary but cool), as seen in the picture above.
Code Explained
I implemented an LED blinking sketch, changing LED state every 200ms (0.2 seconds). Important to notice that my code allows for many other things to also happen (or to happen “in parallel” – sort of). This is due to the fact that I only execute my LED flipping function every 200ms. The rest of the time I don’t enter the IF statement and am effectively doing nothing.
The real difference with my code is that I COULD be doing something else, while with the usage of time.sleep() there is no such option. Just for your information, I have based the sketch below in the official documentation available here. It touches time-related stuff in detail, offering me exactly what I needed to know at the time of this writing.
What I do first is to import both “time” and “machine”, to be able to use both time functions and IO functions (for the LED to blink). Then I define that pin 25 will be an OUTPUT (which is where my Raspberry Pi Pico 2 onboard LED is). Only then do I acquire the current “time.ticks_ms()” to be my initial time value in milliseconds.
That is important because inside a “while True” all I do is an IF statement. That’s to check whether the current time minus the old time is bigger than 200 (milliseconds). This is all the magic of this entire post, Current time minus old time is or is not bigger than 200 (milliseconds). Below is the full code.
Code
You should put the below code inside a “main.py” file. Then save it into the Raspberry Pi Pico 2, not the computer.
import machine
import time

led = machine.Pin(25, machine.Pin.OUT) #Pin 25 is Pi Pico's 2 onboard LED
initialtime= time.ticks_ms() #https://docs.micropython.org/en/latest/library/time.html

while True:
     currenttime= time.ticks_ms() #Every time it passes here, gets the current time
     if time.ticks_diff(time.ticks_ms(), initialtime) > 200: # this IF will be true every 200 ms
          initialtime= time.ticks_ms() #update with the "current" time

# From here on goes your code
# I am blinking an LED
          if led.value() == 0:
               led.value(1)
          else:
               led.value(0)
Pi Pico’s 2 onboard LED is no pin 25, which I am using on the code. Of course you could define any pin on that position and use an external LED. That’s on you to try and test.
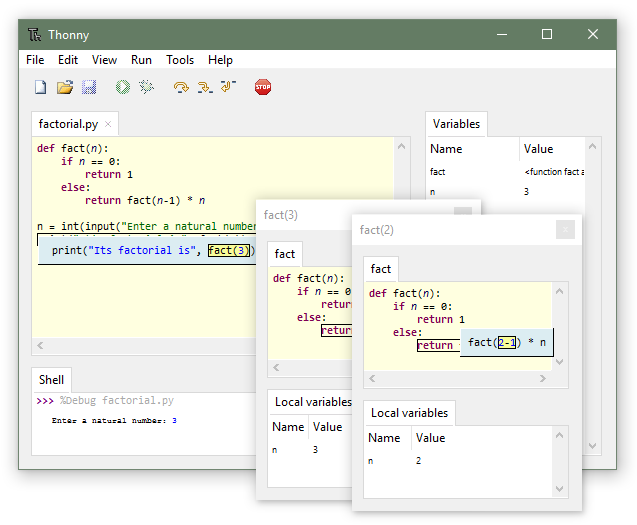
I am using Thonny IDE software to program my Raspberry Pi Pico 2 in Python. It is a straightforward way of programming your board. One could also use Visual Studio, but that is a task I leave to you to execute.
The Result
So basically as per the code above we are entering the IF statement (…it will be true only) every 200 milliseconds. Once we enter the IF statement we verify whether the LED value is “0” or “1”, then proceed to invert such a state.
The most important part for you to understand is that in between those 200 milliseconds the code is doing nothing (and could totally be doing something you command it to do).
So effectively we just created a non-blocking piece of code, which could be extended to do many more things at your will.
Below is a video explaining how this experiment works, enjoy!.