External (hardware) and timer interrupts in microPython
Do you know how to use external (hardware) and timer interrupts in microPython?. There is a way of guaranteeing that some code will be executed upon an external event (button press, etc) or a time passing.
Do you know how to use external (hardware) and timer interrupts in microPython?. There is a way of guaranteeing that some code will be executed upon an external event (button press, etc) or a time passing. In today’s post, we will explore how the external and timer interrupts work. This will be done by blinking an LED with the press of a button.
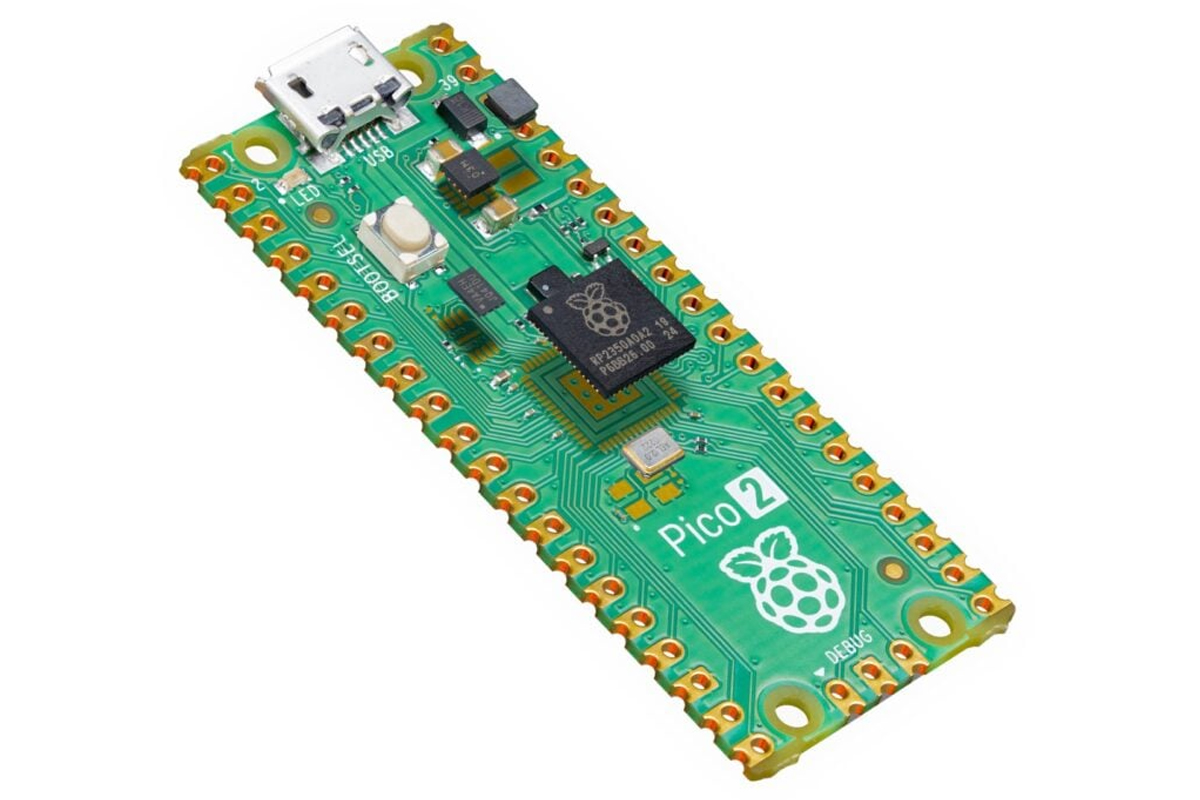
As for hardware, we will be relying on the Raspberry Pi Pico 2, but you could use the Pi Pico original or ESP32. The code will run on any hardware that supports microPython. We will be assembling the prototype on an 830-point breadboard. I am pretty sure you can do the same on a 400-point one as well.
I have previously stated that interrupts are a way of guaranteeing that some piece of code will be executed when it needs to. There are two main types of interrupts in most microcontrollers: external (hardware) and timer. In this tutorial, you will learn both.
When an interrupt happens, the “main” code execution is stopped momentarily, and some special part of your code runs. After the brief execution of this special code, the main code is resumed. In our case, that will be triggered by an external push button. When pressed, we will start blinking and LED. When the button is pressed again, the LED will stop blinking, and so on.
Hardware
For this tutorial, we will need one push button (those 6×6 mm ones), two 1k Ohm resistors, and one LED (any color). Of course, there will be a need for a Raspberry Pi Pico 2 or Pi Pico original or ESP32. A complete schematic diagram is shown below.

The Pi Pico 2 has internal pull-ups and pull-downs, but I decided to use my own externally at this time. Since this is a pull-down, I could have used a 10k or even 47k Ohm resistor. But I decided to use a 1k Ohm one match with the LED resistor, to reduce component variety.
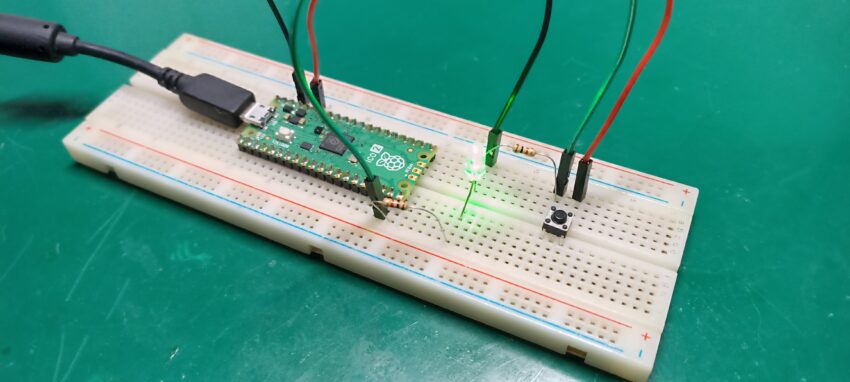
Pins 14 and 15 are general-purpose IO (GPIO), so I randomly picked them to serve as a button and LED, respectively. Could have picked virtually any Pi Pico 2 pin for this task. I took a photo of the setup on my bench, see below.
Python code
Code for external interrupts (digital input) in microPython is pretty simple. All it takes is the line below and the implementation of a function containing the desired code.
button.irq(trigger=Pin.IRQ_RISING, handler=myFunction)
We invoke the function by doing “.irq()”, passing as an argument the edge of detection (rising, falling) and the name of the target function. In our case, such a function was called “myFunction”, very suggestive.
Timer interrupts, on the other hand, use two lines and need a function to be pointed out, also pretty simple:
tim= Timer(-1)
tim.init(mode=Timer.PERIODIC, period=200, callback=led_interrupt)
Doing “Timer(-1) creates a virtual timer, leaving the timer control to software instead of hardware. I don’t really understand why that is, but all the examples I found are like that. So we are sticking with it.
As stated above, we are going to run an example that reads a button (using a hardware interrupt) and blinks (or does not blink) an LED (also using interrupts). One press of the button starts the blinking, and another press stops it. The full code is below for you to use.
As usual, copy the code below and paste it into a new file in Thonny IDE. Then save the file to the microcontroller, not the computer, as “main.py“.
from machine import Pin, Timer
import time
#import gc
#gc.collect()


button = Pin(14,Pin.IN,Pin.PULL_UP) #Pi Pico 2
#button = Pin(26,Pin.IN,Pin.PULL_UP) #Xiao RP2350
led= machine.Pin(15, machine.Pin.OUT) #Pi Pico 2
ledonboard= machine.Pin(25, machine.Pin.OUT) #Pi Pico 2
#led= machine.Pin(27, machine.Pin.OUT) #Xiao RP2350

shouldblink= 0
ledblink= 0
buttontime= time.ticks_ms()
flowcontroltime= time.ticks_ms()

def myFunction(button):
    global shouldblink
    global buttontime

    if time.ticks_diff(time.ticks_ms(), buttontime) > 500: # this IF will be true every 5	00 ms
        buttontime= time.ticks_ms() #update with the "current" time

        print("Interrupt has occured")

        if shouldblink == 0: # alternate between blinking and not blinking, for every button press
            shouldblink = 1
        else:
            shouldblink = 0

def led_interrupt(timer):

    global ledblink
    global shouldblink

    if shouldblink == 1:
        led.value(not led.value())
    else:
        led.value(0)

if __name__ == "__main__":

    tim= Timer(-1)
    tim.init(mode=Timer.PERIODIC, period=200, callback=led_interrupt)
    button.irq(trigger=Pin.IRQ_RISING, handler=myFunction)

    while True: # Put anything here, it will not interfere or be interfered by the interrupts code

        ledonboard.value(1)
        time.sleep_ms(200)
        ledonboard.value(0)
        time.sleep_ms(200)
Video
The result
Now click the green arrow at the top of the screen (“Run current script (F5)”). Press the push button at the breadboard and observe the LED; it will start blinking. Another press will make the LED stop blinking.
There is also the Pi Pico 2 onboard LED on pin 25, blinking independently. It will neither interfere with nor be interfered with by the interrupts running. I made a video illustrating the assembly. enjoy.