The Tiny Yet Powerful tArmDuino Features an STML071 MCU
When you think of a tiny Arduino, all you expect is as many Arduino features as possible that can be large flash memory, programming connections, and obviously smaller board size. Developer Doctek designed a similar Arduino powered by ultra-low-power 32-bit MCU ARM Cortex-M0+ STM32L071KBU.

When you think of a tiny Arduino, all you expect is as many Arduino features as possible that can be large flash memory, programming connections, and obviously smaller board size. Developer Doctek designed a similar Arduino powered by ultra-low-power 32-bit MCU ARM Cortex-M0+ STM32L071KBU.
Initially, the project used STM32L031G6 microprocessor but started facing several problems on the software side. By the time STMicroelectronics introduced the STML071 series with more flash memory of 64K, 128K, and even 192K and use a 28-pin version package.
The STML071 series MCU has a RISC-based core operating at 32 MHz frequency featuring a
“memory protection unit (MPU), high-speed embedded memory (up to 192 Kbytes of Flash program memory, 6 Kbytes of data EEPROM and 20 Kbytes of RAM) plus an extensive range of enhanced I/Os and peripherals.”
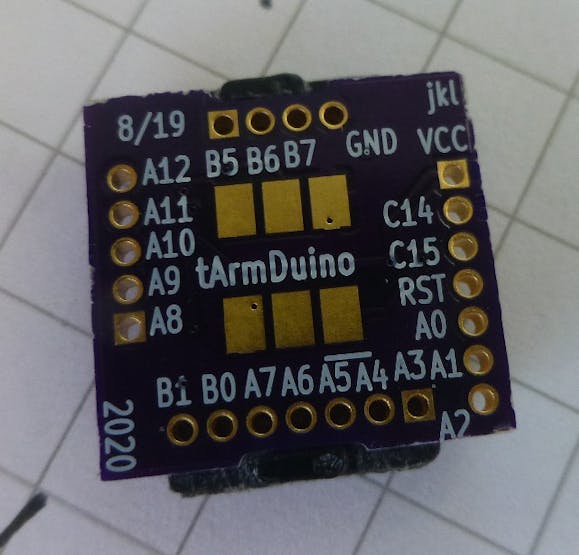
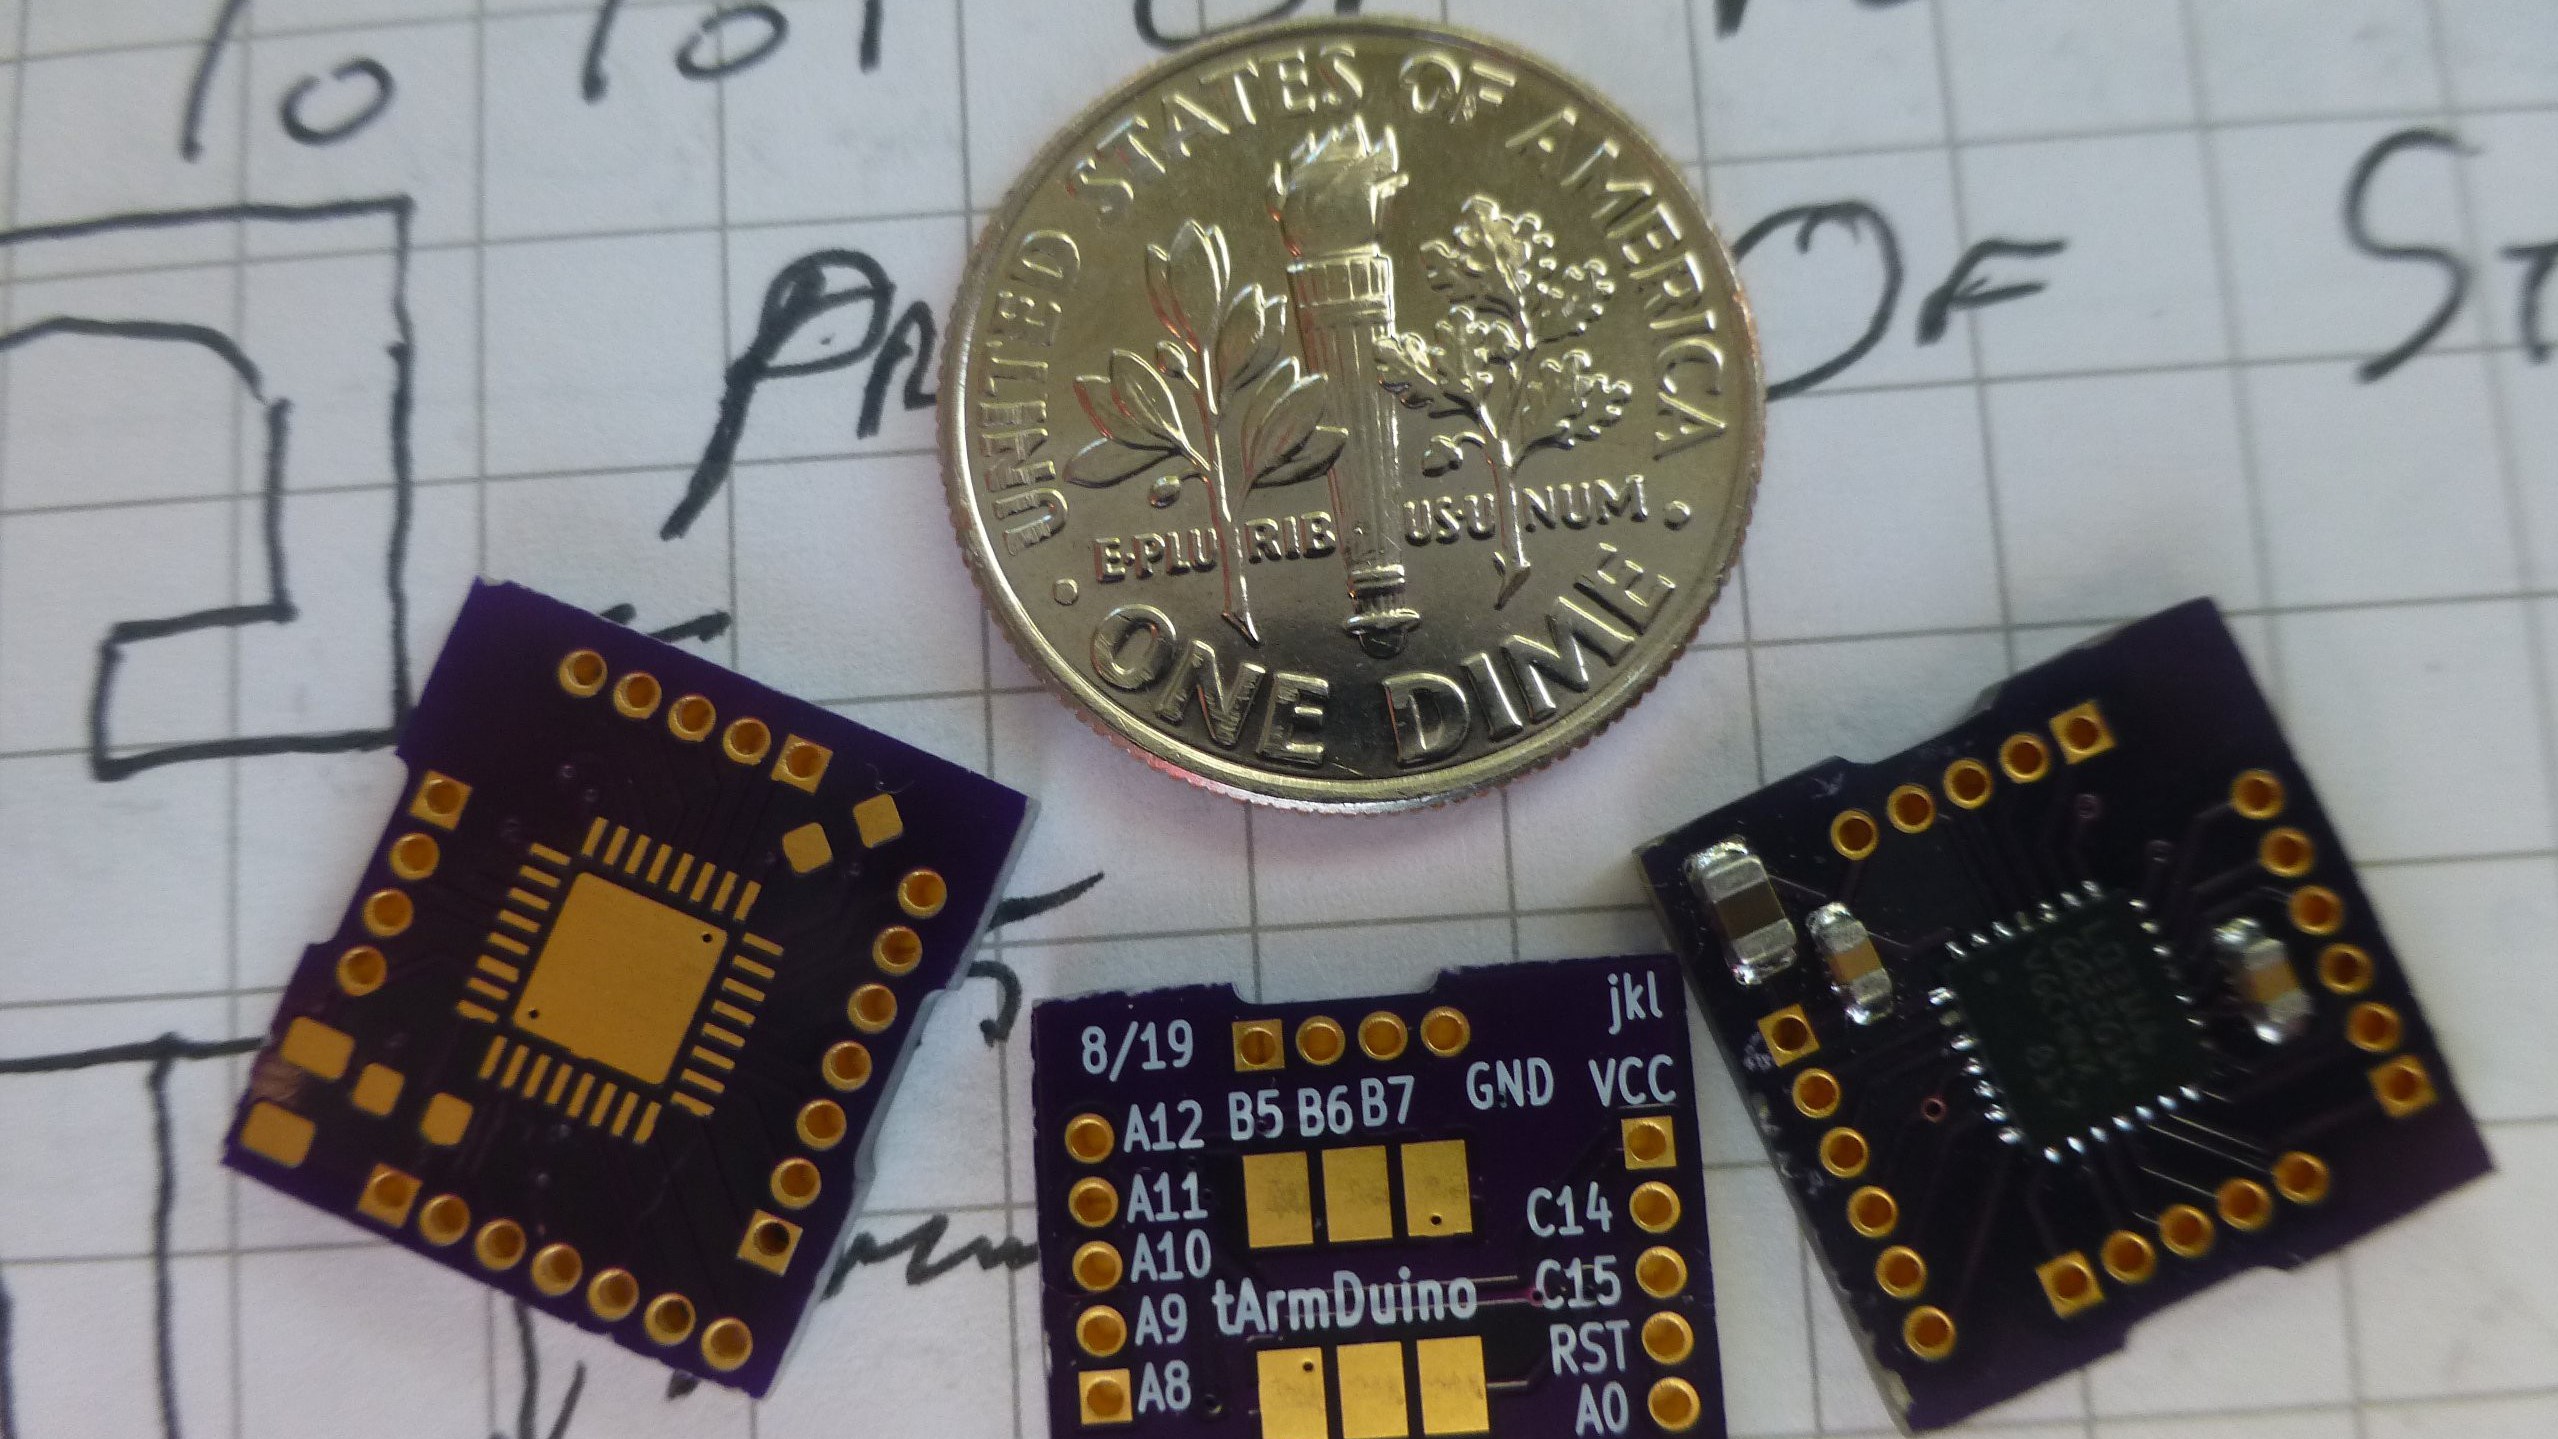
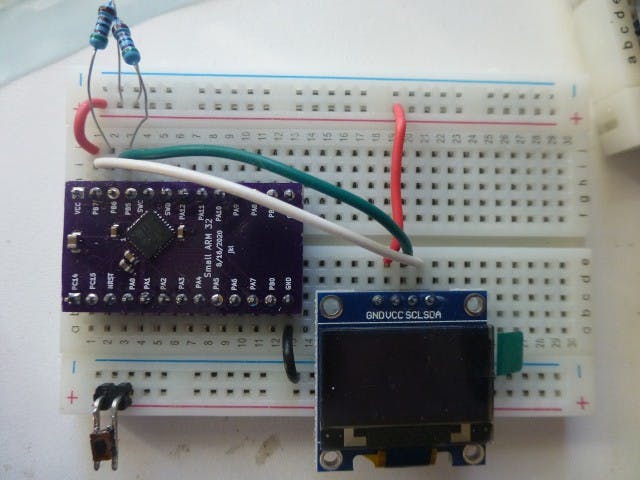
With this, the OSH Park produced two boards – tArmDuino and the small (breadboard) version. KiCAD files are in the files section for both boards. Since the STM32duino project even supports STM32L071, the next step was to develop software for the tArmDuino and add these files to the Arduino.
However, there was no entry in the STM32 boards menu that was specific to the STM32L071 so he [Doctek] had to create a board definition and add it to Arduino. More details about this can be found in the project logs. But since the work is done, you can simply duplicate this by downloading the tDuino.zip file and unzipping it into the Arduino hardware folder.
After you restart the Arduino and you will be able to find the entries for “tArmDuinoL031” and “tArmDuinoL071” under the title “tArmDuino Boards”. If you plan to duplicate this task, please be sure to install the STM32duino file first. Also, check if the “debug version and the tArmDuino version of the STM32L071 are identical from the software side”.
You still cannot program or debug it even after adding tArmDuino to the Arduino IDE. For this, you need to configure the programming and debug tools needed based on installing STM32CubeIDE.
The full projects, links to details on specific things, and future build logs can be found on the Hackaday project page.


