How to Use I2C EEPROM with Arduino
Expand your board's storage with an I2C-enabled EEPROM chip. EEPROM stands for Electronically Erasable Programmable Read-Only Memory.
Expand your board’s storage with an I2C-enabled EEPROM chip.
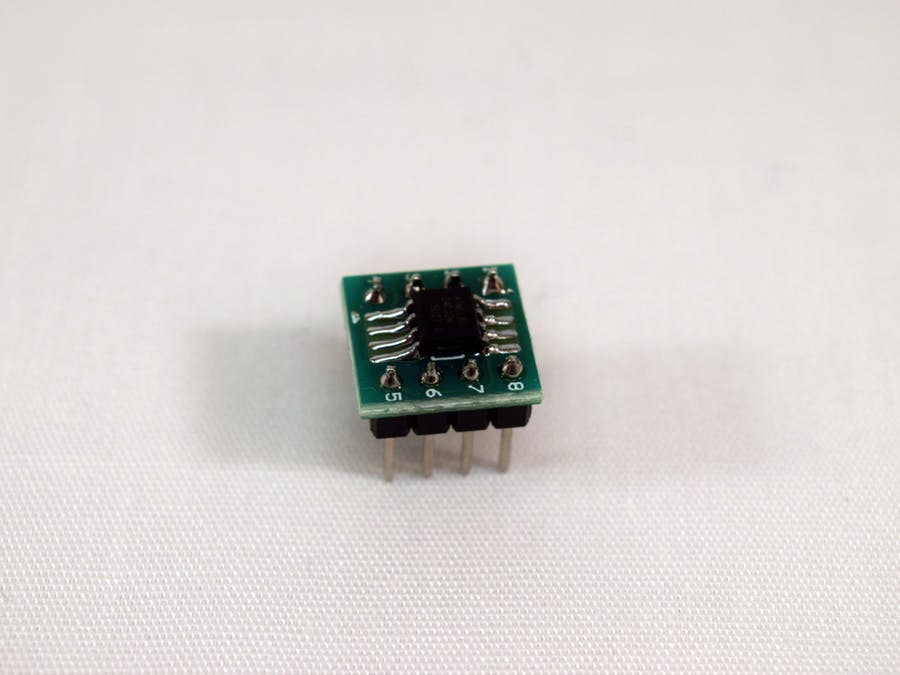
EEPROM stands for Electronically Erasable Programmable Read-Only Memory. It allows for values to be written and stored for long periods of time while using very little power. Most microcontrollers even have EEPROM directly in their circuitry, such as the ATmega328P (Arduino Uno chip), which has 1KB of it. But what if that’s not enough? SD cards have much greater storage sizes, but are also more complex, physically larger, and use more power. In this tutorial, I will show how easy it is to add another 2KB of non-volatile storage to a project with the 24C02 EEPROM IC.
How to Use I2C EEPROM – [Link]


