Advanced LC meter
- Hristo
- xristost@yahoo.com
- 41.050 Views
- medium
- Tested
This project is an advanced LCR meter based on PIC16F690 microcontroller.
Description
After finishing my last project – “Simple LC meter“, there were some discussions in the forum I am a member of, that ability to measure electrolytic capacitors would be very useful in this type of device.
I searched the Web and found a very nice project named LCM3 on this Hungarian site: hobbielektronika.hu . I love Hungarian rock since my school days, but I don’t know a word in Hungarian 🙁 . So, I searched the Web again, this time for this specific project and found a Russian forum where the project was discussed in details and I got more useful information about parts, settings and so on.
Specifications of the LCM3 are (according to authors of the project):
- Capacitors: from 1pF to 1nF – resolution: 0.1pF, accuracy: 1% – from 1nF to 100nF – resolution: 1pF, accuracy: 1% – from 100nF to 1uF – resolution 1nF, accuracy: 2.5%
- Electrolytic capacitors: from 100nF to 100 000uF – resolution 1nF, accuracy: 5%
- Inductance:from 10nH to 20H – resolution 10nH, accuracy: 5%
- Resistance: from 1mOhm to 0.5Ohm – resolution 1mOhm, accuracy: 5%
Schematic
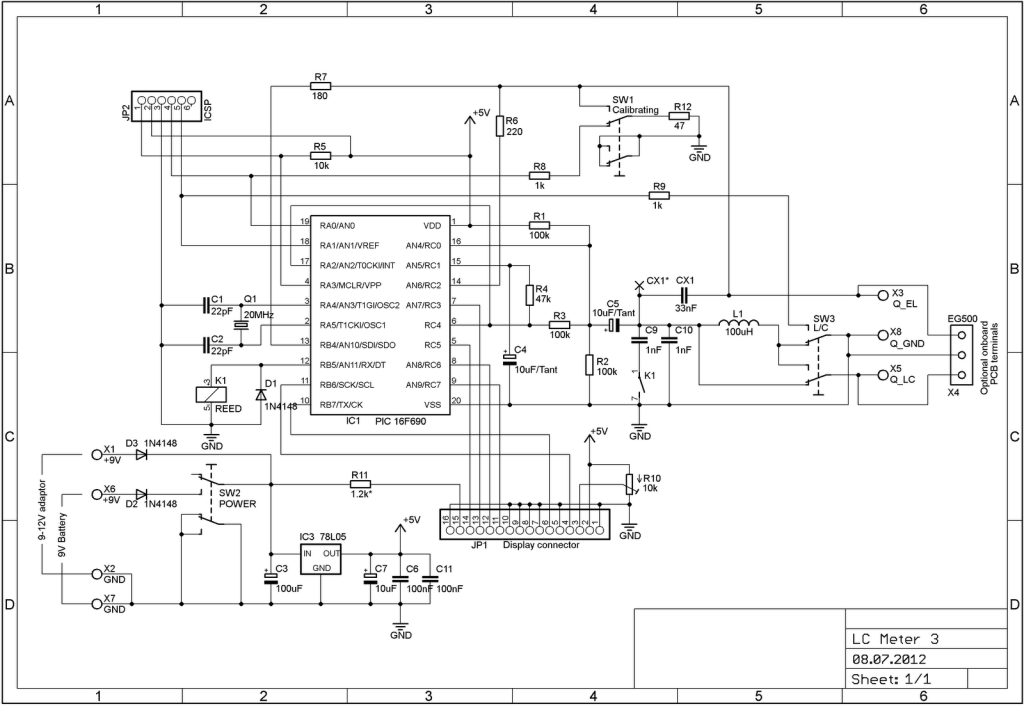
So, I put the schematic in Eagle and this is the result:
PCB
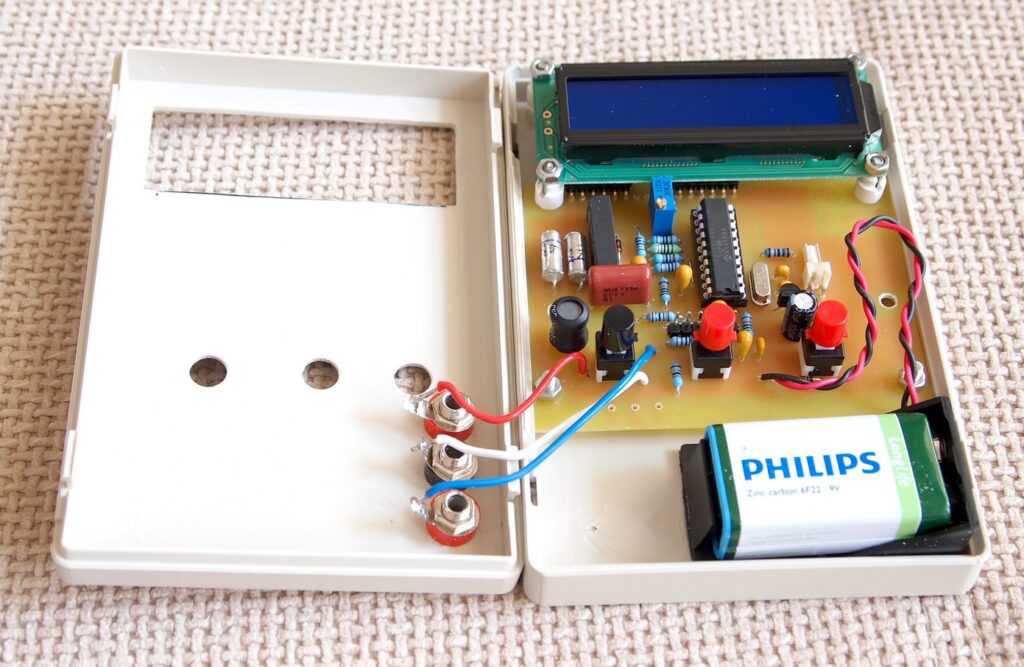
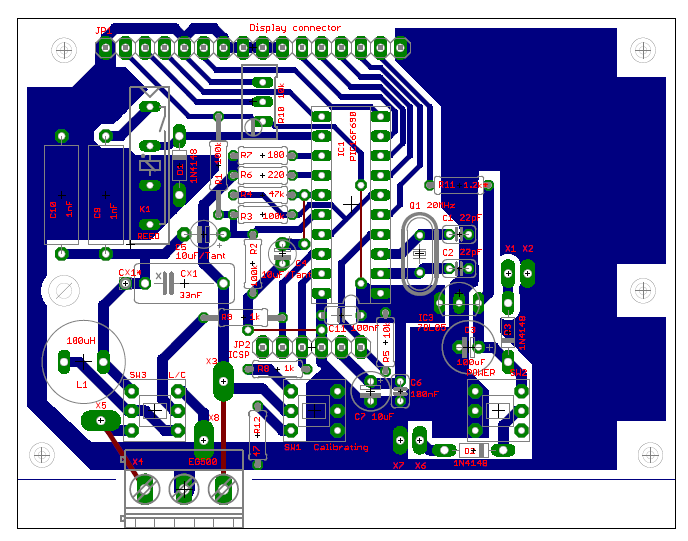
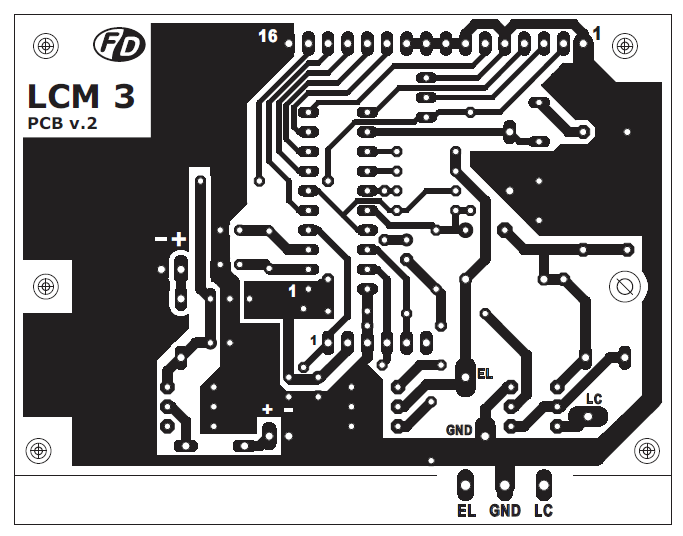
As usual I designed a new PCB. The PCB is designed in such a way, that it is possible to mount the LCD display on top of the board. The multiturn trimmer for adjusting the contrast is bellow the display, so it must be of this type : Тhere is also an option for mounting a 3-pin terminal connector, so it’s possible to use the whole device without an enclosure.
All resistors are 1% metal film. Two 1nF capacitors are 1% styroflex. CX1 – 33nF is also critical – this must be polypropylene high voltage capacitor. I tried with two types: 10% X2 275Vac and Panasonic 3% 800V – worked fine with both. The inductor must be with low Rdc. There is a connector for a separate adapter, which bypasses the ON/OFF button. Maybe on next revision of PCB I would add an onboard power connector. If the device is powered with external power adapter, you may increase back light current by decreasing the value of the resistor R11. You must consult with the datasheet of the display to select a proper value of the resistor.
Photos


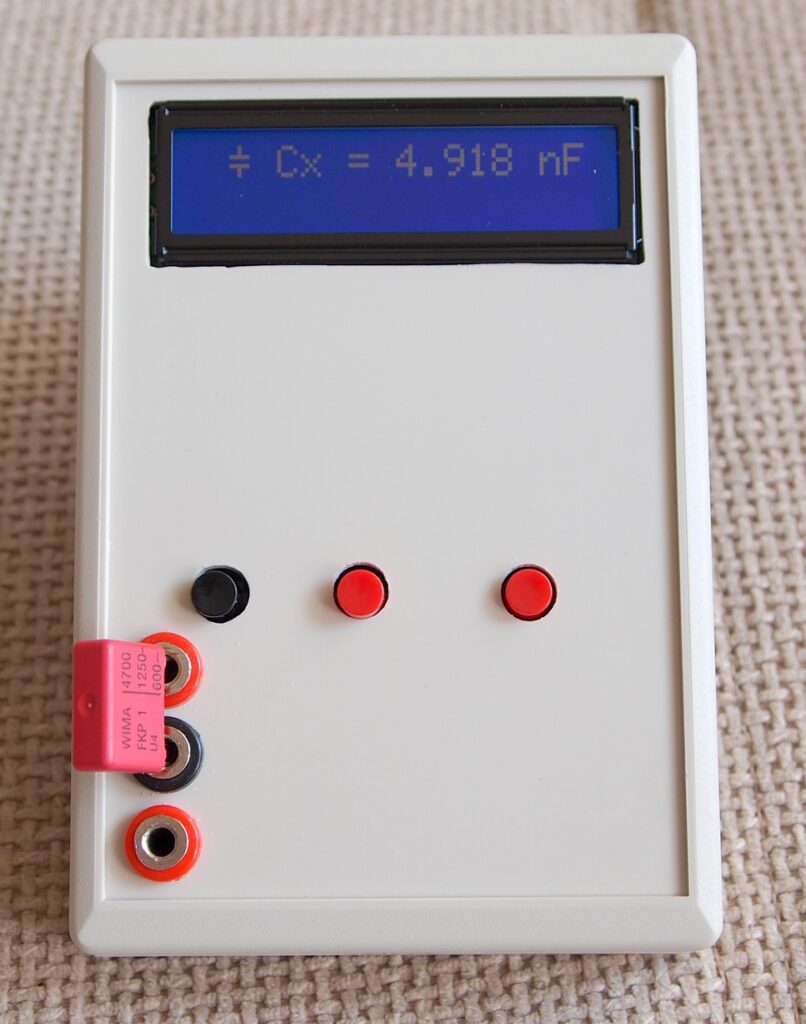
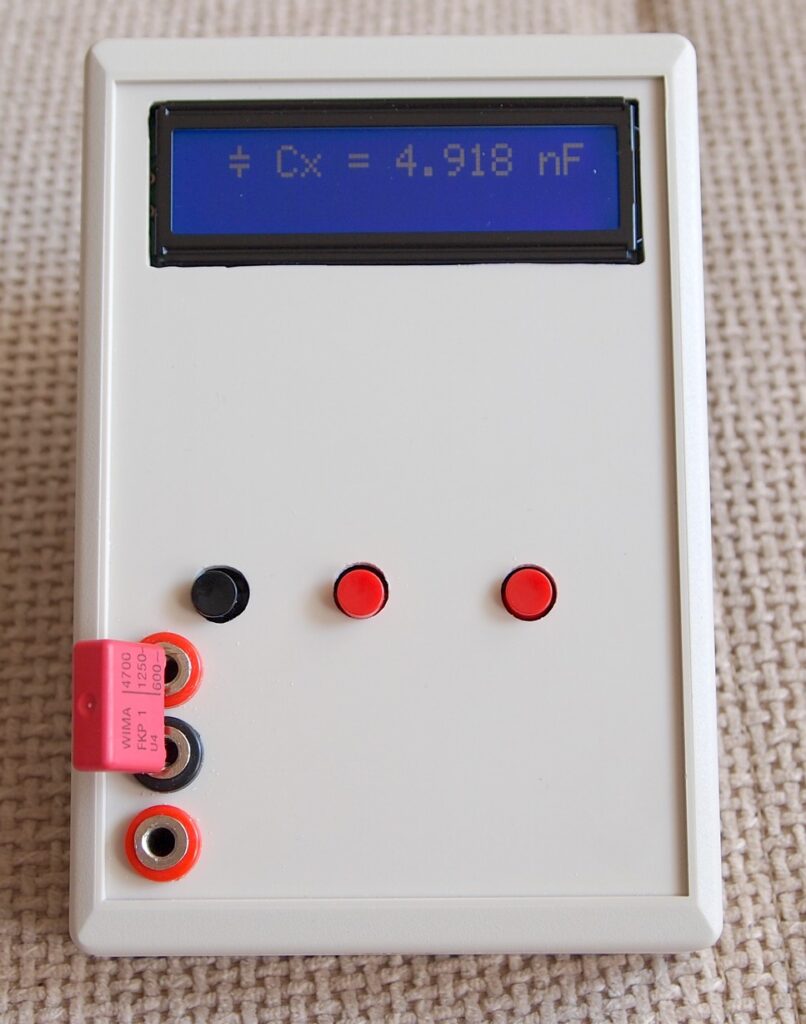
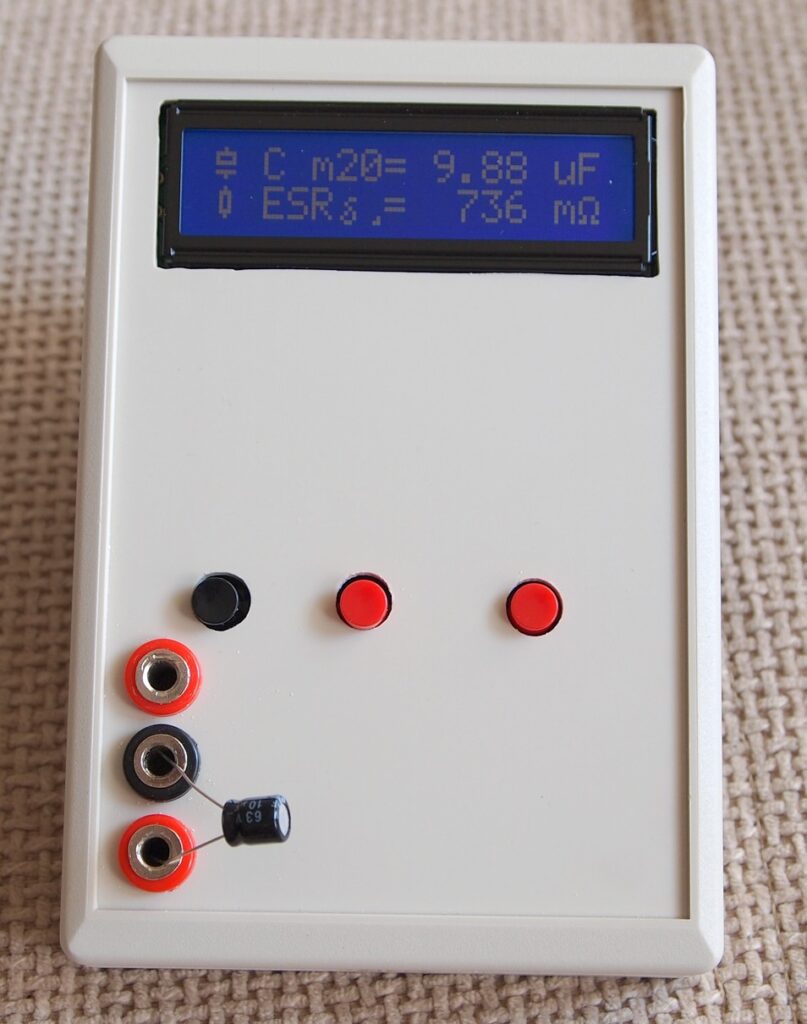
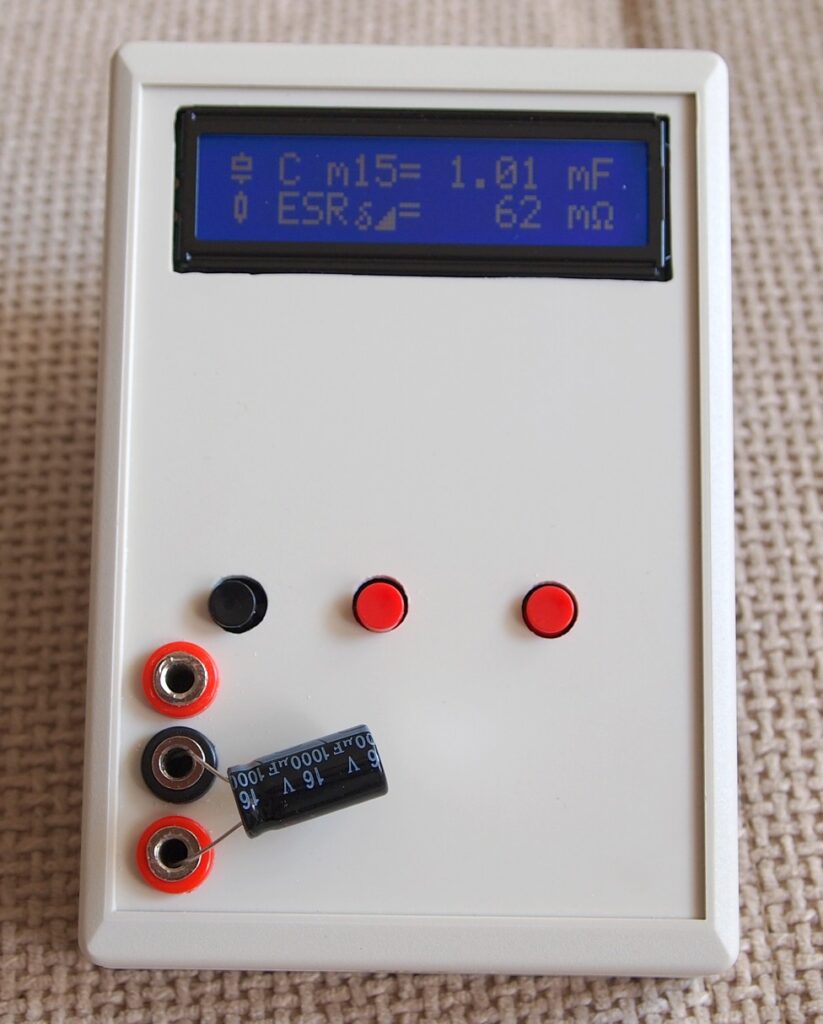
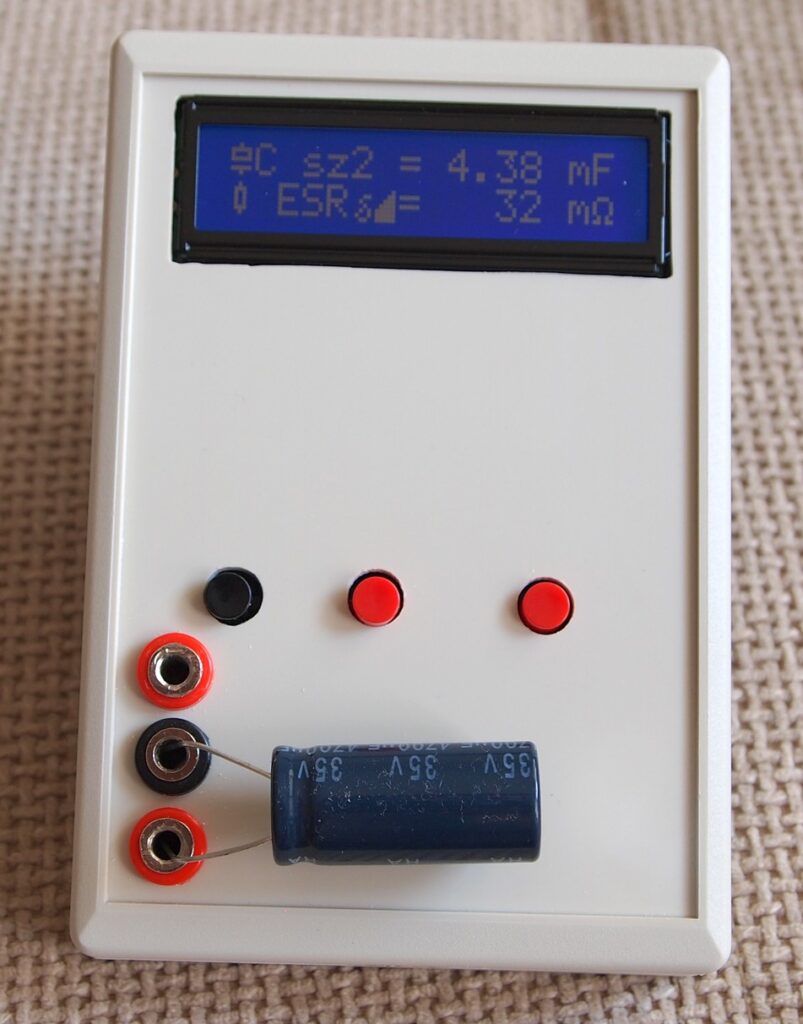
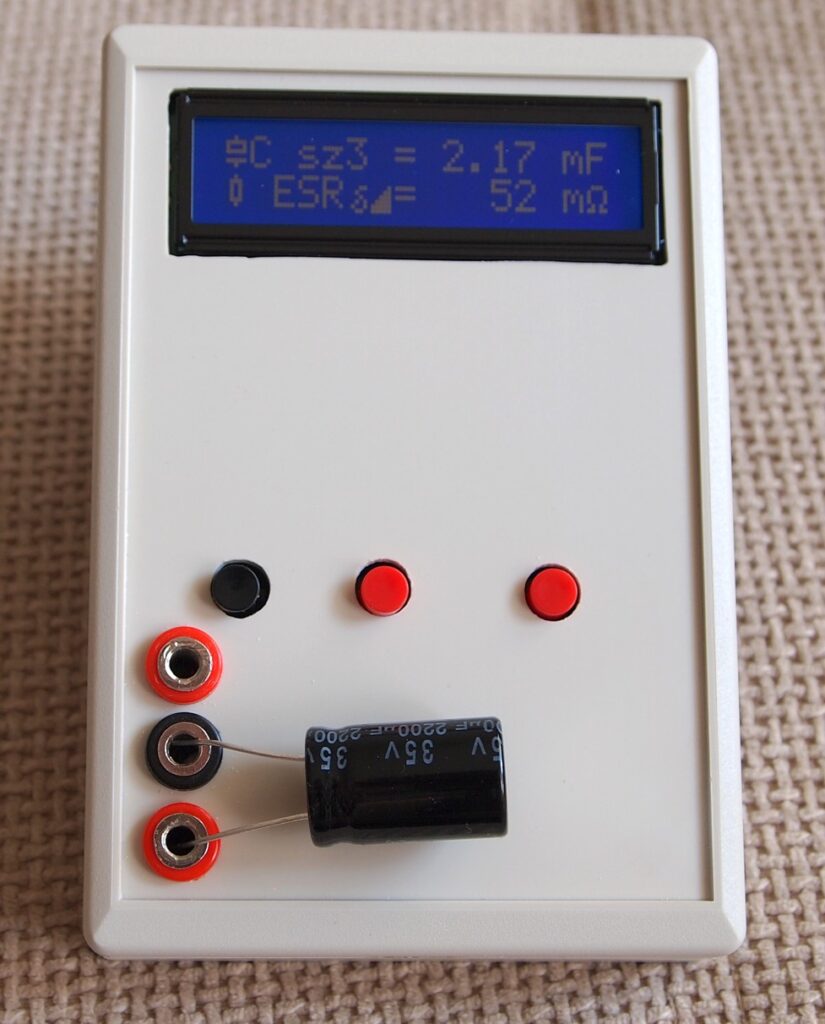
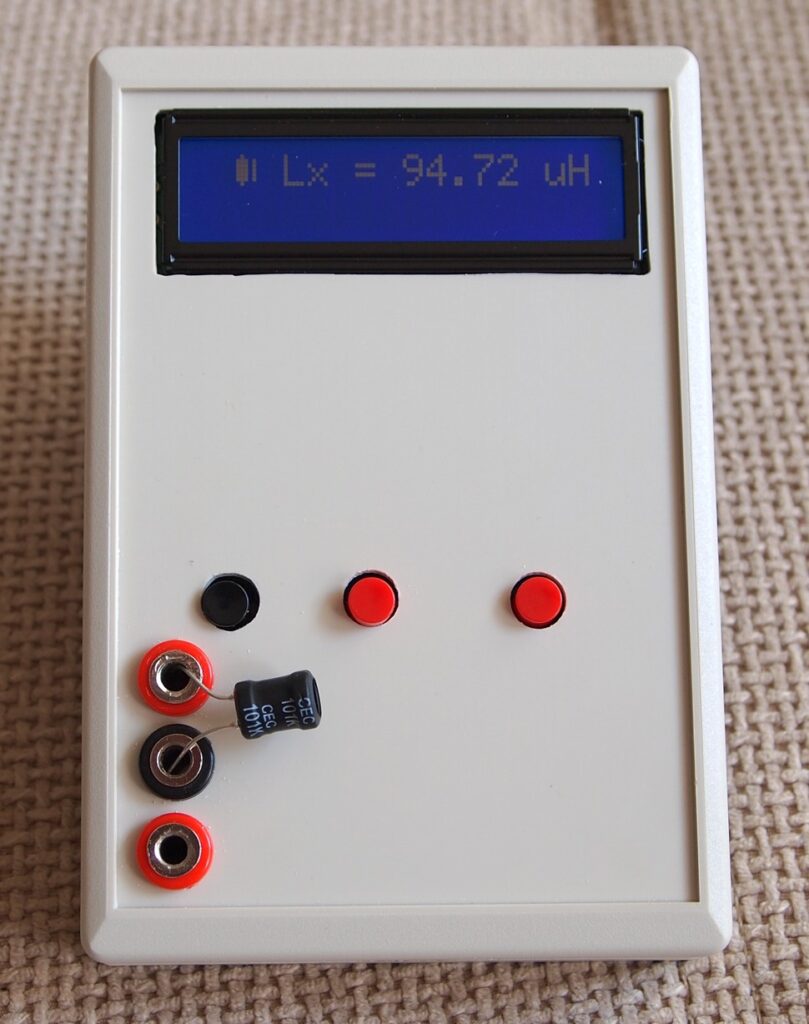
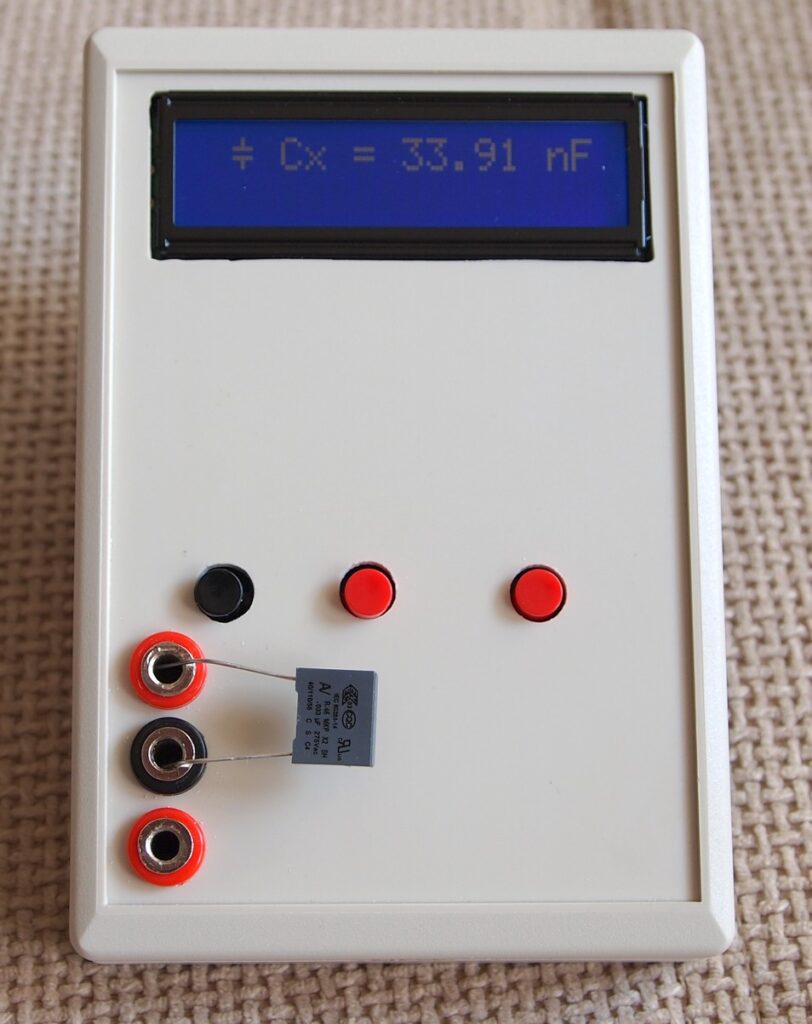
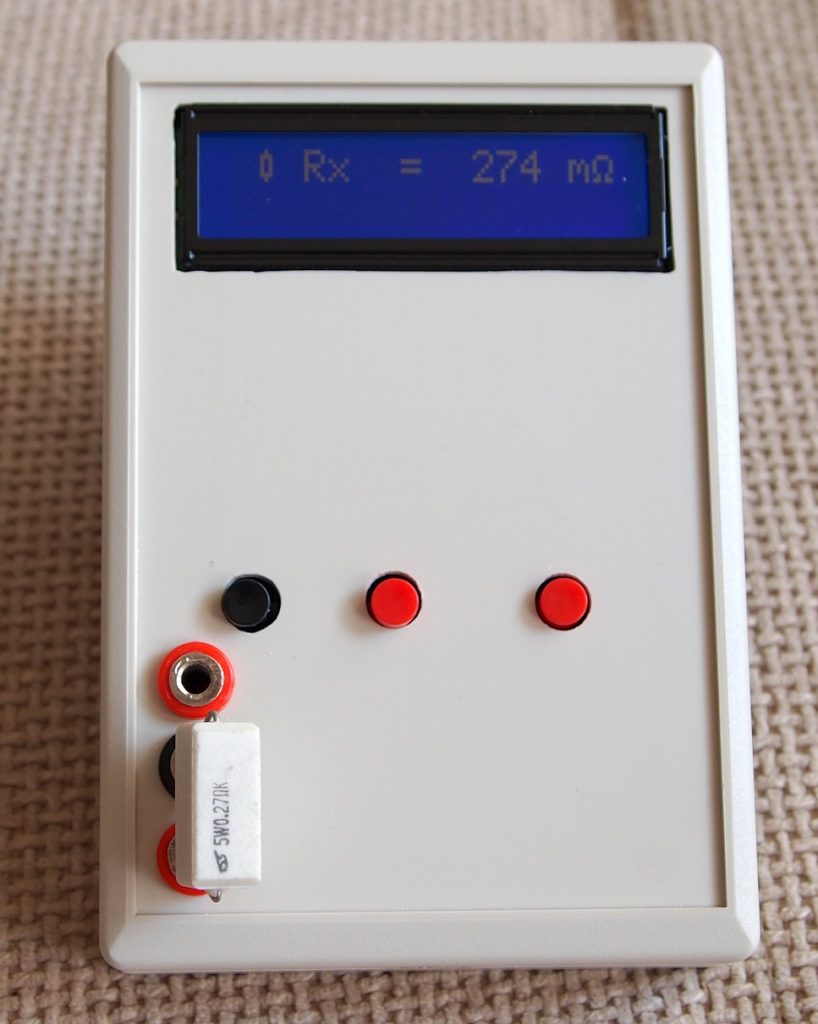




Do you make the source code available?
Only hex files are available here: http://www.hobbielektronika.hu/cikkek/lcm3_alkatresz_mero_muszer_-_kit_lehetoseg.html?pg=7
Hello great lc meter but I would like to know the hexadecimal code that you used because there are many starting from v1.22 to v1.30
would you be kind enough to post it thanks greetings
Try this one: https://www.hobbielektronika.hu/cikkek/files/328/lcm3_v1.2.hex
If it refers to me thank you but I saw that there is also v.1.35
Regards Tony
can you give me the hex file you used
Can you provide the program code code of advanced lc meter
Source code isn’t available. Only .hex file can be downloaded from the link above.
What kind of reed relay can i use? this is good EDR101A0500Z 5v , 0,5a
Relay R1-1A0500 is suggested in this project. It’s a SIP package PCB relay http://www.tme.eu/html/EN/reed-relays-r1series/ramka_1981_EN_pelny.html
Very nice meter. Very professional.
Thanks for your nice comment. You are welcome.
can someone tell me what switch is being used at the lcm3
Which switch do you mean? Can you refer on schematic?
Where is the parts list of this project….?
i need proper parts list.
Parts List is on the download section, above.
Hi,
I made it.and it’s works fine.thank-you.
There is something I don’t anderstand : on the fourth photo ,we can read C m20 = 9.88 µf what is m20 ?
thank you in advance
I have problem!How to calibrate the LCM?
I resolve my problem!OK!
Tell us what you did so other people can benefit.
Hello,
Very nice project! Would you have the eagle’s files?
Thank you
Sorry no, you may try to contact the author.