


Sometimes while building a Raspberry Pi based project, it may be difficult to connect a screen, mouse and keyboard each time you want to edit something. If the Raspberry Pi is connected to a network, then running a remote desktop on it could be a good solution.
Remote Desktop Protocol (RDP) is a proprietary protocol developed by Microsoft, which provides a user with a graphical interface to connect to another computer over a network connection. In this article, you will find three different methods to run remote desktop on your Raspberry Pi.
Method 1: Using TeamViewer
TeamViewer is a proprietary computer software package for remote control, desktop sharing, online meetings, web conferencing and file transfer between computers. It is available for Microsoft Windows, Mac OS X, Linux, Chrome OS, iOS, Android, Windows RT, Windows Phone 8 and BlackBerry operating systems. It is also possible to access a machine running TeamViewer with a web browser.
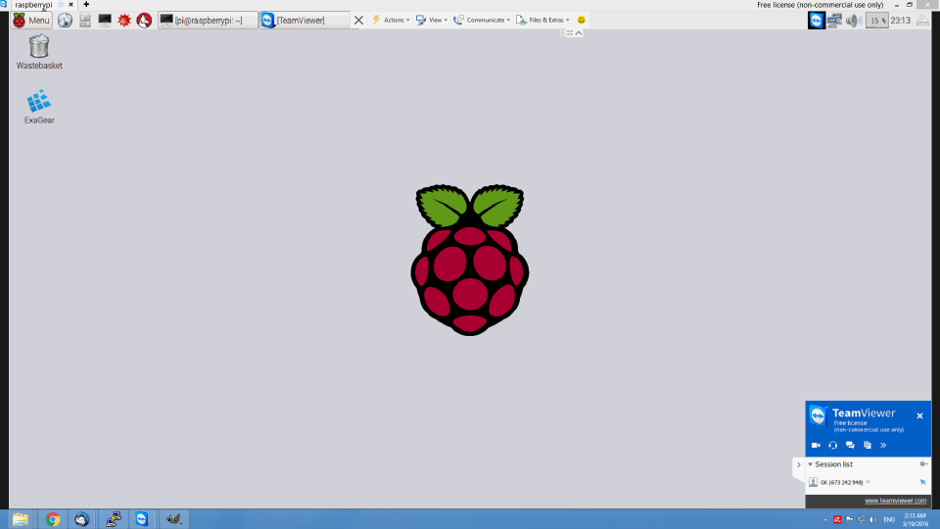
ARM-based devices such as Raspberry Pi don’t have a TeamViewer version, but there is still a way to run it using ExaGear Desktop. It allows you to run Intel x86 application on ARM-based Mini PC.
Follow these steps to install and use TeamViewer on your Raspberry Pi:
- Get you copy of ExaGear Desktop and install it. You can order it through the official website for $27 for Raspberry Pi 2 and $33 for Raspberry Pi 3.
- Enter the guest x86 system using the following command:
$ exagear
Starting the shell in the guest image /opt/exagear/images/debian-8-wine2g
- Download and install TeamViewer
$ sudo apt-get update
$ sudo apt-get install wget
$ wget http://download.teamviewer.com/download/teamviewer_i386.deb
$ sudo dpkg -i teamviewer_i386.deb
$ sudo apt-get install -f
$ wget http://s3.amazonaws.com/wine1.6-2g-2g/wine1.6-2g-2g.tar.gz
$ tar -xzvf wine1.6-2g-2g.tar.gz
$ sudo ./teamviewer-fix-2g.sh
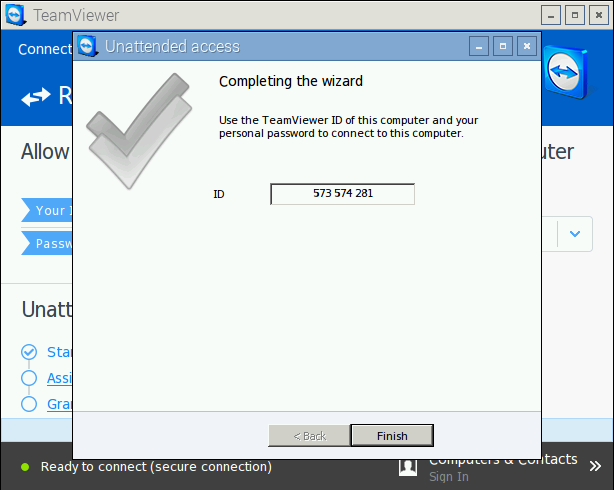
- Run TeamViewer from Raspberry Pi start menu, and setup static password for remote connection. Go to connection menu, select setup unattended access and enter a name for your Raspberry and a password. Once you are finished your Raspberry Pi ID will appear.
- Now download and install TeamViewer on your desktop and run it from start menu. Enter the Raspberry Pi ID in the “Partner ID” field and press connect button. A pop-up window will ask you for the password. Enter it and the remote session will open in a new window.
Method 2: Using VNC
Virtual Network Computing (VNC) is a graphical desktop sharing system that uses the Remote Frame Buffer protocol (RFB) to remotely control another computer. It transmits the keyboard and mouse events from one computer to another, relaying the graphical screen updates back in the other direction, over a network.
You can install VNC directly on your Raspberry without any additional software, follow these steps to install and prepare VNC:
- Install VNC server on Raspberry using this command:
$ sudo apt-get install tightvncserver' - Start VNC server by typing “$ vncserver” on the terminal. At the first start it will ask you to enter a password which will be used to access Raspberry Pi remotely.
- Get and save your Raspberry Pi IP address using this command
$ sudo ifconfigand search for string like this (inet addr: 192.168.1.110)
- Now download and install a VNC client program on your desktop, such as TightVNC.
- Run TightVNC Client from the start menu. In Remote Host field enter: IP address of Raspberry, colon, 1. It should be like this ‘192.168.1.110:1’ and press Connect. You are now connected to your Raspberry Pi.

Method 3: Using ssh + X11 forwarding
Secure Shell (SSH) is a cryptographic network protocol for operating network services securely over an unsecured network. The best known example application is for remote login to computer systems by users.
X11 is the X Window System which allows you to run software on a UNIX/Linux server in a Windows-like way such that you can use your mouse to click around in it. The secure way to do this is to forward your X11 packets through your ssh connection which automatically sets your DISPLAY environment variable for you. On the configuration menu, select X11 under SSH and check “Enable X11 forwarding”.
- Login to Raspberry Pi and run GUI of a program.
This tutorial is made by Eltechs, the company of ExaGear. You can visit the original post for more detailed steps and information.
RELATED POSTS
 8 May, 2018 Giada AP23 – A Compact Apollo Lake Series board
 25 September, 2018 Arduino + WebUSB + Circuit Simulator = Fun
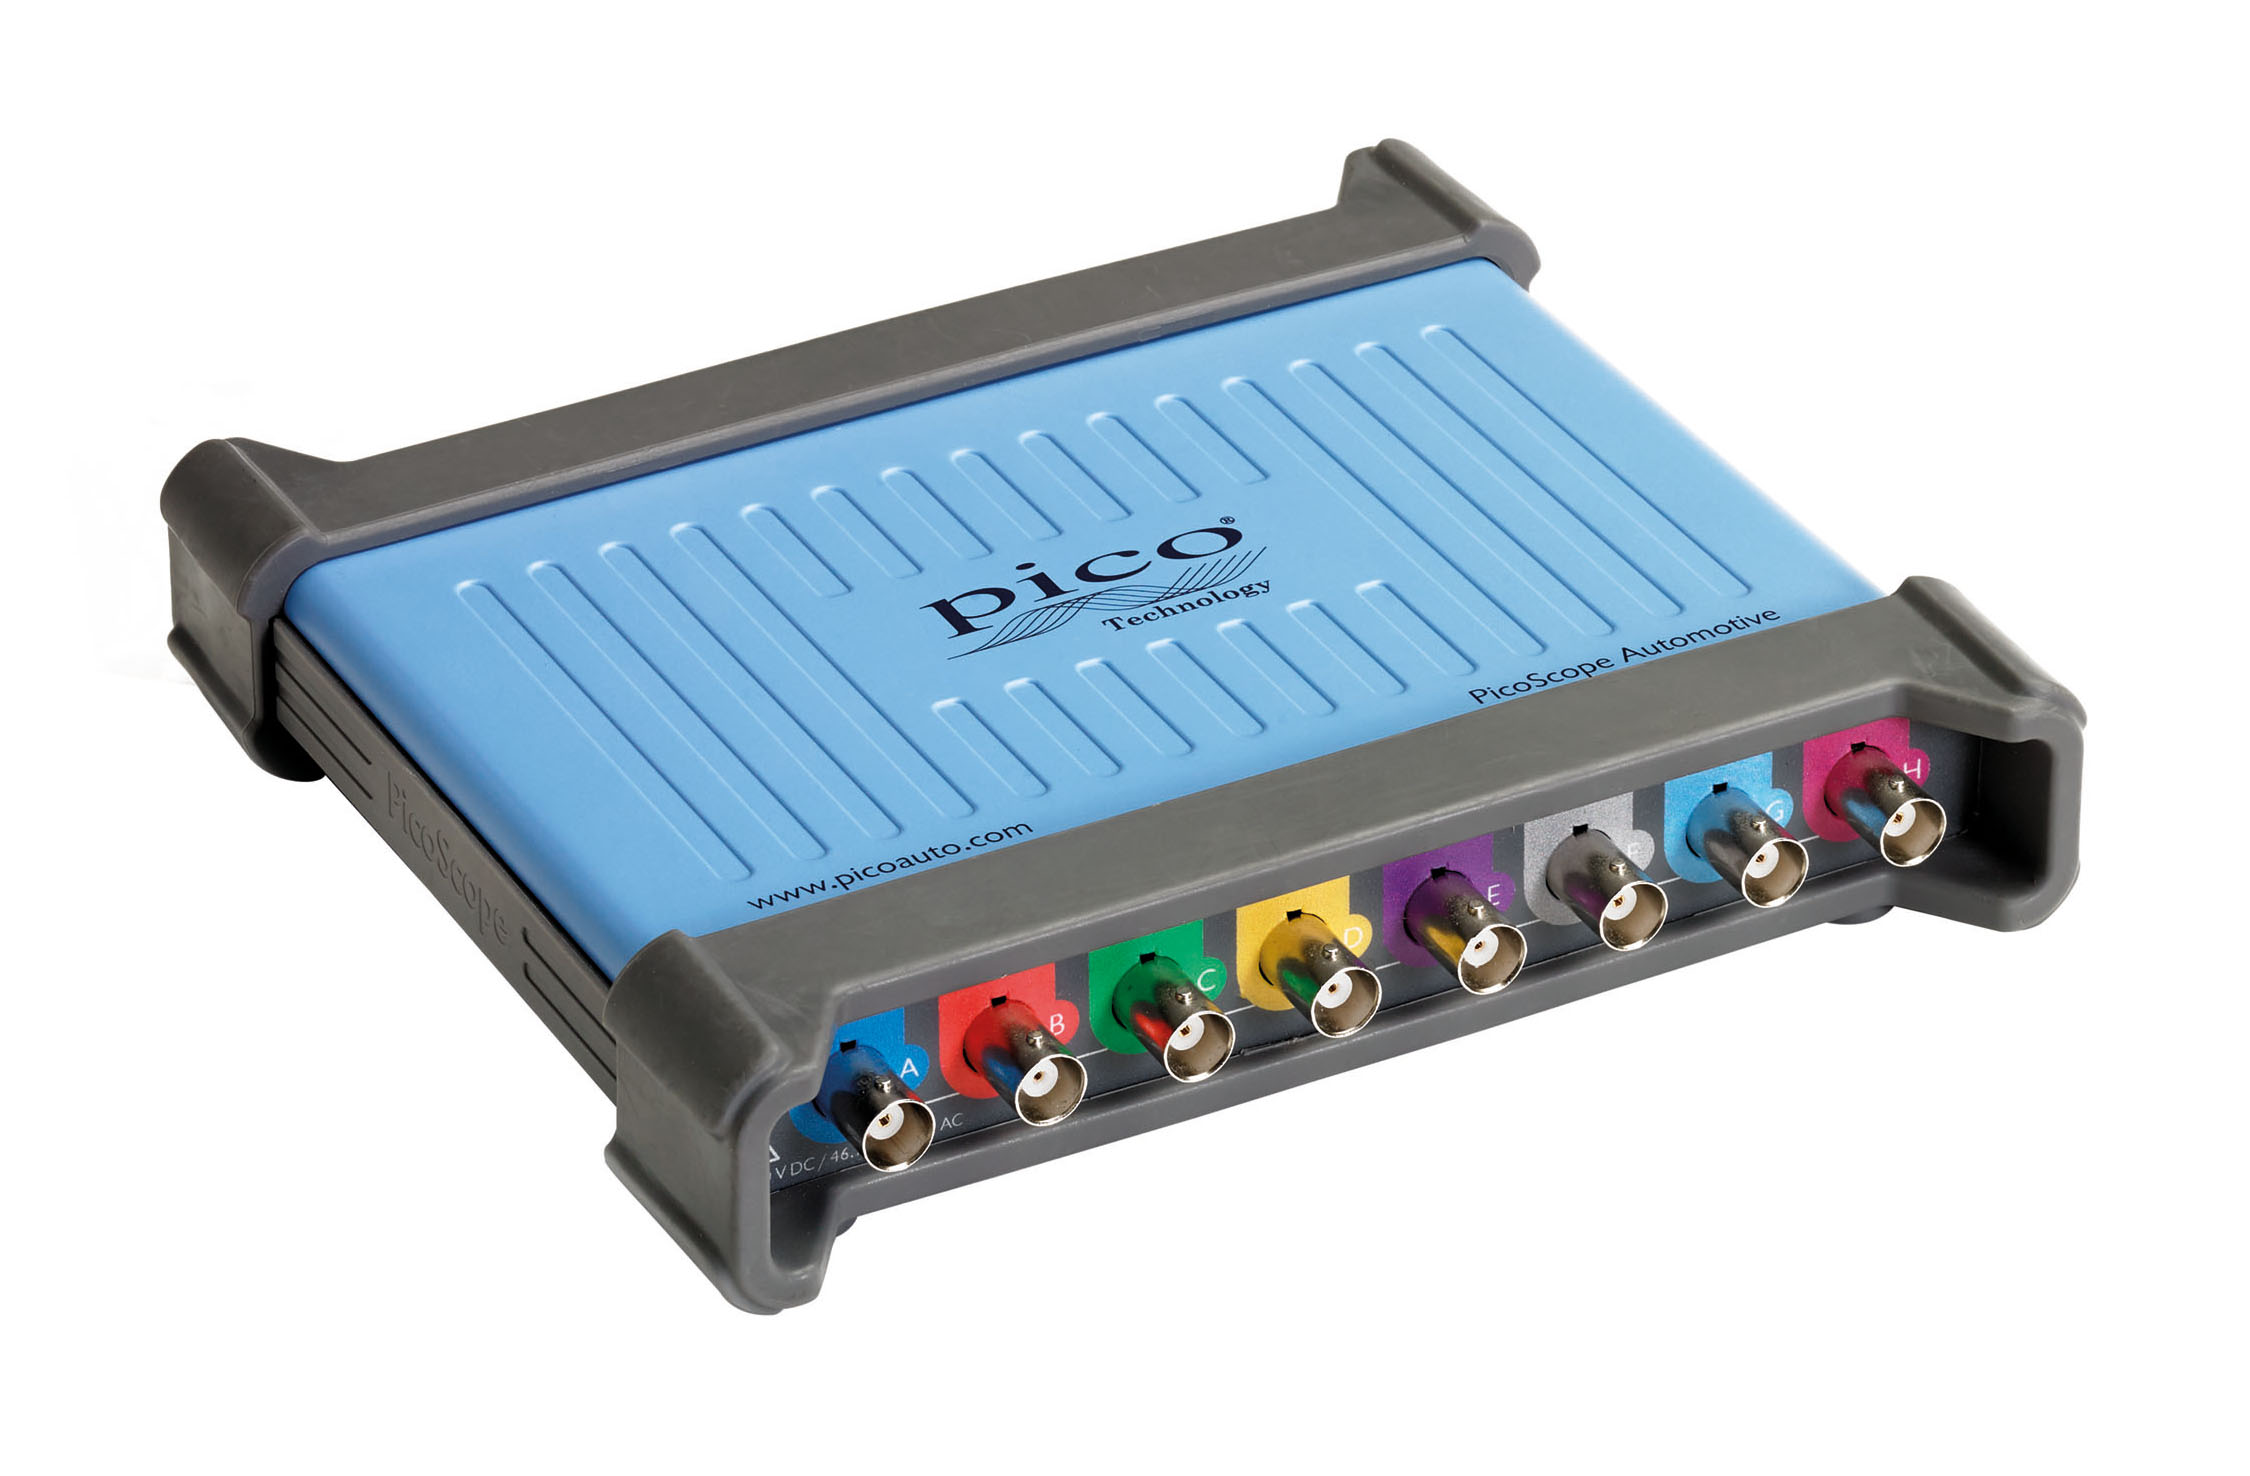 19 July, 2019 PicoScope 4823 8-Channel Automotive Oscilloscope has USB 3.0
 13 January, 2020 OnLogic Announces Four New Apollo Lake Pico-ITX SBCs
 22 September, 2016 48V/12V DC/DC for automotive dual-rails offers bidirectional power flows
 12 June, 2020 SnapEDA launches new 3D viewer


