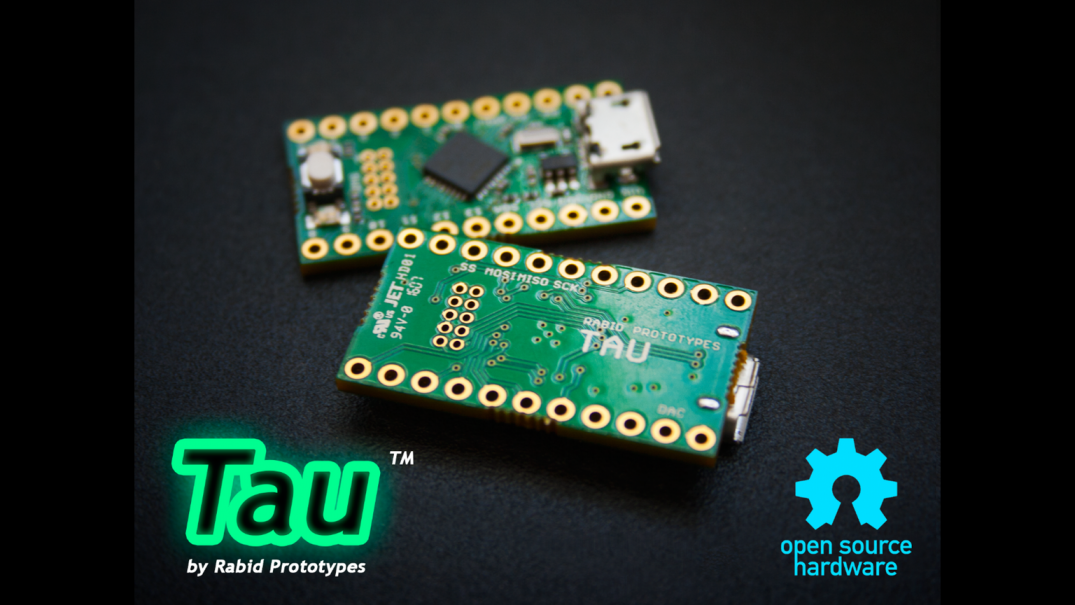
Tau : The Tiny 32-bit Arduino Zero Compatible!
"Tau" is a new board in the world of embedded systems, designed by Rabid Prototypes. It is powered by a 32-bit ARM core, but Tau's main strength is full compatibility with the well-known Arduino Zero, yet in a very tiny package.
“Tau” is a new board in the world of embedded systems, designed by Rabid Prototypes. It is powered by a 32-bit ARM core, but Tau’s main strength is full compatibility with the well-known Arduino Zero, yet in a very tiny package.
What is the Tau?
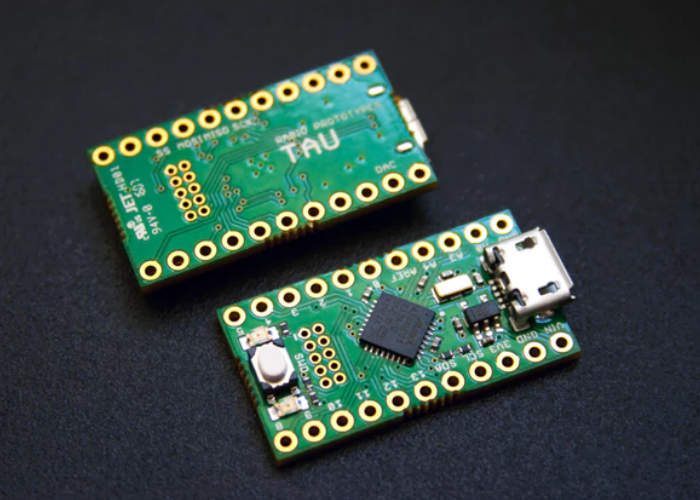
The Tau is an extremely affordable, open source, miniaturized version of the Arduino Zero. It has 32bit ARM processor clocked at 48MHz, and boasting 16K of RAM. The Tau is far more powerful than standard Arduino.
Finally, being open-source, you’re free to modify it as you wish and integrate it into your own designs – without ever needing to pay any royalties or licensing fees!
Technical Details:
- Microcontroller: Atmel ATSAMD21E17A ARM Cortex M0+
- Clock speed: 48 MHz
- Operating voltage: 3.3V
- I/O pin limits: 3.3V, 7 mA
- Digital I/O pins: 12 w/ 10 PWM channels + 2 dedicated I2C pins w/ pullups
- Analog inputs: 3 12-bit ADC channels
- Analog outputs: 1 10-bit DAC
- Flash (program) memory: 128 KB
- RAM: 16 KB
- Voltage regulator: TLV702, 3.5V – 5.5V input / 3.3V, 300mA output
- Dimensions: 1.1 x 0.6″ (28mm x 15mm)
Features:
Power + Status LEDs
Like most Arduinos, the Tau features a few LEDs. A green LED lets you know that the Tau is receiving power, while a red LED is connected to pin 26 aka PIN_LED_TXL. This LED can be used as a status indicator.
While I could have connected the red LED to pin 13, which is the usual pin for a status LED on an Arduino, connecting it to pin 26 avoided the need to isolate it from the SPI bus with a mosfet, and left room for the power LED!
10-bit DAC
No more need to use Tone() command! Turn Tau into a music player by connecting an amplifier between pin A0 and the GND pad and use the Audio library to play .WAV files from a MicroSD card!
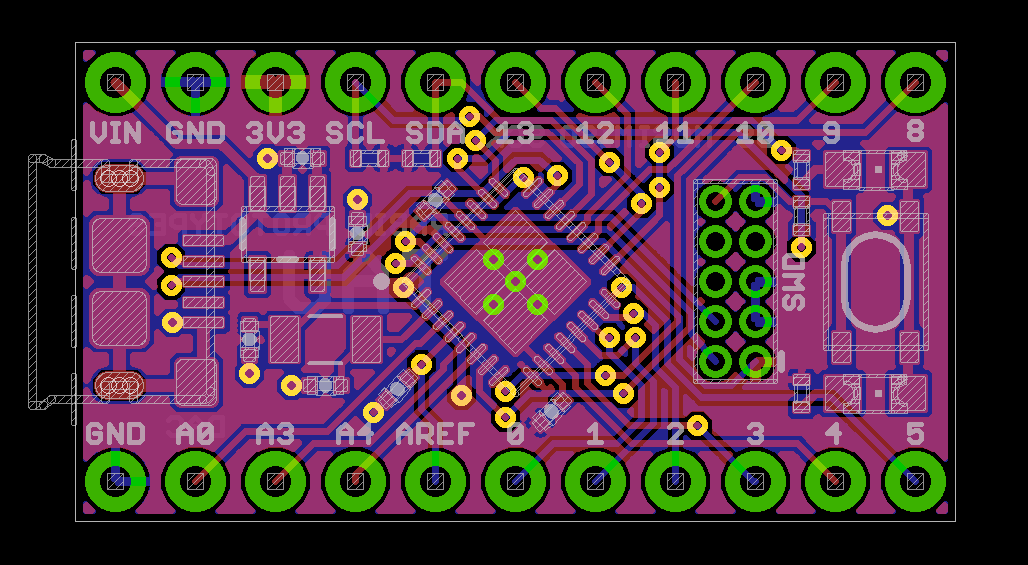
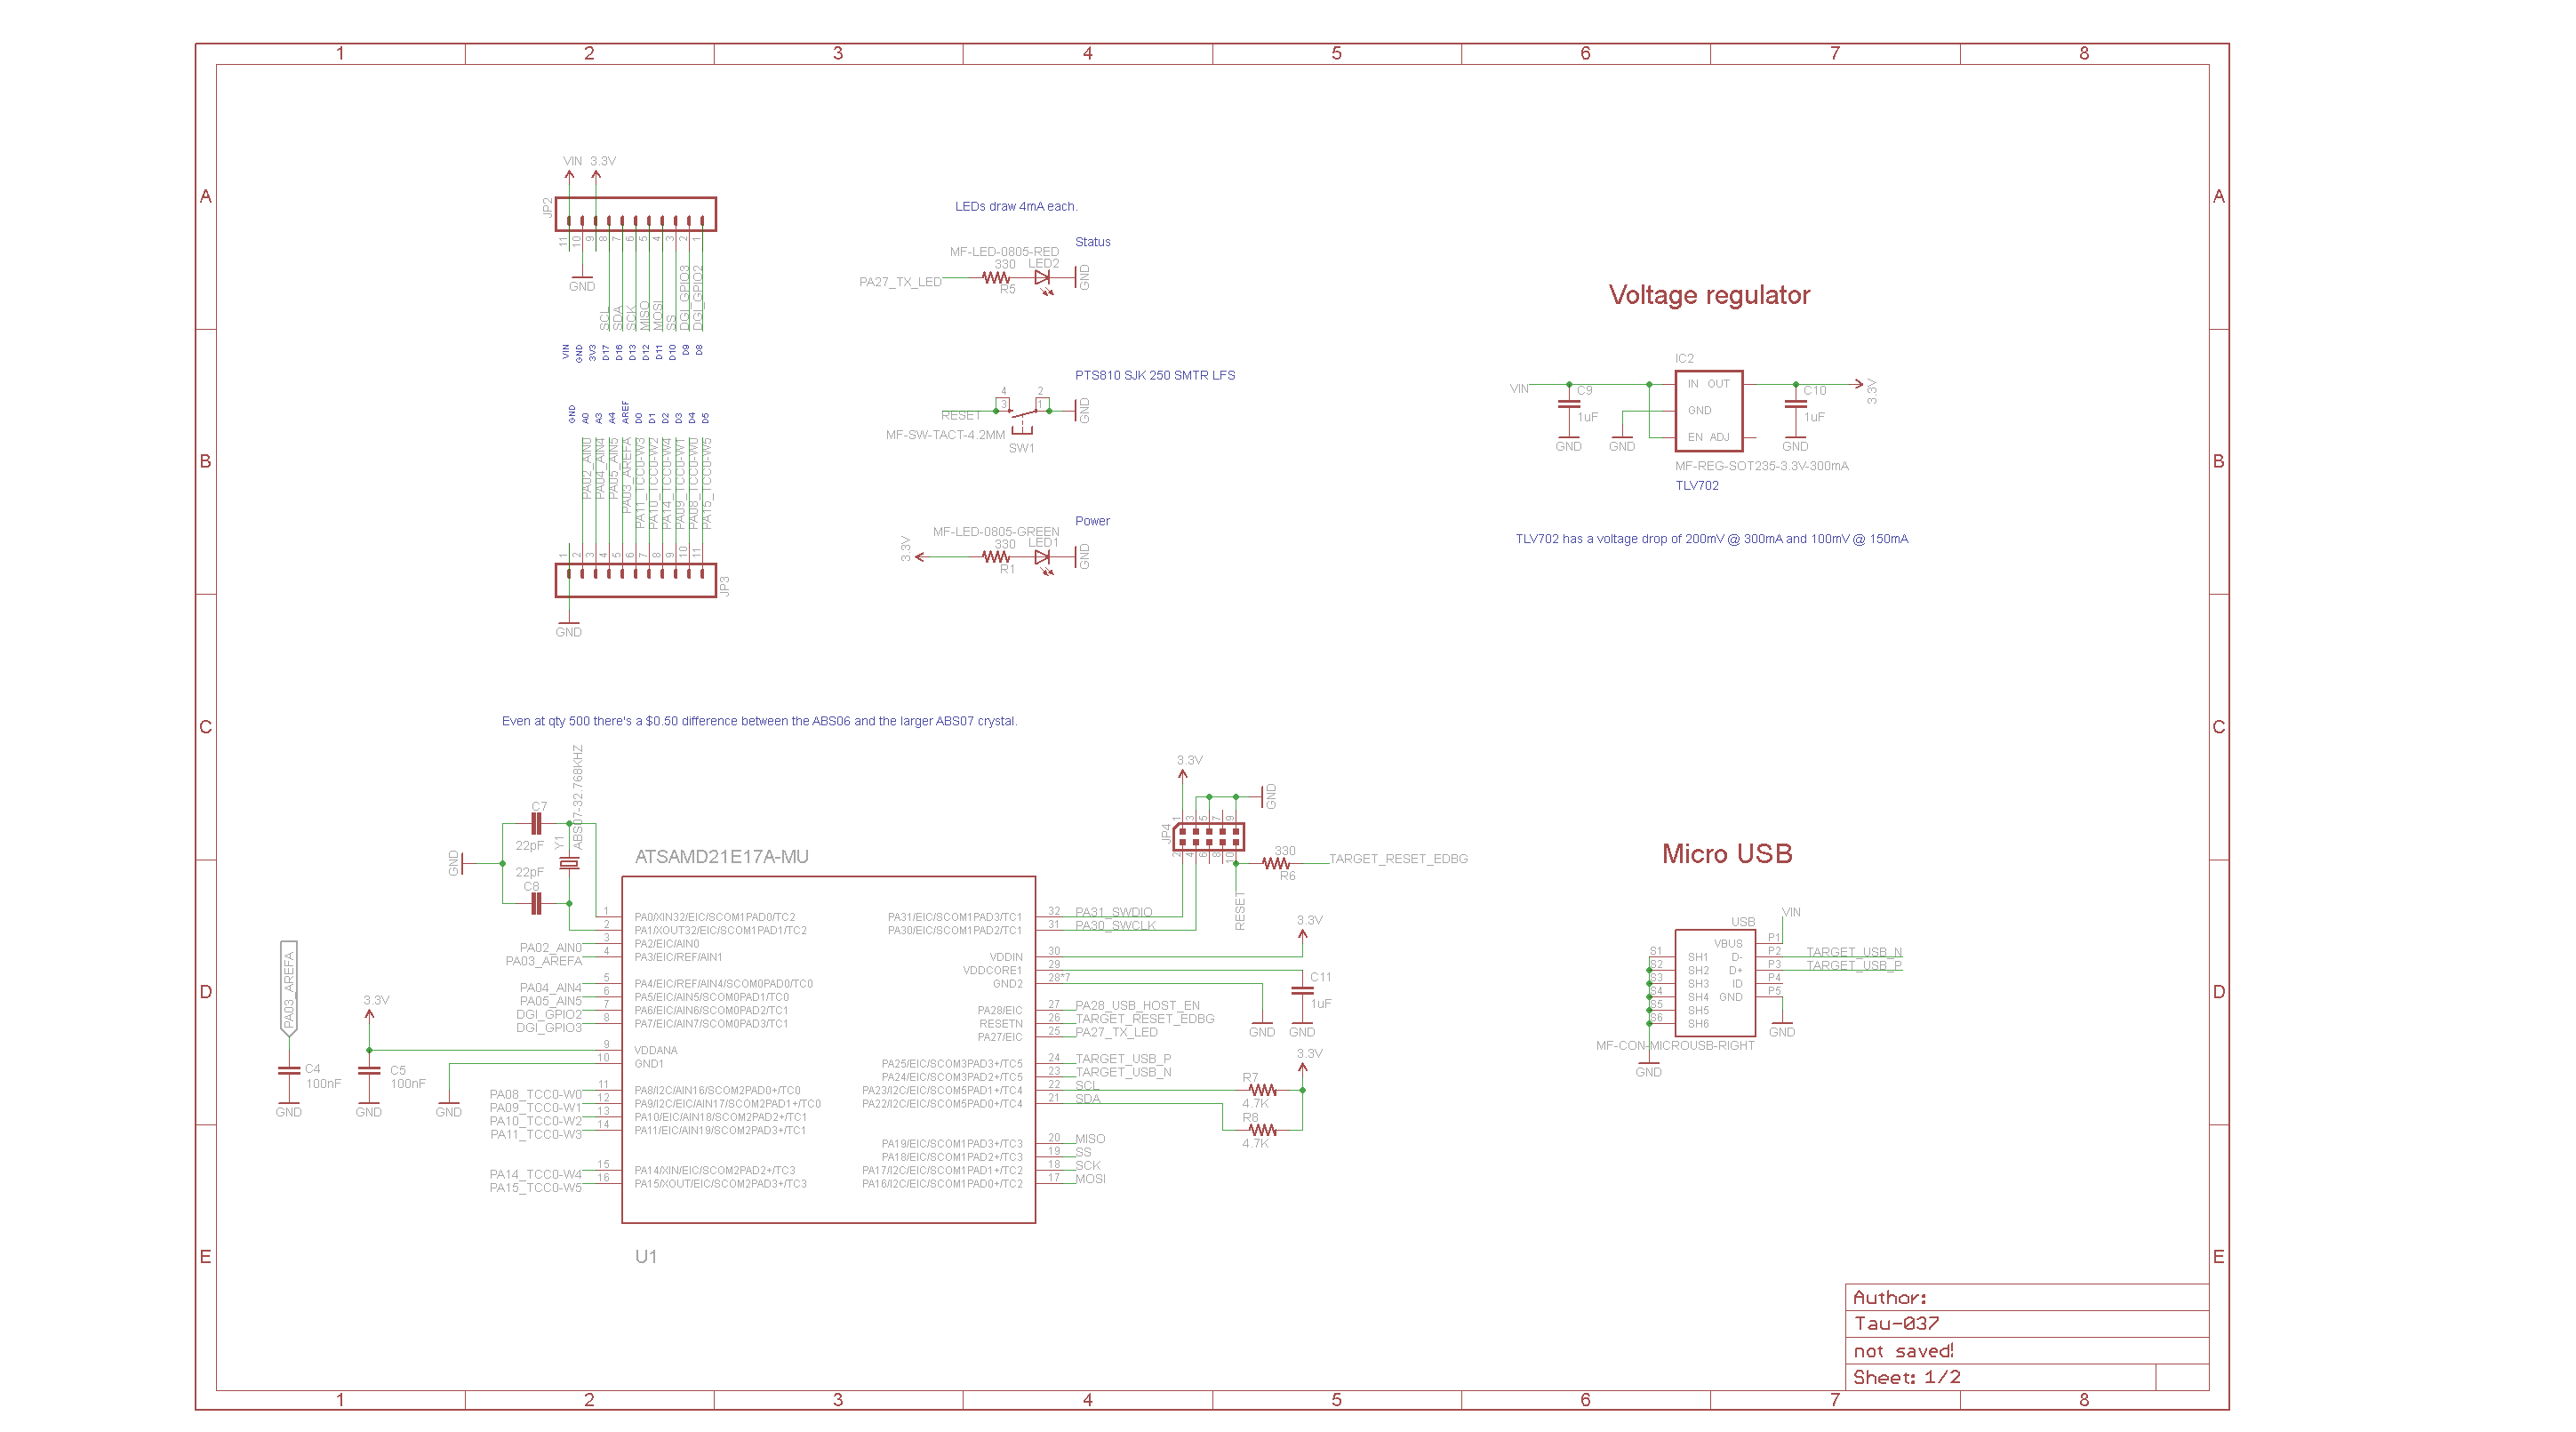
PCB And Schematics:
Installation:
To make the Tau work with the Arduino IDE, open the File menu and select Preferences. Then, in the Additional Boards Manager URLs section, place a comma after the last entry, and add the following link:
http://rabidprototypes.com/arduino/package_rabidprototypes_index.json
Once done, open the boards manager, which is on the Tools->Boards menu, scroll down to Rabid Prototypes, select the entry, and hit Install.
Finally go back to Tools->Boards, scroll down to the bottom of the list, and pick the Tau/Firecricket.
Once done, you should be ready to program the board.
Troubleshooting:
If you are unable to program the board, first make sure you’ve selected the correct board on the Boards menu. Then check if you’ve selected correct port on the Ports menu.
If that doesn’t work, try double clicking the Reset button on the board. That forces the bootloader to be loaded instead of entering your sketch, which may be stuck in a loop where it is unable to check the USB port for connection.
Conclusion:
The Tau is a good alternative of Arduino Zero for its really tiny form factor and cheap price. It’s less than half of Arduino Zero’s price!
You can pre-order it at Rabid Prototypes.
Documentation are also available there.


