Getting Started with Espressif’s ESP32-C3-DevKITM-1 on ESP-IDF
Espressif Systems’ ESP32-C3-DevKit M-1 is an entry-level development board with some interesting features, compatibility, adaptability, connectivity, security, and much more at an affordable price. The ESP32-C3-DevKit M-1 is also known for its small size and low power operation.
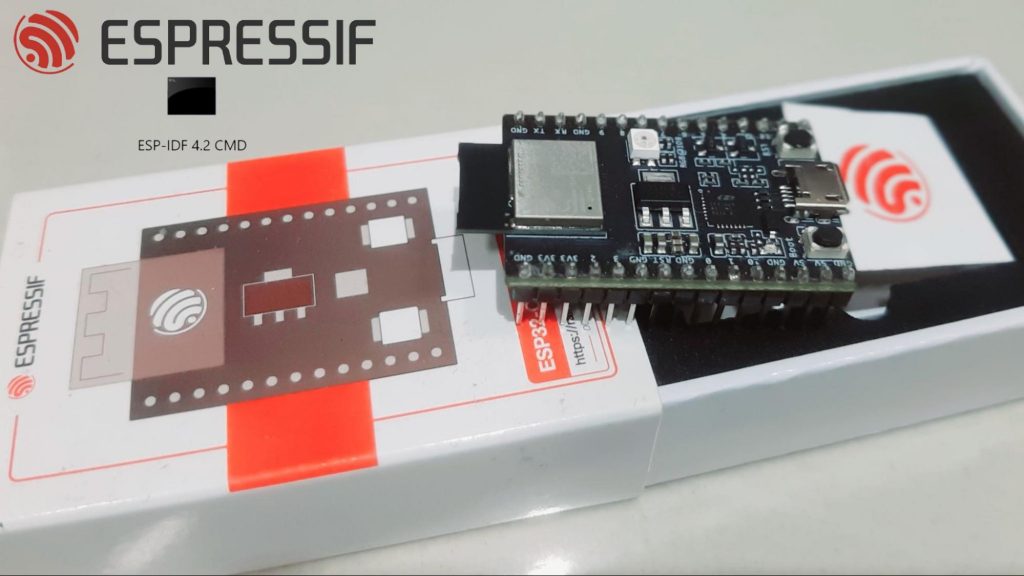
Espressif Systems’ ESP32-C3-DevKit M-1 is an entry-level development board with some interesting features, compatibility, adaptability, connectivity, security, and much more at an affordable price. The ESP32-C3-DevKit M-1 is also known for its small size and low power operation. Apart from this, it also provides a wide range of connection interfaces such as I2C, I2S UART, SPI, GPIO, PWM and also Wi-Fi IEEE 802.11b/g/n (2.4 GHz) and Bluetooth 5 connectivity. The execution of the applications requires the programming of ESP32-C3-DevKITM-1 on ESP-IDF.
You can program your ESP32-C3-DevKITM-1 module with:
- ESP-IDF
- Arduino IDE
- Eclipse Plugin
- VS Code Extension
If you want to program your ESP32 board on Arduino IDE, you can follow this article to set up your ESP32 development board with Arduino IDE. In this article, we focus on the programming of ESP32-C3-DevKITM-1 on ESP-IDF.
Getting Started with ESP32-C3-DevKITM-1 on ESP-IDF
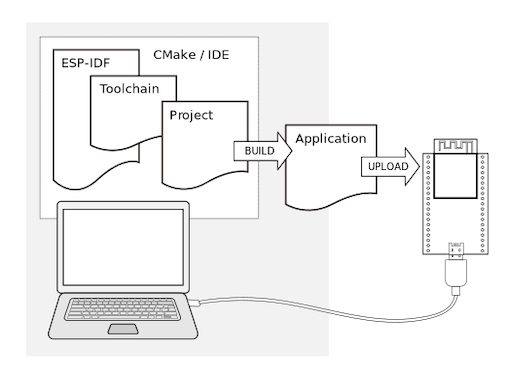
ESP-IDF is a native software development framework for ESP boards containing API, Toolchain scripts with a Command Line Interface (CLI). ESP-IDF follows a conventional approach to upload and run your programs to your ESP board.
You may also choose from the Online Installer or the Offline Installer based on your preferences.
Refer to the official Get Started Guide for ESP-IDF by Espressif Systems or this detailed Video Tutorial to get an overview.
Make a note that you need to install the master version of the ESP-IDF for the ESP32-C3 board series.
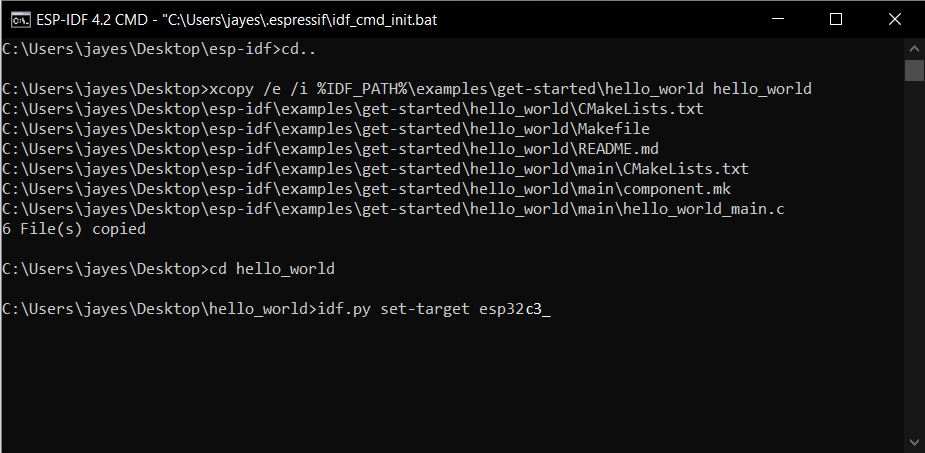
Following the same, you can run examples in the ESP-IDF folder like blink and hello world.
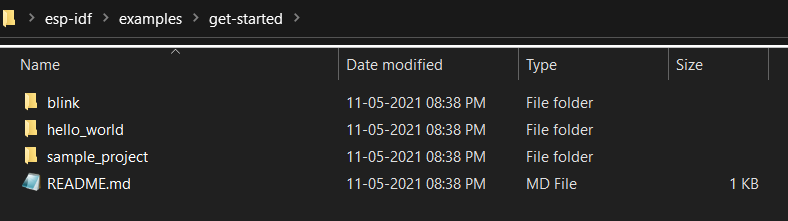
The blink one blinks the onboard RGB LED, which can be controlled from the same file itself.
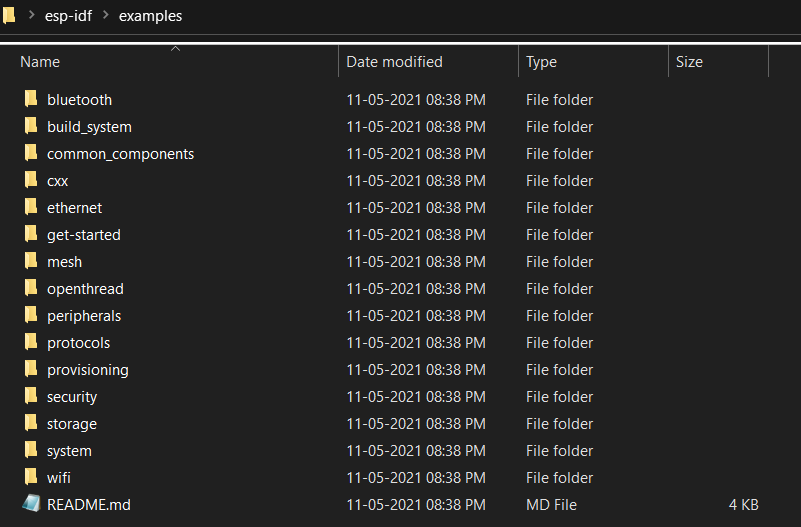
The ESP-IDF folder also contains some more programs to test out with instructions included in README.md file like Bluetooth, ethernet, wifi, security, protocols, peripherals etc.
Just remember to set a target for the board you are working with. In this case for ESP32-C3-DevKITM-1, you need to execute idf.py set-target esp32c3
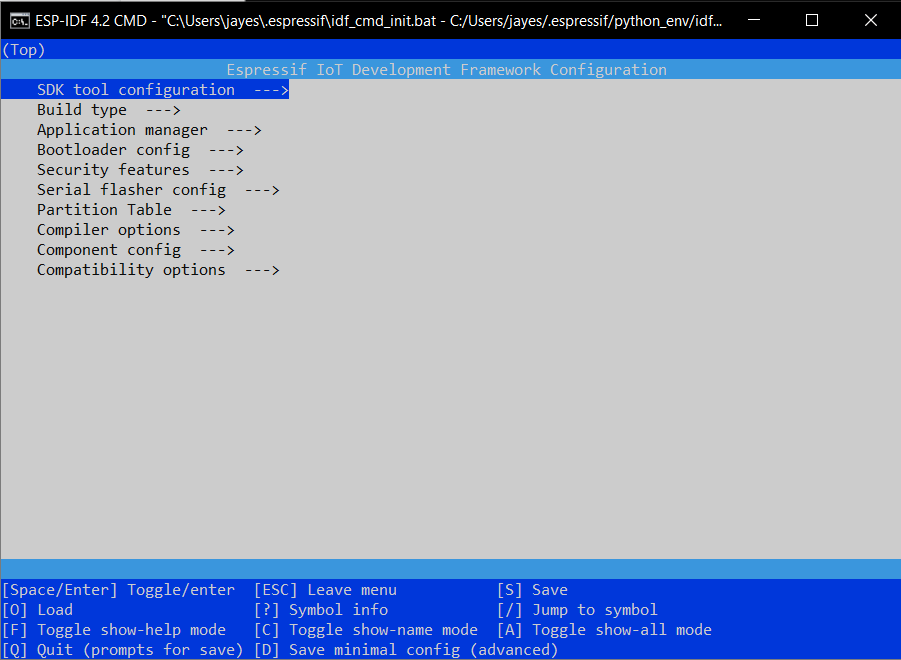
Suppose you get an error in flashing the code regarding the revision of ESP32-C3-DevKITM-1. Go to Idf.py menuconfig -> Component config -> ESP32C3-Specific -> Minimum Supported ESP32-C3 Revision -> REV2 -> Save and Esc, and then you can build, flash your program to your board.
You can also write your own C and C++ language program and flash it onto the board using ESP-IDF.
The ESP32C3 board also comes with an onboard temperature sensor. You can find the code for the same in the ESP-IDF examples folder itself. You can explore many more projects related to microcontrollers in the Projects section.


