How to Build a TinyML Smart Weather Station using Wio Terminal
You might have seen many ML-based projects for weather predictions. Where training of an ML model is followed by testing of the model for good accuracies.
You might have seen many ML-based projects for weather predictions. Where training of an ML model is followed by testing of the model for good accuracies. This tutorial will learn to deploy a similar type of ML model using an on-board TensorFlow Lite on the Wio Terminal. You will see all the steps for building the smart weather station, starting from data acquisition to deployment.
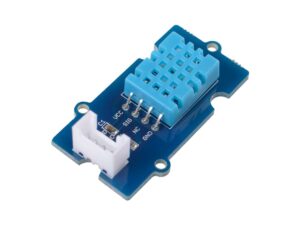
For this tutorial, you will need a Wio Terminal, an ATSAMD51 Core with BLE 5.0 & Wi-Fi 2.4G/5G dev board, and a Grove – Temperature & Humidity Sensor (DHT11). You will also need Arduino IDE for programming and deploying purposes and Microsoft Visual Studio Code for running python scripts. You can also use other code editors for Python, but Microsoft Visual Studio Code is used in this tutorial.
Getting Started with Data Acquisition: Temperature and Humidity Data
Before training the ML model, you will need past data of your locality on which the model would be trained on. This could be a tedious task as it is difficult to get such type of data. However, you can try getting this data in three ways.
Collecting the Data Using Sensor
One of the easiest ways to collect data is by programming your own hardware through a sensor. This might seem a suitable way, but it comes with a significant drawback. As the data needed for this use case needs to be timely collected for a long time, it is not practical to wait for such a long time. Additionally, you will have to label the data manually as it would be used for supervised machine learning.
Finding a Free Dataset or API
You can look for a reliable weather dataset for your locality, as there might be sources available for such data types. Although most of these sources might charge you for a subscription, you need to look for free sources critically.
Public APIs for data collection can also be implemented to get the data. You need to pass an input payload with the required parameters for calling the API. The API will output the dataset as its response. “For example, the National Environmental Agency in Singapore offers an API for Weather Data that is free for programmatically querying historical weather data.”
Web Scraping the Data using Python Script
There are many online sources that have detailed weather data of past years which are available for free. Wunderground is one of them but, most of these sources don’t have the downloadable format of data as they are just displayed on the website. For this tutorial, you need data from thein the CSV format which can be easily accessed for training the model. Hence, you can use Python script and libraries for scraping this data and storing it in CSV format.
Here is the python script for scraping the weather data from Wunderground. For detailed information about code and logic, visit Angel R’s article on medium.
import numpy as np
import pandas as pd
pd.options.display.max_columns = None
pd.options.display.max_rows = None
from datetime import date, timedelta
from selenium import webdriver
from selenium.webdriver.common.by import By
from selenium.webdriver.support.ui import WebDriverWait
from selenium.webdriver.support import expected_conditions as EC

# Use .format(YYYY, M, D)
lookup_URL = 'https://www.wunderground.com/hourly/us/ny/new-york-city/date/{}-{}-{}.html'
start_date = date.today() + pd.Timedelta(days=1)
end_date = date.today() + pd.Timedelta(days=4)
df_prep = pd.DataFrame()

options = webdriver.ChromeOptions();
options.add_argument('headless'); # to run chrome in the backbroung

driver = webdriver.Chrome(executable_path='./chromedriver.exe', options=options)

while start_date != end_date:
    print('gathering data from: ', start_date)
    formatted_lookup_URL = lookup_URL.format(start_date.year,
                                             start_date.month,
                                             start_date.day)

    driver.get(formatted_lookup_URL)
    rows = WebDriverWait(driver, 60).until(EC.visibility_of_all_elements_located((By.XPATH, '//td[@class="mat-cell cdk-cell cdk-column-liquidPrecipitation mat-column-liquidPrecipitation ng-star-inserted"]')))
    for row in rows:
        prep = row.find_element_by_xpath('.//span[@class="wu-value wu-value-to"]').text
        # append new row to table
        df_prep = df_prep.append(pd.DataFrame({"Day":[str(start_date.day)], 'Precipitation':[prep]}),
                                 ignore_index = True)

    start_date += timedelta(days=1)
df_prep
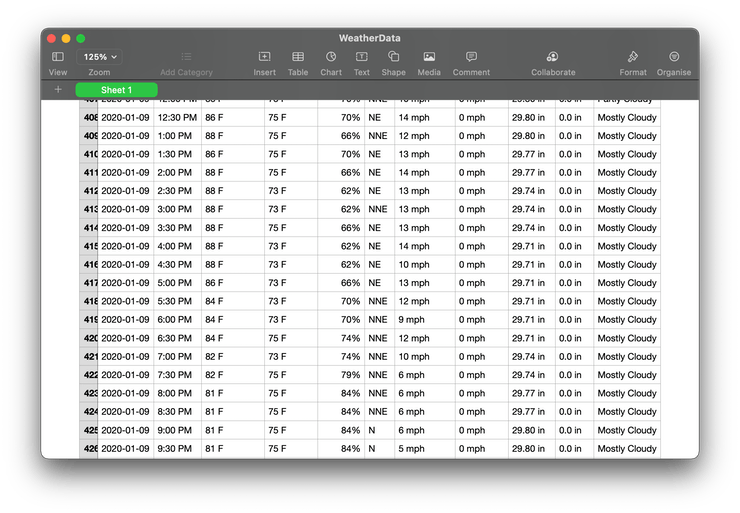
Finally, you should have the collected data in CSV format. Your CSV file should look similar to the below image.
Training the TensorFlow Lite Model with Weather Data
The collected weather data needs to be trained to build the model for the prediction task. You can use Python notebooks which allow you to run a particular part of code, this reduces complexity and helps you monitor the status of the project. You should take care of the order of execution programs to avoid any errors.
Install the depending python libraries for training the ML model. The TensorFlow and Scikit-learn libraries are required for the training of the model. TensorFlow is used for building the model, whereas Scikit-learn is for useful data processing operations.
Python Snippets
pip install tensorflow scikit-learn
The intelligent weather station will work on the real-time temperature and humidity data for predicting the weather conditions. Hence, you need to remove the unnecessary columns from the dataset. Also, you need to typecast the string values into integer values and the conversion of temperature data in Kelvin(K) form.
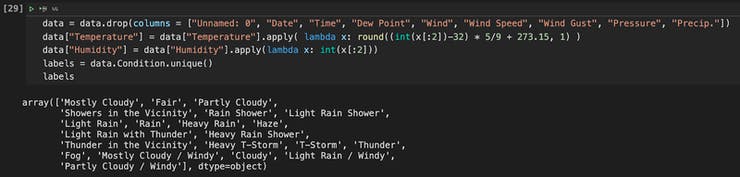
The following step is significant in terms of data structuring. As In the former sections of the code, unique labels were shown for the weather conditions. As there were so many options available for outputs for our model. It takes two inputs in which you will have to convert the labels into three categories.
Hence you will see three lists that divide these labels into “No Rain,” “Might Rain,” and “Rain” groups. The values are then one-hot coded to display the groups numerically. You also have an option to adjust these labels to be more effective for the climate of your locality.
norain = ['Mostly Cloudy', 'Fair', ... , 'Partly Cloudy / Windy']
mightrain = ['Showers in the Vicinity', 'Thunder in the Vicinity', 'Thunder']
rain = ['Rain Shower', 'Light Rain Shower', 'Light Rain', ... , 'Light Rain / Windy']
For using the input data efficiently, you have to perform prediction for a seven-input window at an instance. Each data point from the website depicts the “reading taken at half an hour interval.” Hence, the half-hourly predictions can be made with the “current + 6 previous half-hourly readings.”
It enables to support more features for the model to establish the relation between input-output data points. This can improve the accuracy and efficiency of the classification performance. Ensure the length of the arrays is the same after completing this step.
You have to split the data for training and testing using the scikit-learn library, using its train_test_split() method.
xtrain, xtest, ytrain, ytest = train_test_split(x, y, test_size = 0.20, random_state = 33)
The environment is now ready to define the model using the TensorFlow library. Once you determine the mode, then compile and fit it to the train data, which was split from the main data in the previous step. Finally, you have the model.h file, which is to be integrated into the Wio Terminal. Do this by replacing the model.h file in the WioTerminal_SmartWeatherStation folder where the Arduino code is present.
model = tf.keras.Sequential()
model.add(Dense(14, activation='relu'))
model.add(Dense(8, activation='relu'))
model.add(Dense(3, activation='softmax'))

model.compile(loss = 'categorical_crossentropy',
              optimizer = tf.optimizers.Adam(),
              metrics=['accuracy'])

model.fit(xtrain, ytrain, epochs=10, validation_split=0.1)
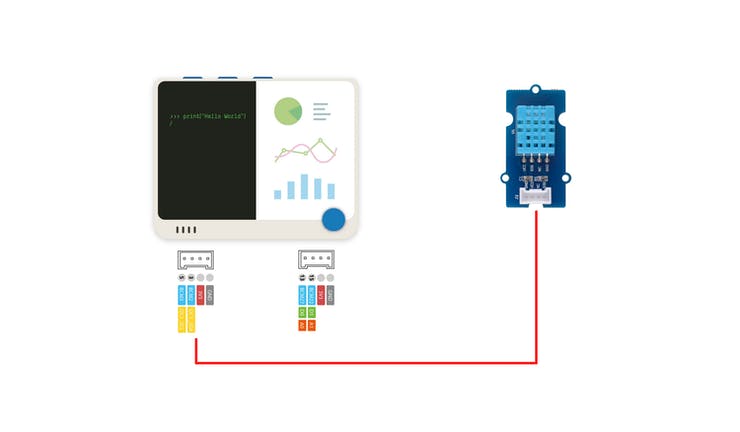
Connecting Sensor into Wio Terminal
Connect the DHT11 temperature and humidity sensor into the Wio Terminal as shown in the below image.
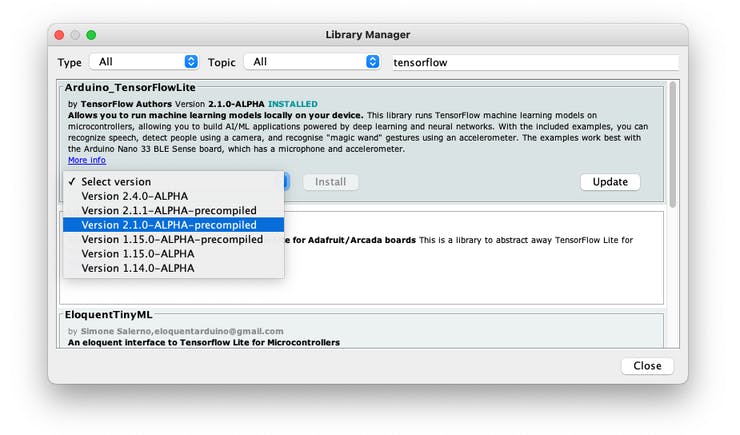
Installing the Libraries for Wio Terminal
If you are working on Wio Terminal for the first time, then refer to this getting started documentation. Now, download and install the Seeed DHT Library. If you are installing Arduino libraries through ZIP files for the first time then follow this documentation. After completing the above process, install the Arduino TensorFlowLite library via Manage Libraries in the tools section.
Slight Alteration to Arduino Code
Most of you may have tried to customize the model and dataset with respect to your choice. If you changed the labels according to your use case in model outputs, then edit the parameters of the code accordingly.
const char* OUTPUTS[] = {
    "No Rain",
    "Might Rain",
    "Rain"
};
int NUM_OUTPUTS = 3;
When making edits to the Arduino sketch, it’s important to ensure that the amount of memory should not exceed 192 kilobytes. Else the Wio Terminal may hang numerous times when it called the AllocateTensors() function, this may be due to less availability of the memory.
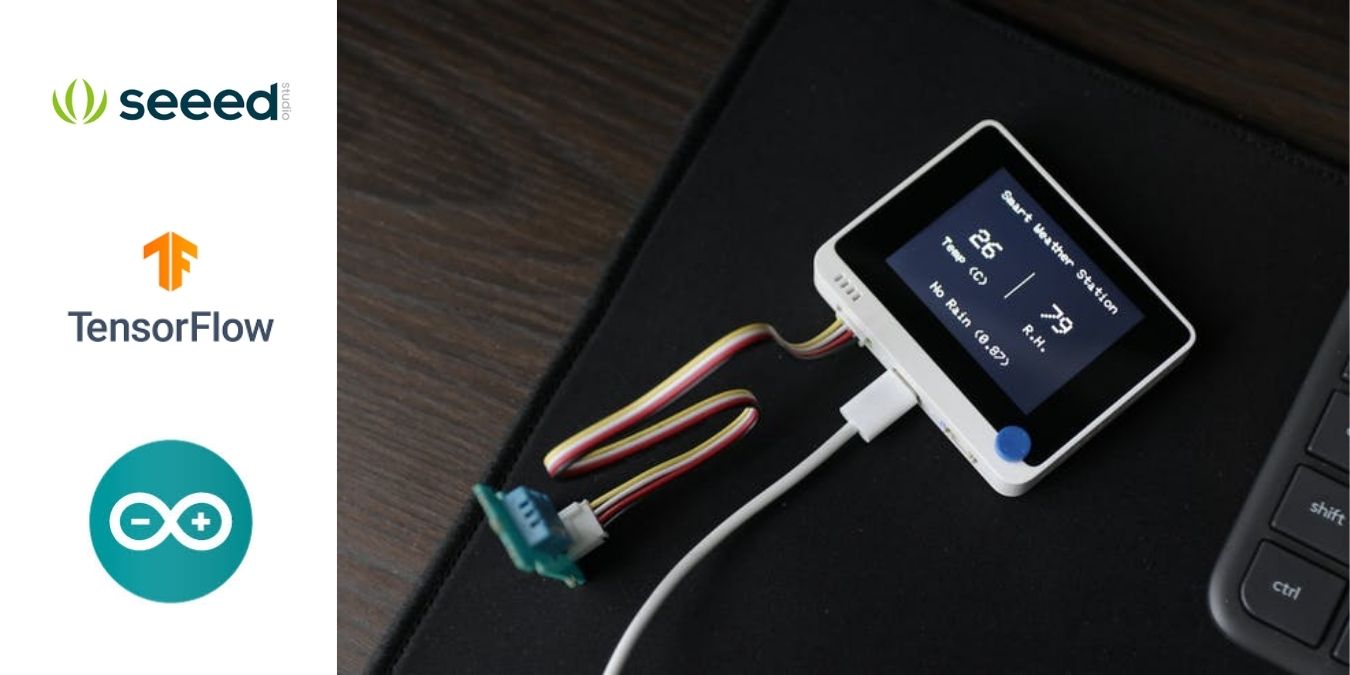
Deployed Smart Weather Station
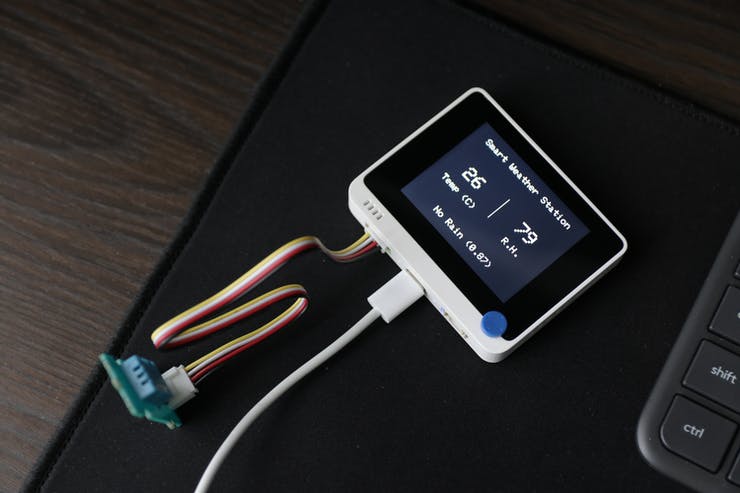
The TinyML smart weather station is finally working with the deployed TensorFlow Lite model. The image below shows the 7 half-hourly readings. The update occurs as soon as the new data comes in. For detailed information on the project, visit the Hackster’s post by Jonathan Tan.
Via Hackster


