3D Gesture Controlled Robotic Arm using the Seeed MGC3130 and Raspberry Pi
Interested in controlling an object or device without physically touching it? So am I!
Interested in controlling an object or device without physically touching it? So am I! For today’s tutorial, we will look how to build a DIY based Gesture Controlled Robotic Arm using the Microchip MGC3130 based, Seeed 3D gesture and position tracking shield for Raspberry Pi.
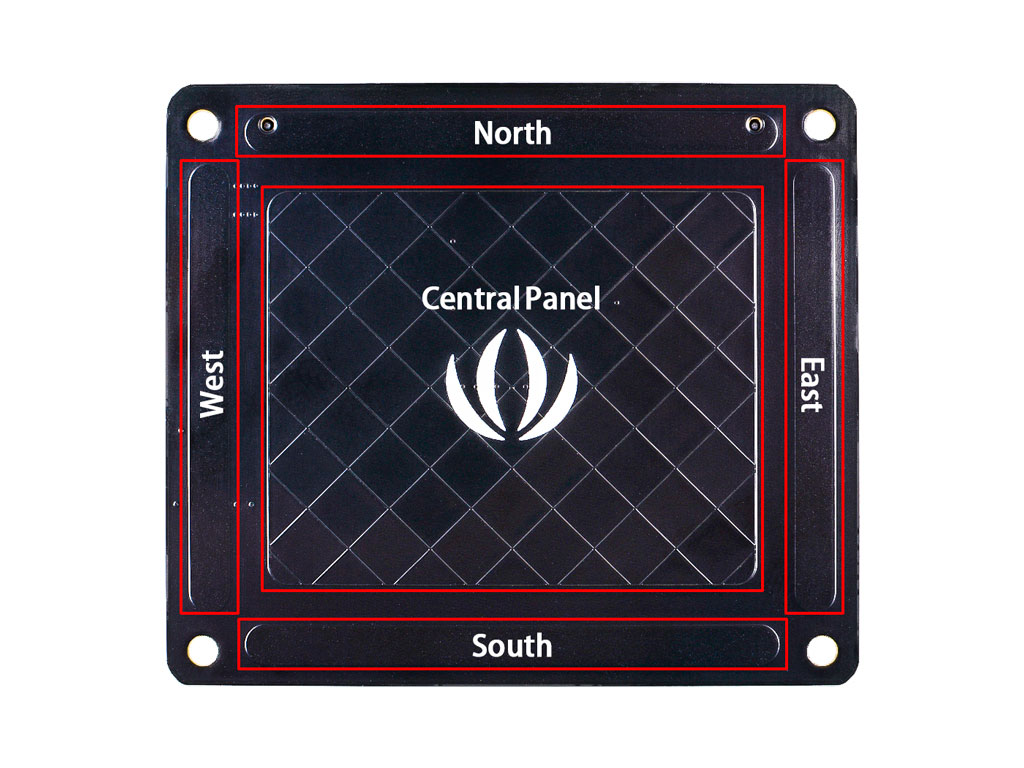
3D tracking has been one of the easiest ways of implementing Natural User Interfaces into devices as it allows users to interact with physical objects without touching them. This is exactly the capability that the Seeed 3D Gesture shield brings to the raspberry pi. This shield is based on the Microchip MGC3130 chip, which enables the Raspberry Pi with 3D gesture recognition and motion tracking function. It can capture x y z position information, can also do proximity sensing and touch sensing, support tap, and double click. As shown in the figure below, the recognition area is divided into two parts: the strip area distributed around and a central panel.
3D Gesture Controlled Robotic Arm using the Seeed MGC3130 and Raspberry Pi – [Link]


