


Ever wished to know the temperature on your way to breakfast after waking up in the morning? Now you can find it out in a fascinating way as Lorraine Underwood at The MagPi magazine designed a temperature controlled colorful stair lights system with raspberry pi. In this tutorial, we’re going to discuss that project.
Required Parts
- Strip of 50 neopixels
- A 5V power source for the lights
- 2 x terminal blocks
- 2 x male to female jumper cables
- A raspberry pi zero with SD card with Raspian installed
- Power supply for the Pi zero (temporary)
Make sure that the raspberry pi power supply gives exactly 5 volts and is capable of outputting 2.5A current.
Make The Circuit
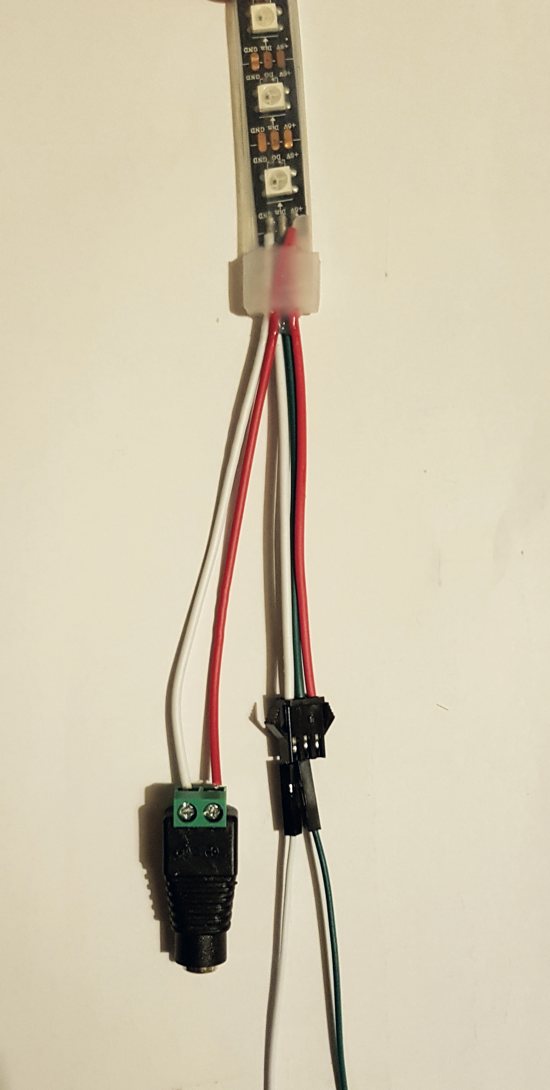
At first, examine your LED strip and find out which pin is what. Connect two wires to GND, one wire to Din, and one wire to +5V pin. Now, connect the 5V pin to the “+” terminal of the female jack and GND pin to the “-” terminal. Tighten the screws of the terminal block to ensure that the wires are connected properly.
Connect the Din and GND pin of the LEDstrip to the GPIO 18 and GND of the Raspberry Pi respectively, using the male-to-female jumper wires. Please note that Broadcom numbering (BCM) is used in this tutorial, not the physical numbering. It will look like below after making the connections:
Set Up The Weather API
You need to set up a weather API in order to get the outside temperature in your area. In this tutorial, forecast.io is used as they allow you to make 1000 queries per day free of cost. Go to forecast.io and select Developer option. Then, click sign up to create a developer account and provide your email address. A secret key will be sent to that address. Store it securely as you’ll need in the next step.
Prepare The Raspberry Pi
At first, you need to install the Adafruit NeoPixel library rpi_ws281x. Go here and follow the instructions to install the required files on your raspberry pi. Once installed, navigate to the examples folder, run any script you wish, and check if the LED strip is functioning properly.
Now, save the below script as stair_lights.py in the Raspberry Pi:
#!/usr/bin/python3
from urllib.request import urlopen
import json
import time
from neopixel import *

apikey="get_your_own_key" # get a key from https://developer.forecast.io/register
# Latitude & longitude - current values are Lancaster University
lati="54.005546"
longi="-2.784876"

LED_COUNT = 50 # Number of LED pixels.
LED_PIN = 18 # GPIO pin connected to the pixels (must support PWM!).
LED_FREQ_HZ = 800000 # LED signal frequency in hertz (usually 800khz)
LED_DMA = 5 # DMA channel to use for generating signal (try 5)
LED_BRIGHTNESS = 8 # Set to 0 for darkest and 255 for brightest
LED_INVERT = False # True to invert the signal (when using NPN transistor level shift)

def color(strip, color, start, end):
 for i in range(start, end+1):
 strip.setPixelColor(i, color)
 strip.show()

strip = Adafruit_NeoPixel(LED_COUNT, LED_PIN, LED_FREQ_HZ, LED_DMA, LED_INVERT, LED_BRIGHTNESS)
strip.begin()

count = 0
try:
 while True:
 #get the data from the api website
 url="https://api.forecast.io/forecast/"+apikey+"/"+lati+","+longi+"?units=si"
 meteo=urlopen(url).read()
 meteo = meteo.decode('utf-8')
 weather = json.loads(meteo)

currentTemp = weather['currently']['temperature']

#negative number will always be on
 color(strip, Color(0, 0, 255), 0,7) # Blue

 #what's the temp?
 if currentTemp > 0:
 color(strip, Color(75, 75, 255), 8, 15) # light Blue
 if currentTemp > 5:
 color(strip, Color(0, 255, 0), 16, 23) # dark Green
 if currentTemp > 10:
 color(strip, Color(75, 255, 75), 24, 31) # light Green
 if currentTemp > 15:
 color(strip, Color(255, 100, 0), 32, 39) # yellow
 elif currentTemp > 20:
 color(strip, Color(255, 50, 0), 40, 47) #orange
 elif currentTemp > 25:
 color(strip, Color(255, 0, 0), 48, 50) # Red
 #check every 5 minutes (change to crontab)
 time.sleep(300)

except KeyboardInterrupt:
 print("Exit")
 color(strip, Color(0,0,0), 0, 49)
Enter your own secret key in the apikey field on the 7th line. Also, replace the longitude and latitude values on line 9 and 10 with the coordinates of your area. Now save the file and you are almost done.
To start the script automatically after each reboot and check the outside temperature every five minutes, set up a cron task by entering the following command:
sudo –E crontab -e
A file will be opened and add the following lines at the end of the file:
*/5 * * * * /usr/bin/python3 /home/pi/stair_lights.py
@reboot /usr/bin/python3 /home/pi/stair_lights.py
Save the file and exit.
The Color Scheme
The following table shows which color represents which temperature range. You can modify the script to change the current color scheme.
| Temperature (°C) | Lights (Nos) | Color |
|---|---|---|
| 0 – 4 | 9 – 16 | Light Blue |
| 5 – 9 | 17 – 24 | Dark Green |
| 10 – 14 | 25 – 32 | Light Green |
| 15 – 19 | 33 – 40 | Yellow |
| 19 – 24 | 41 – 48 | Orange |
| 25+ | 48 – 50 | Red |
RELATED POSTS
 19 May, 2016 ST TL072 – dual JFET opamp die-shot
 9 January, 2019 Updated 1000 X-Series Oscilloscopes from Keysight Technologies
 23 March, 2021 Analog Devices’ LT3950 1.5 A multi-topology LED driver offers 20,000:1 range dimming of the LED
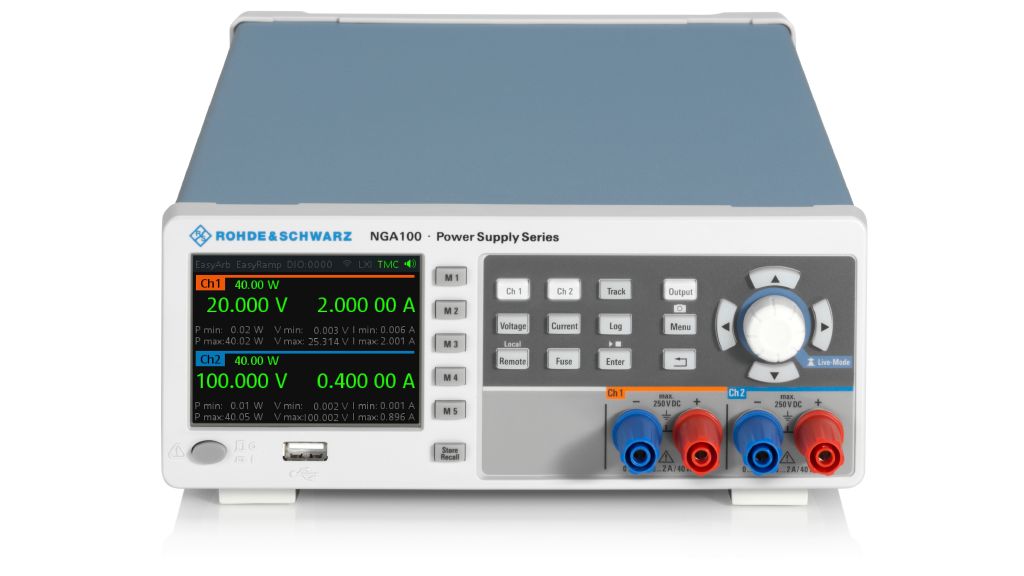 26 April, 2021 New Power Supply Provides Single and Dual Outputs with up to 35 V / 6 A per Output
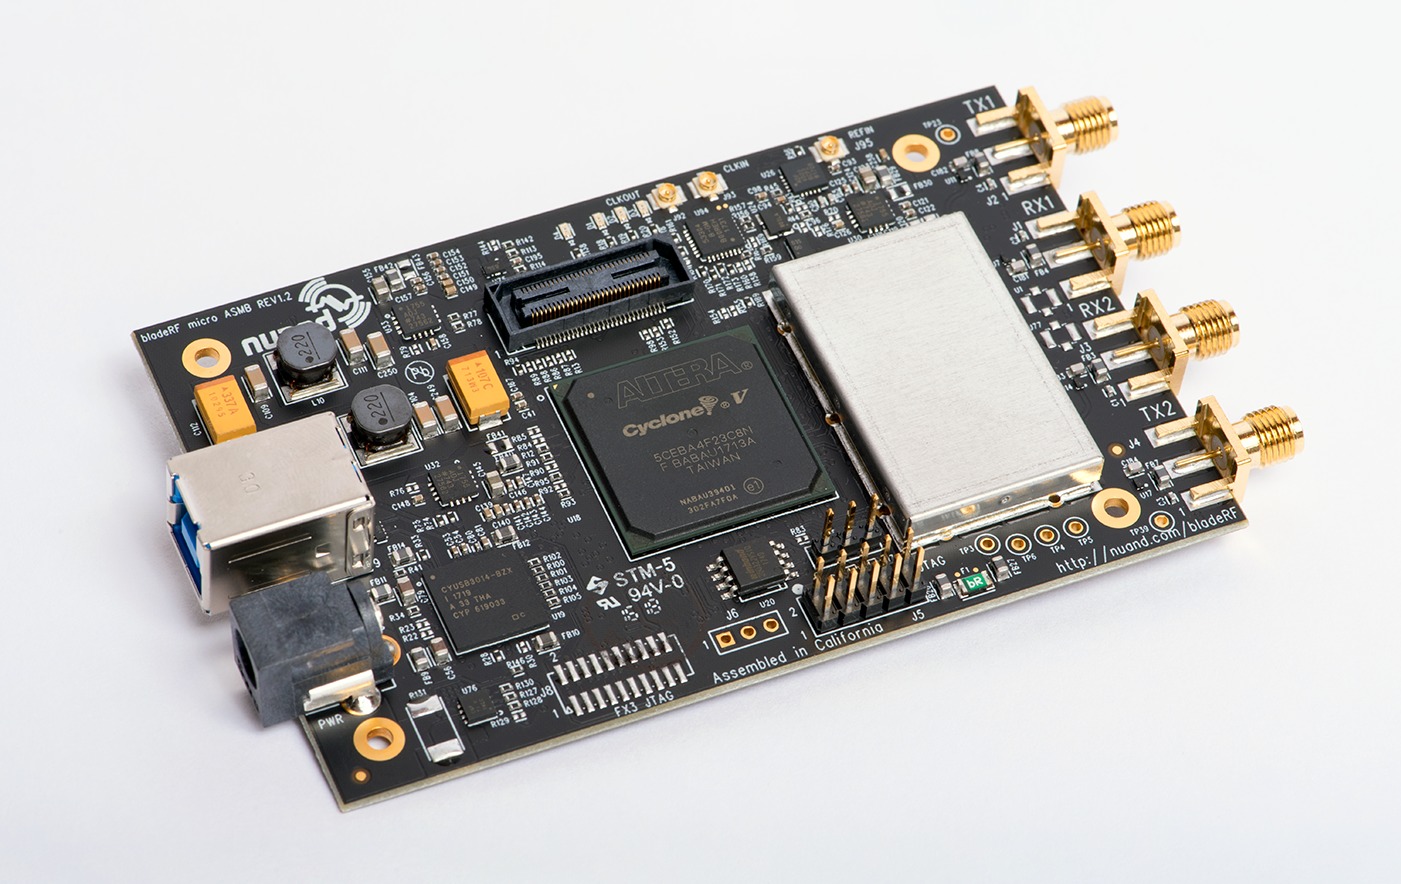 20 September, 2018 Nuand’s Launches the BladeRF 2.0 Micro With FPGA Support
 25 March, 2016 AC Motor Speed Controller using U2008B


