CrowVision 11.6” Capacitive Touch Display Review – Compatible with Raspberry Pi, BeagleBone, Jetson Nano, and More
The CrowVision is an 11.6” IPS Capacitive Touchscreen Display module specially designed to be attached to most single-board computers(SBC) with adjustable mounting holes in the back. The display features a resolution of 1366×768, so for an 11.6” it translates to 135ppi.
The CrowVision is an 11.6” IPS Capacitive Touchscreen Display module specially designed to be attached to most single-board computers(SBC) with adjustable mounting holes in the back.
The display features a resolution of 1366×768, so for an 11.6” it translates to 135ppi. It offers a wide viewing angle of 178 degrees. Connectivity options include a USB micro socket for touch functionality, with a mini HDMI port as the display input.
Unboxing
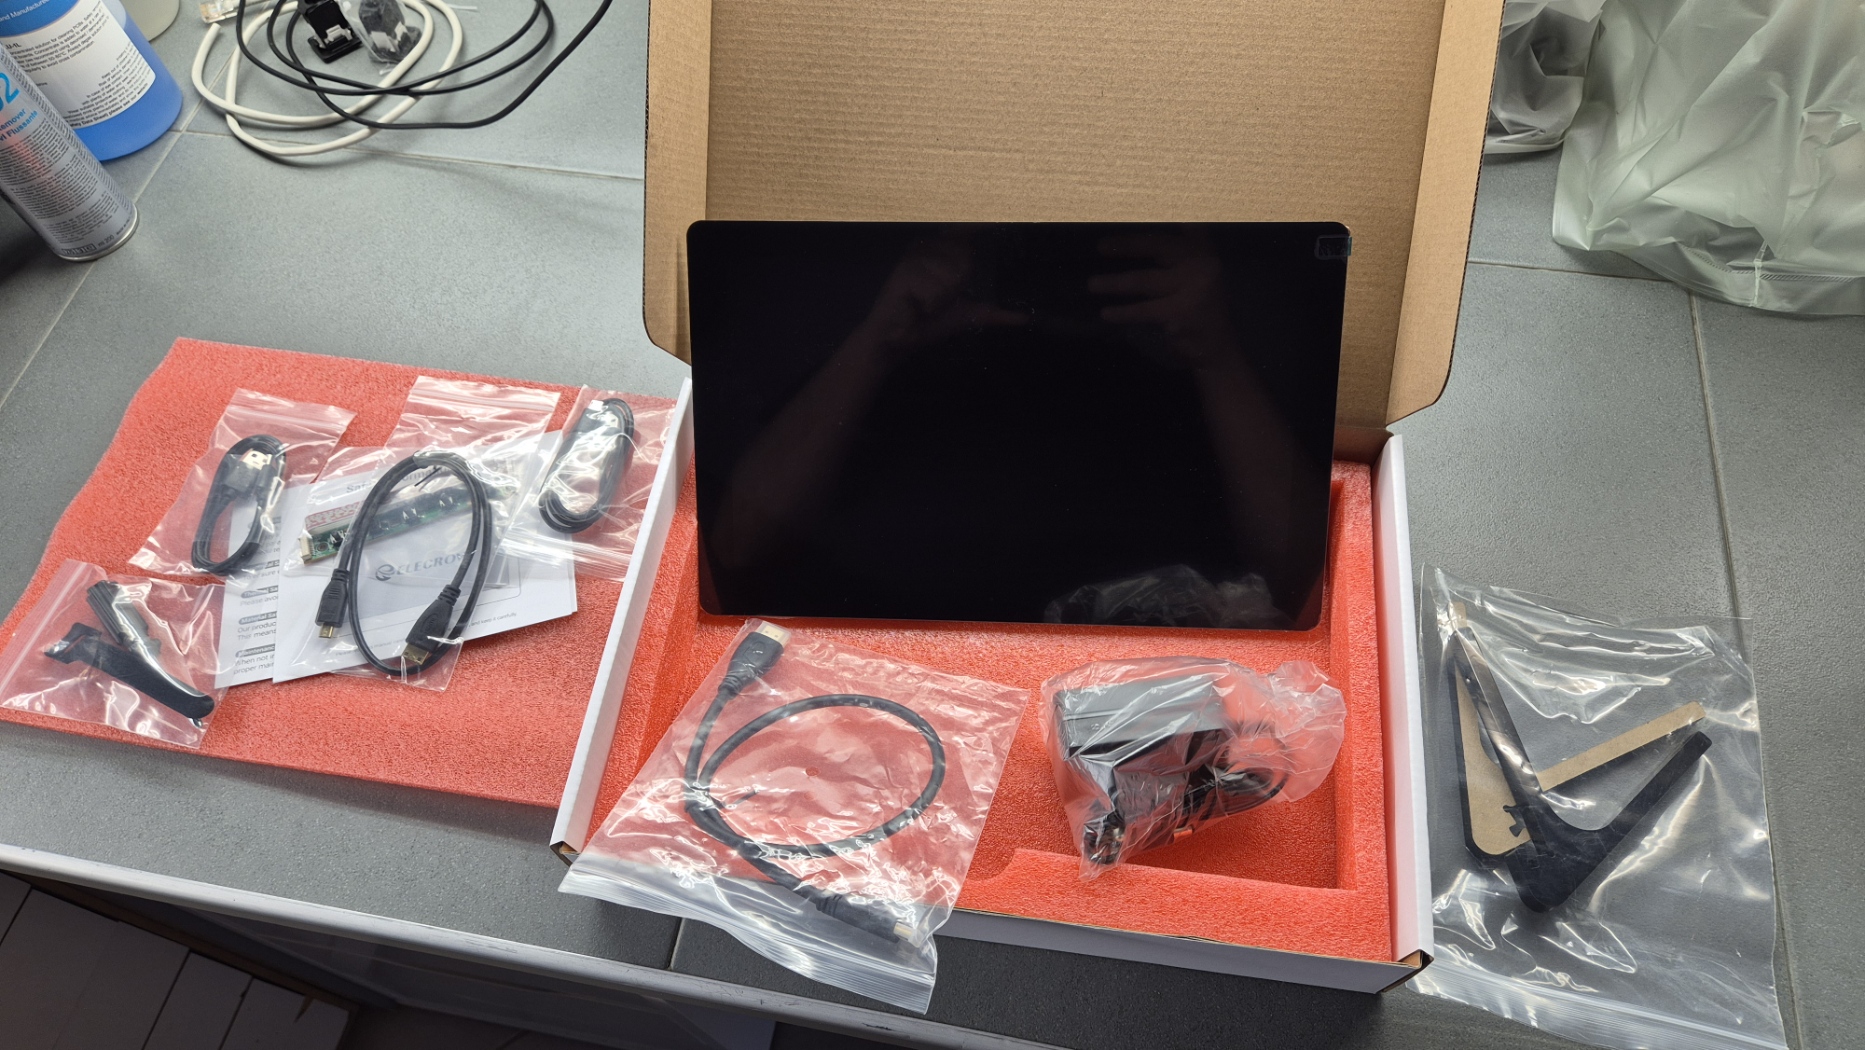
Once the box arrives at your doorstep you will find a 12V/2A power supply, USB Type-C and micro USB cords, HDMI to mini HDMI and micro HDMI to mini HDMI connectors, two cable organization “ribbons,” a screwdriver, an on-screen display (OSD) control panel with five buttons, and a guide for users all available in the box.
Package List
- 1x 11.6 inch capacitive Touch Screen
- 1x USB-A to USB-C cable
- 1x USB-A to Micro B cable
- 1x HD to Mini HD cable
- 1x Micro HD to Mini HD cable
- 1x OSD Control Board
- 1x Power Adapter
- 1x Screwdriver
- 2x Ribbon
- 1x User Manual

Display Driver
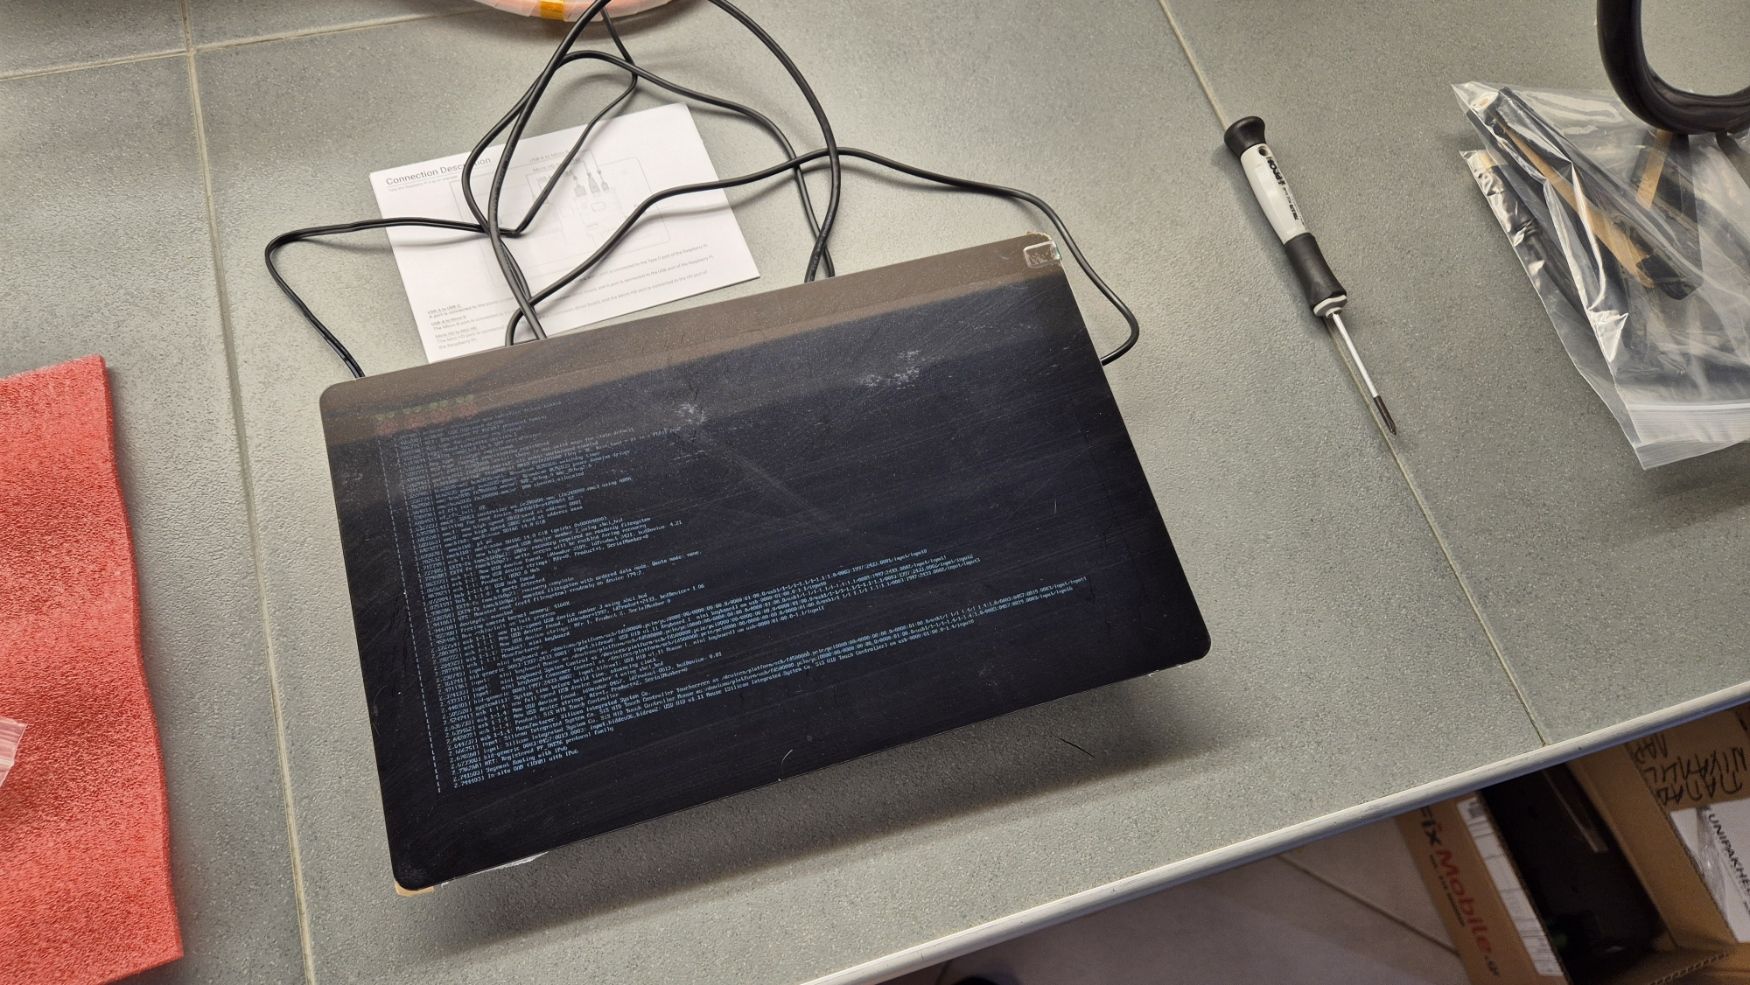
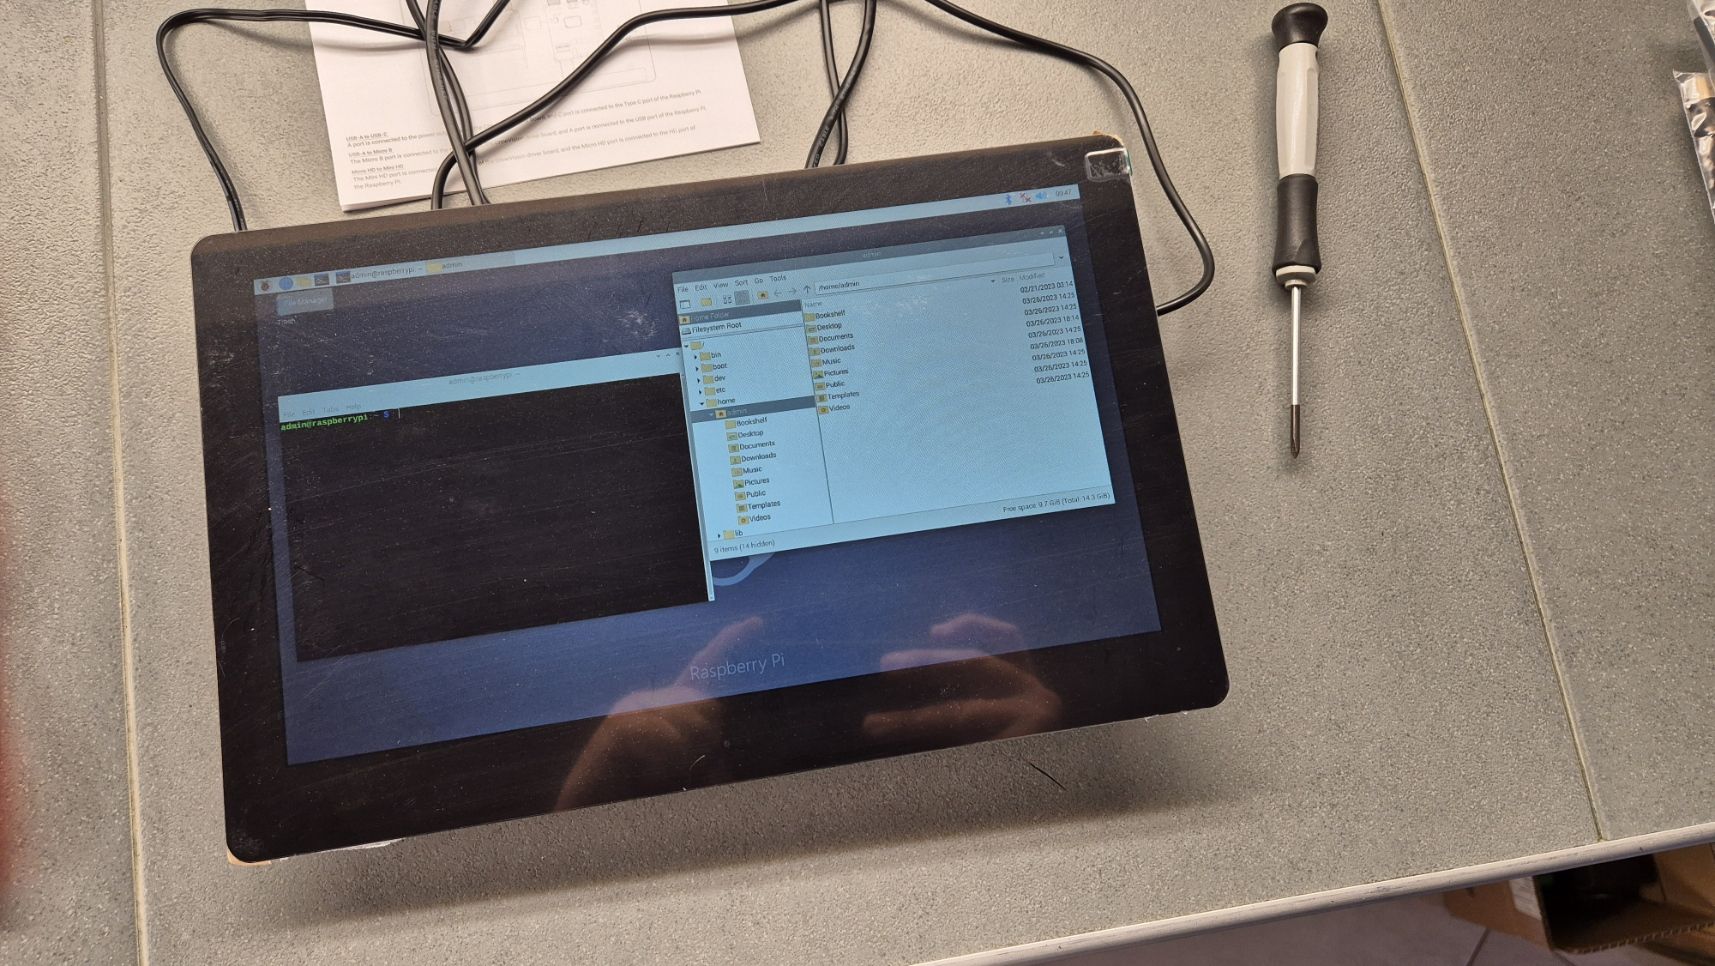
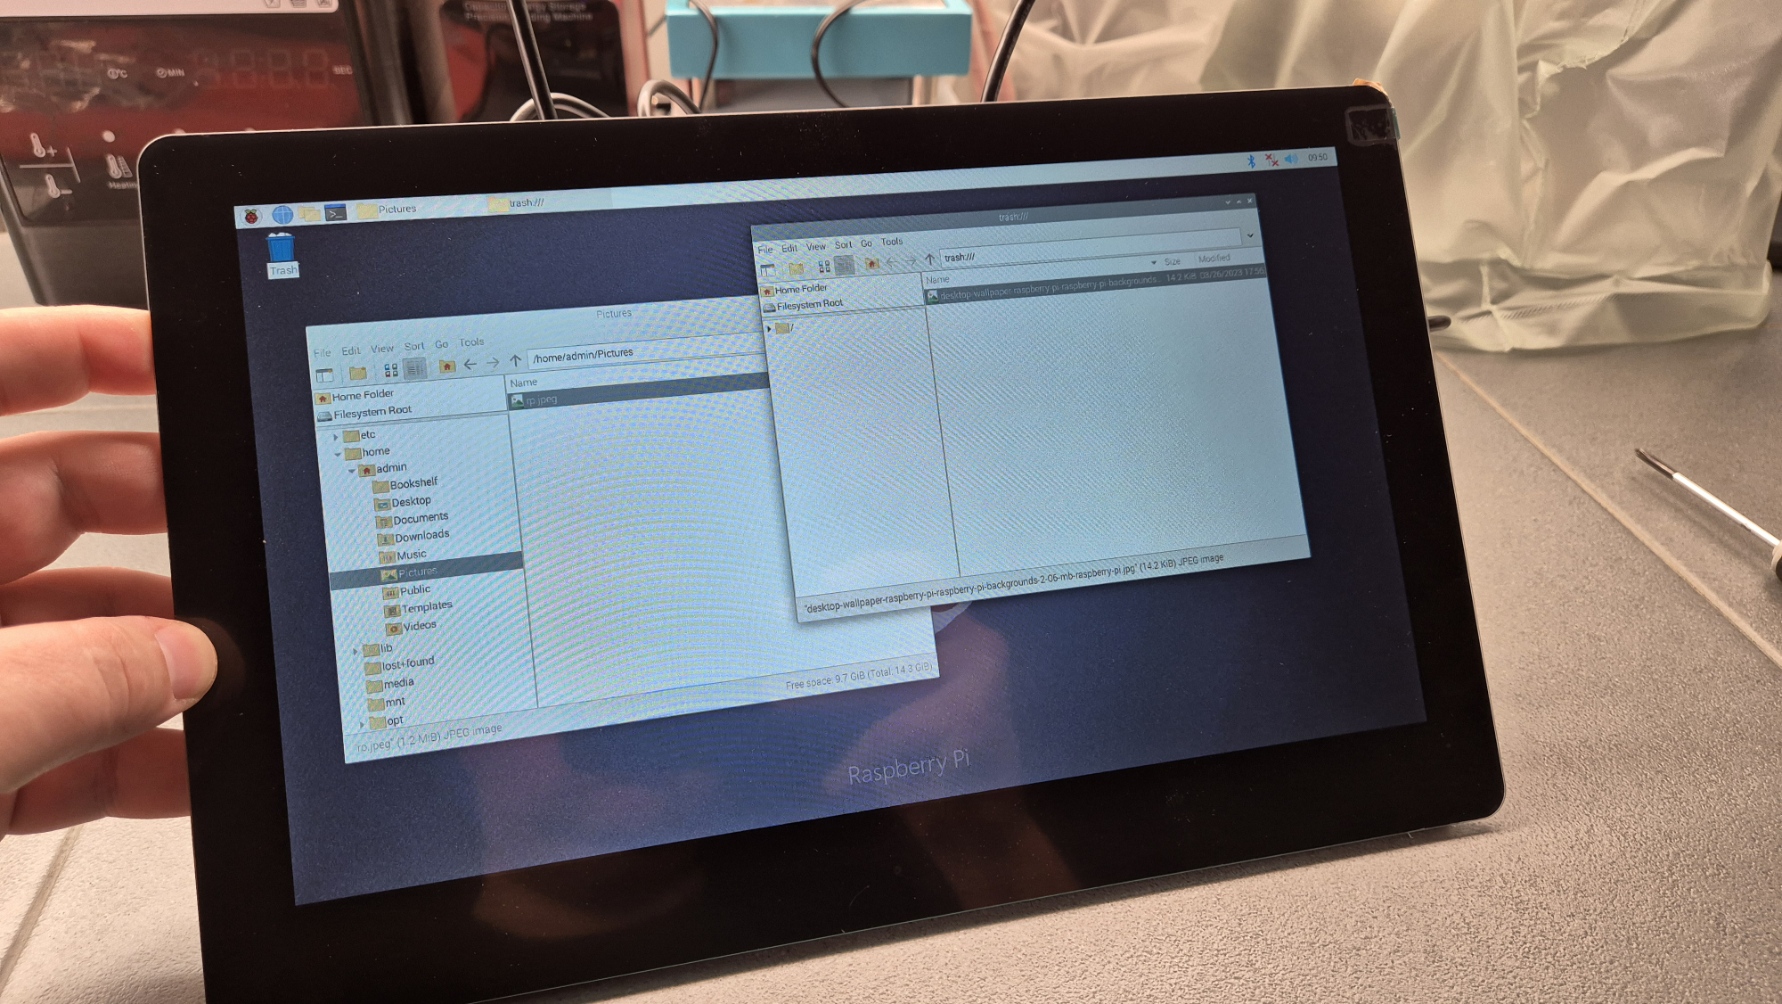
The company provides a detailed description of the control board, for you to get started easily, in the same image you can see other brass mounting holes through which you can attach supported SBC just with three screws. Speaking of the display, after a close inspection I found out that the display is built around an RTD2556 display controller which is quite a popular controller and used often as a display driver. While the RP4 was booting we saw some artifacts on the small fonts on the screen, and we thought this was due to the low resolution of the device.
Specifications
- Size: 11.6 Inch
- Touch Type: 5-point Capacitive Touch
- Resolution: 1366*768
- Color Depth: 16M
- Viewing angle: 178°Wide Viewing Angle
- Display Type: IPS Panel
- Screen Type: TFT-LCD
- External power supply: 12V-2A
- Digital input: HDMI-compatible interface
- Interface: 1xKeypad interface, 1x Power supply 5V output, 1x Mini HD interface, 1xTouch interface, 1x Speaker interface, 1x Headphone socket,1x Power supply 12V input
- CompatibilitySystem: Raspbian, Ubuntu, Windows, Android, MAC OS, and Chrome OS,etc.
- Active Area: 256.13*144mm(L*W)
- Dimension Size: 290.8*184.2mm(L*W)
The display will not come with an enclosed instead on the sides of the display you will have 3M adhesive tape which will be useful if you are making your custom enclosure for the board.
Features
- 11.6-inch high-resolution screen with 1366*768 resolution, IPS panel, and 178° wide viewing angle provides a better visual experience
- Unique rear fixing structure with sliding fixing pillars, compatible with most single-board computer models, easy to assemble
- Wide compatibility, compatible with multiple operating systems (Raspbian, Ubuntu, Windows, Android, MAC OS, and Chrome OS)
- Supports audio, video, and capacitive touch, plug and play
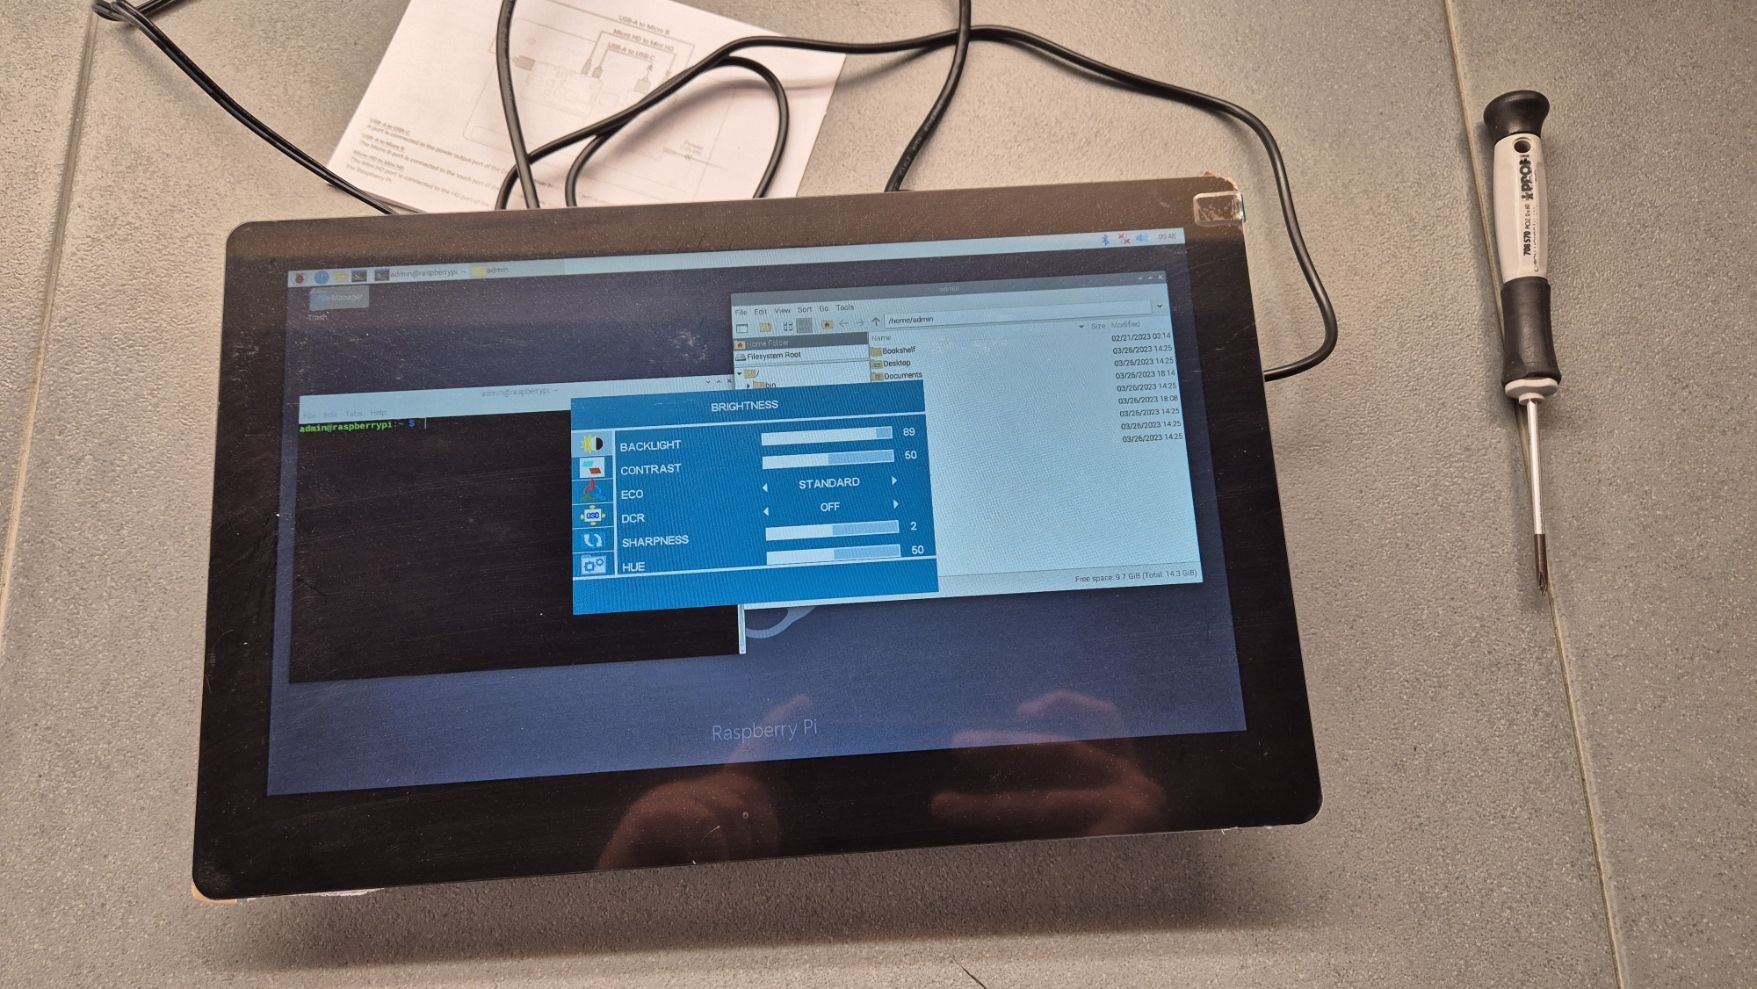
- Integrates a variety of peripheral interfaces (such as speakers, headphones, keypads, touchscreens) and onboard OSD adjustment keys
- The mainboard is equipped with power conversion function of output 5V/3A, not need to separately connect an external power supply for the single-board computer.
Support various SBCs
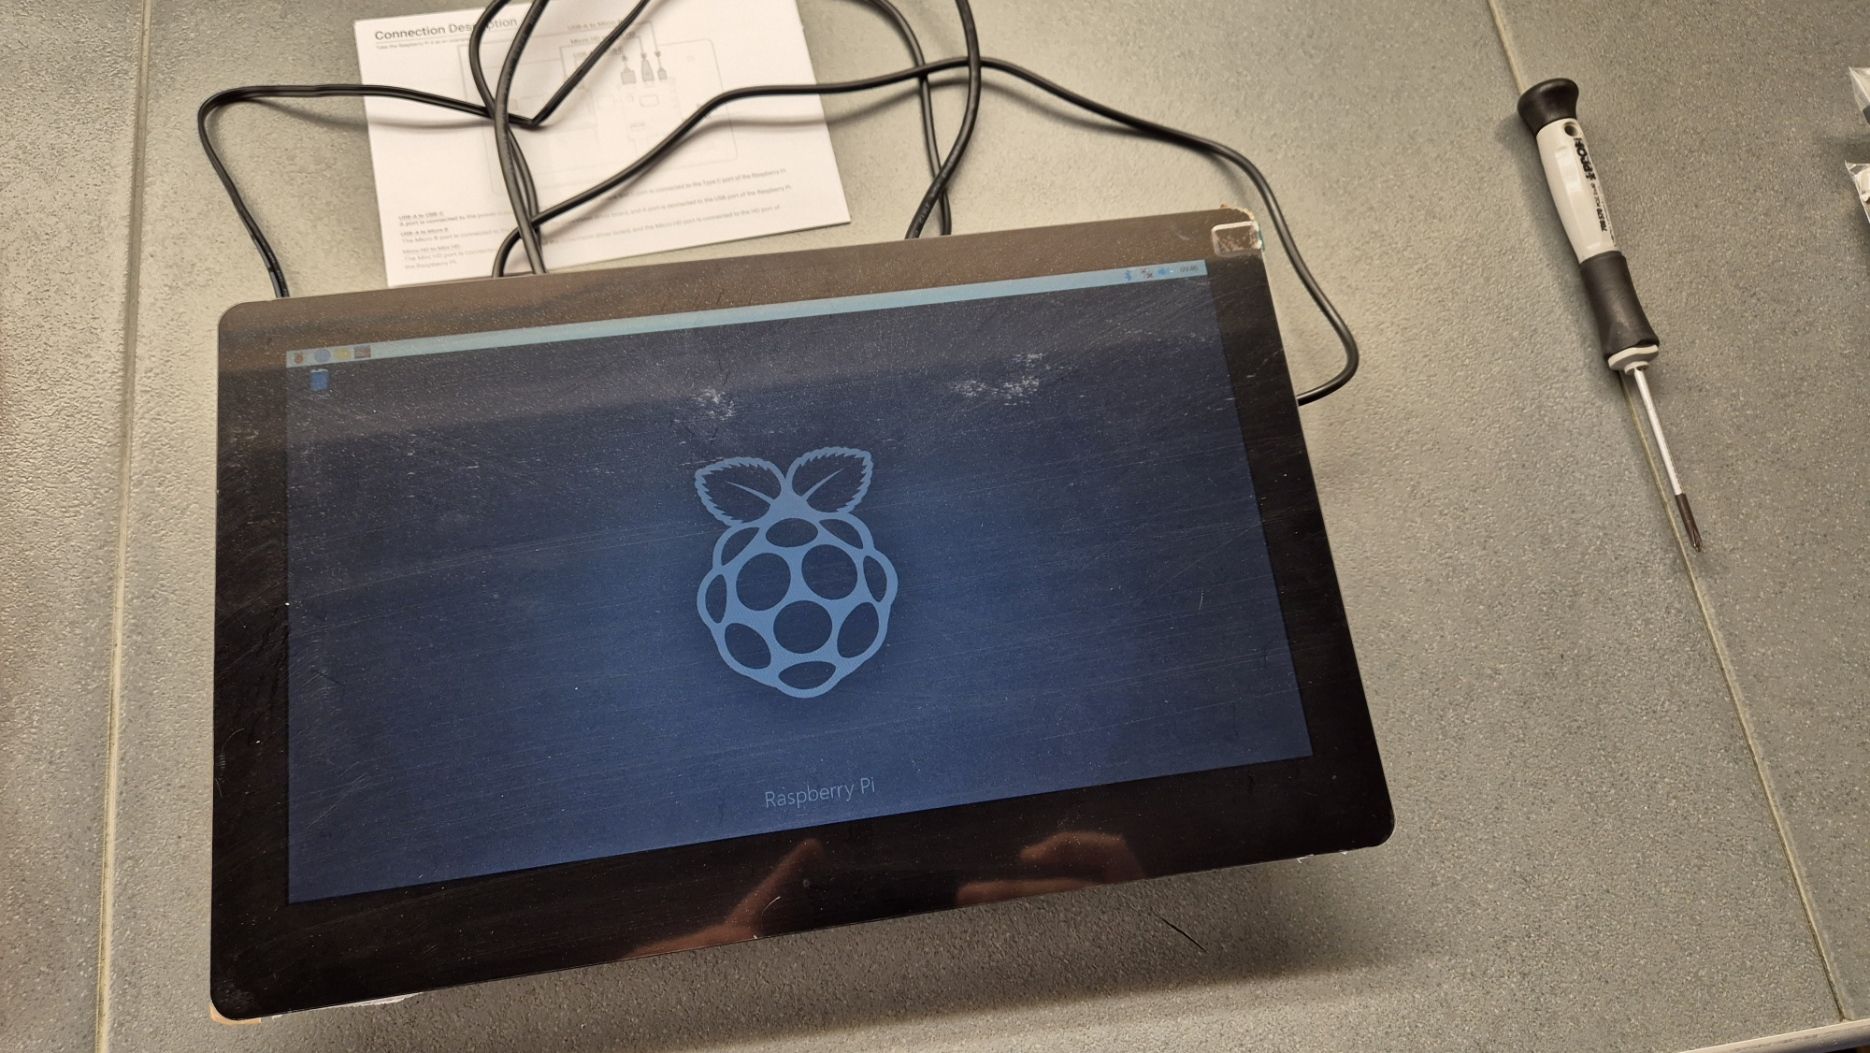
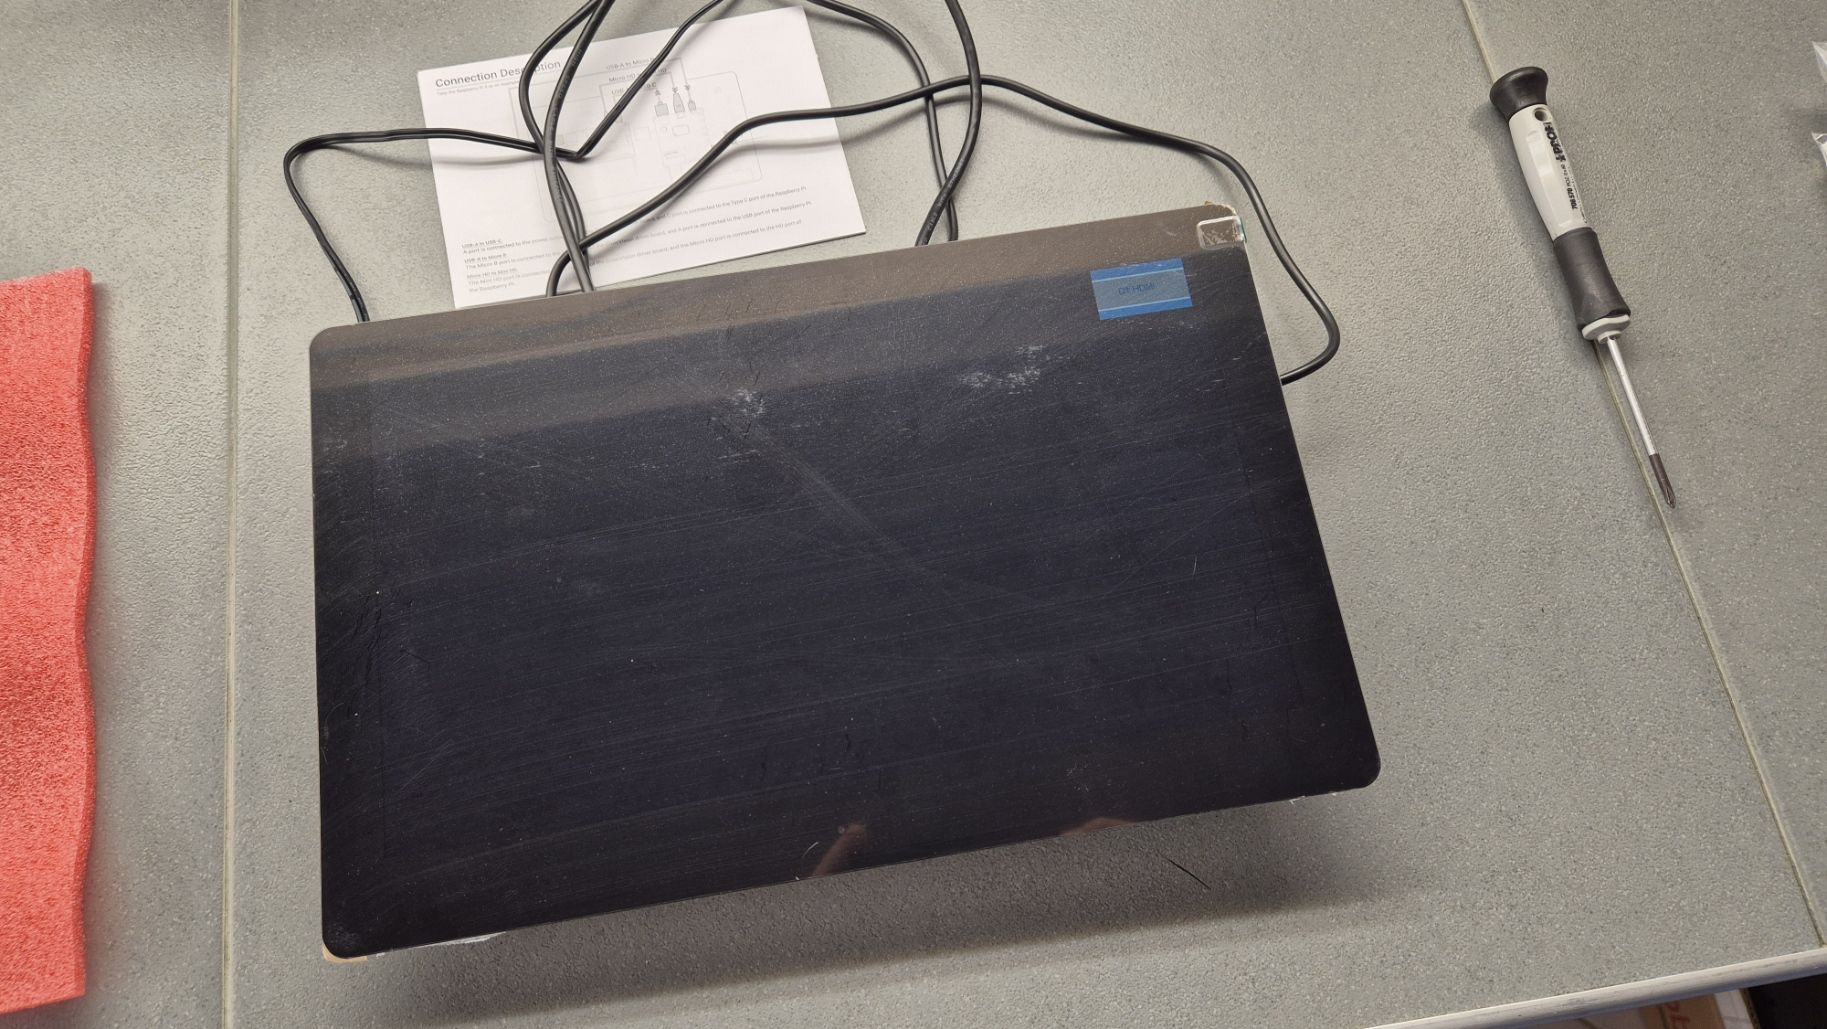
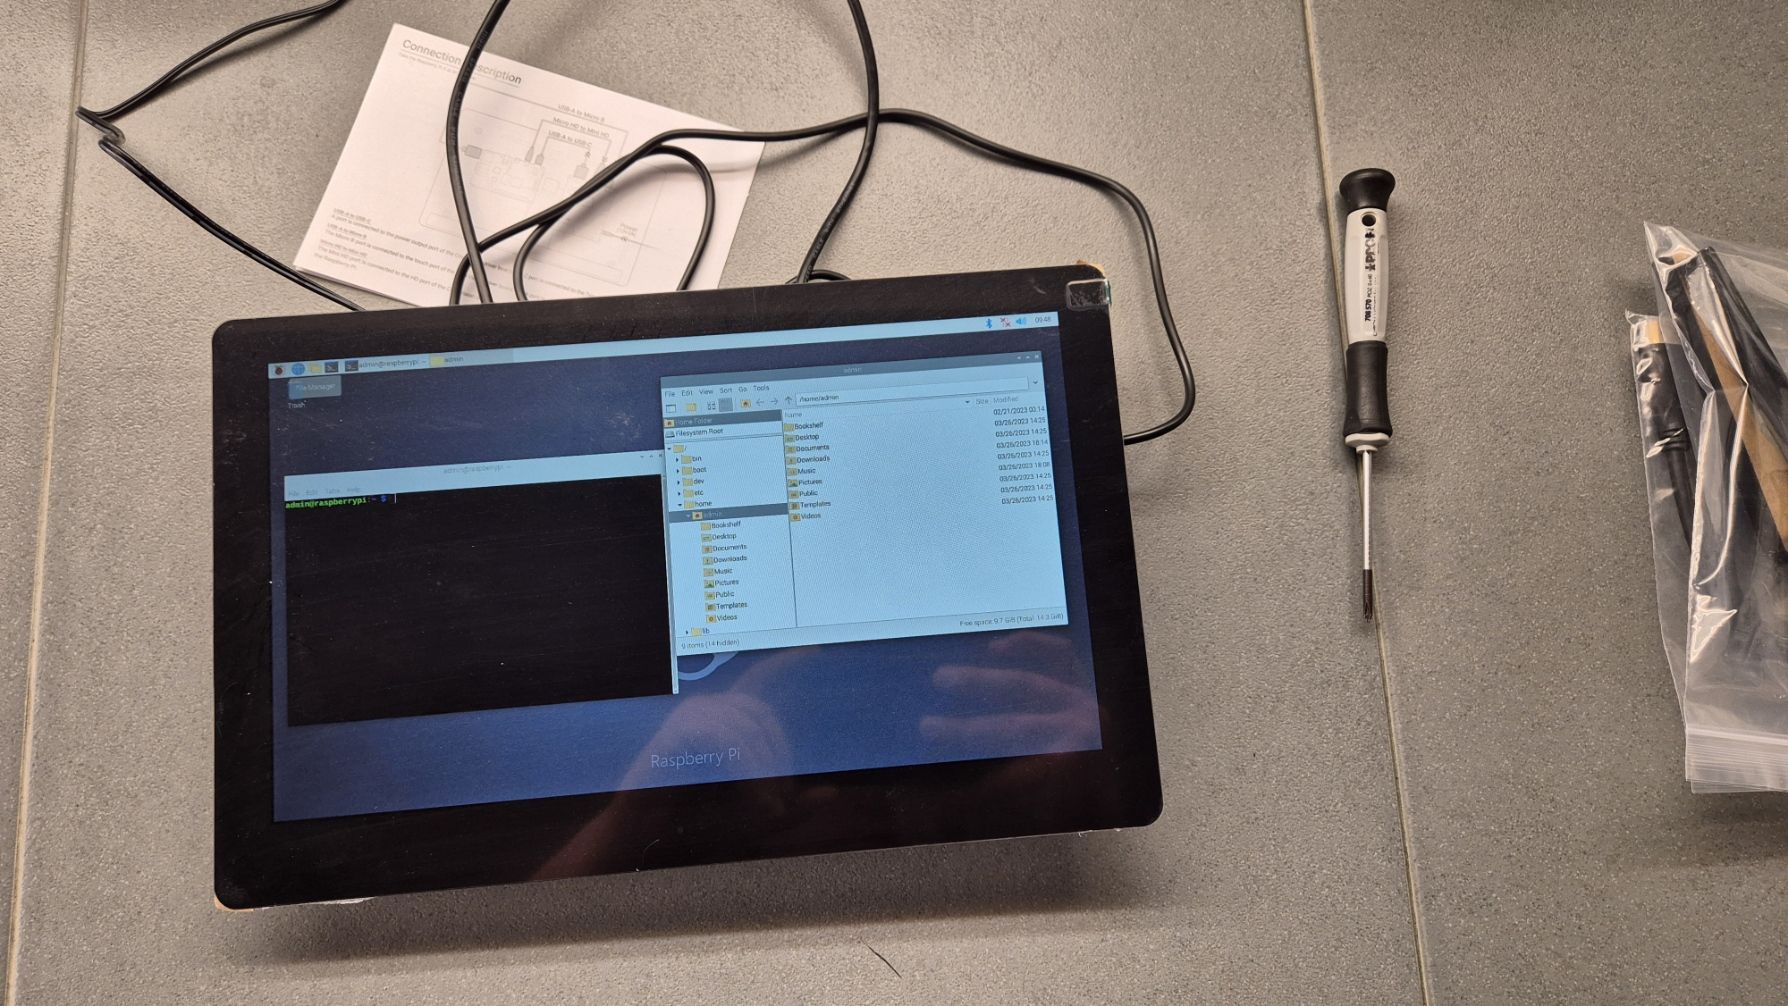
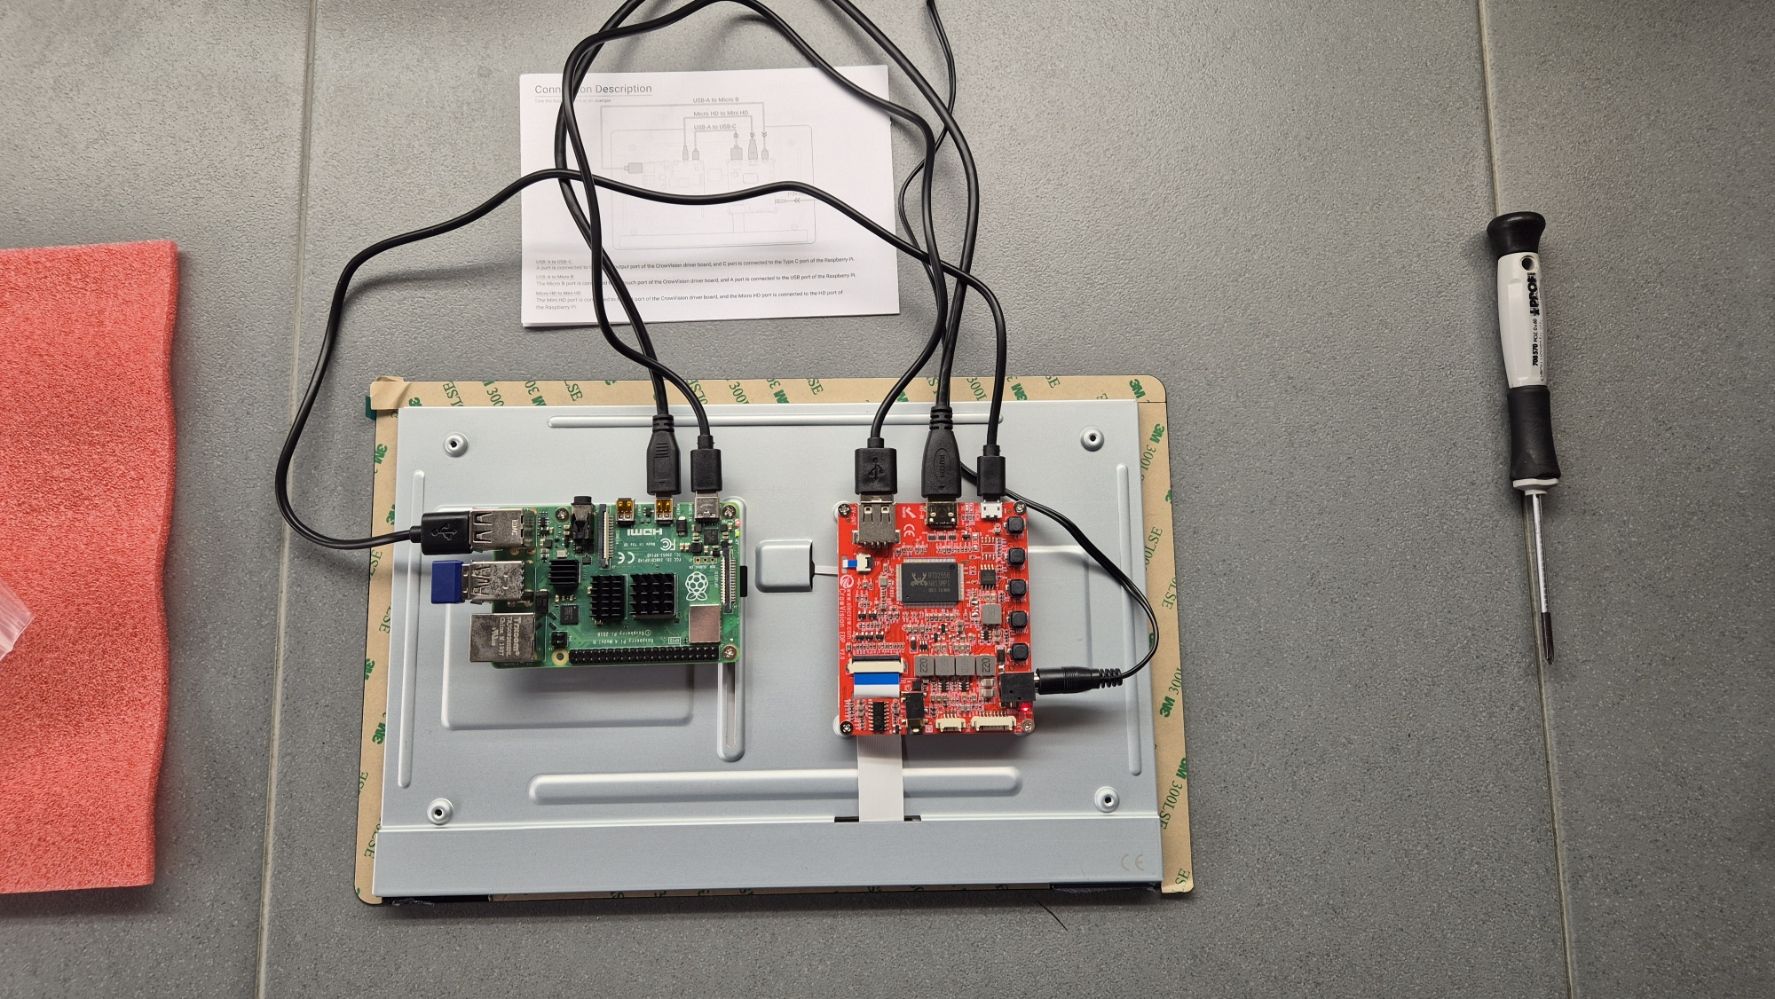
For convenience, the company also provides a list of supported SBCs along with mounting instructions, once you secure your SBC in the back of the display you need to connect, a mini HDMI to micro HDMI cable for video output, and a USB to USB-C cable for power. One downside of this setup is that as this board offers versatility there will always be a cable mess of cable when using this board. You can see the mess in the following photo. This could be managed with smaller or specially designed cables, but we use generic ones.
Power Delivery
Although it’s theoretically possible to connect various SBCs within the supported dimensions, one thing to note is the power output from its control board. It maxes out at 5V/3A, which, for the most part, does the job. But, if you’re planning on hooking up some of the more power-hungry models, you might find it falling short. It’s not that important but something to keep in mind. I had to dig out an extra power source for one of my setups, but once that was sorted, it was smooth sailing.
Plug n Play
Elecrow’s done their homework, testing many computing devices to ensure they play nice with the CrowVision. It’s reassuring to see a company not just throw tech specs around but back them up with real-world testing. For the devices that are directly supported, it’s pretty much a plug-and-play experience, which is fantastic.
Conclusions
The board is good but there are two small problems with this display module, the first one is that they do not provide an enclosure for the display but for those who want to get an enclosure quickly they provide .OBJ files for easy going. You can always print the enclosure or you can give it to the fab house for them to print. The second is the low resolution of the display which makes the smaller elements not to seen clearly.

In summary, if you’re into tinkering with SBCs or looking for a reliable control board for your projects, the CrowVision is worth considering.
More information
The company also provides a wiki page for further details but note thing to be careful of is its power output limitations with certain models, and you should be good to go.
Purchasing
If you want to purchase this cool and new little display module you can find the display module for $119.90 on Elecrow store. Happy tinkering!


