Keybon: DIY a Functional (but Elegant) Macro Keyboard
So, we have all been there. Looking at our keyboard, adding bindings with our extra keys, but then to go "what did I put in that key?".
So, we have all been there. Looking at our keyboard, adding bindings with our extra keys, but then to go “what did I put in that key?”. It happens to the best of us, no matter how used you are with your apps, games, or workflow. A solution for this, which we have seen used a lot for example in the streaming industry, is one of those macro keyboards with an LCD for each key, until you look at the price, and see all your dreams shattered away for yet another overpriced piece of electronics. If only someone made it easy and cheap for us, makers, to DIY or own solution. Well, say no more!
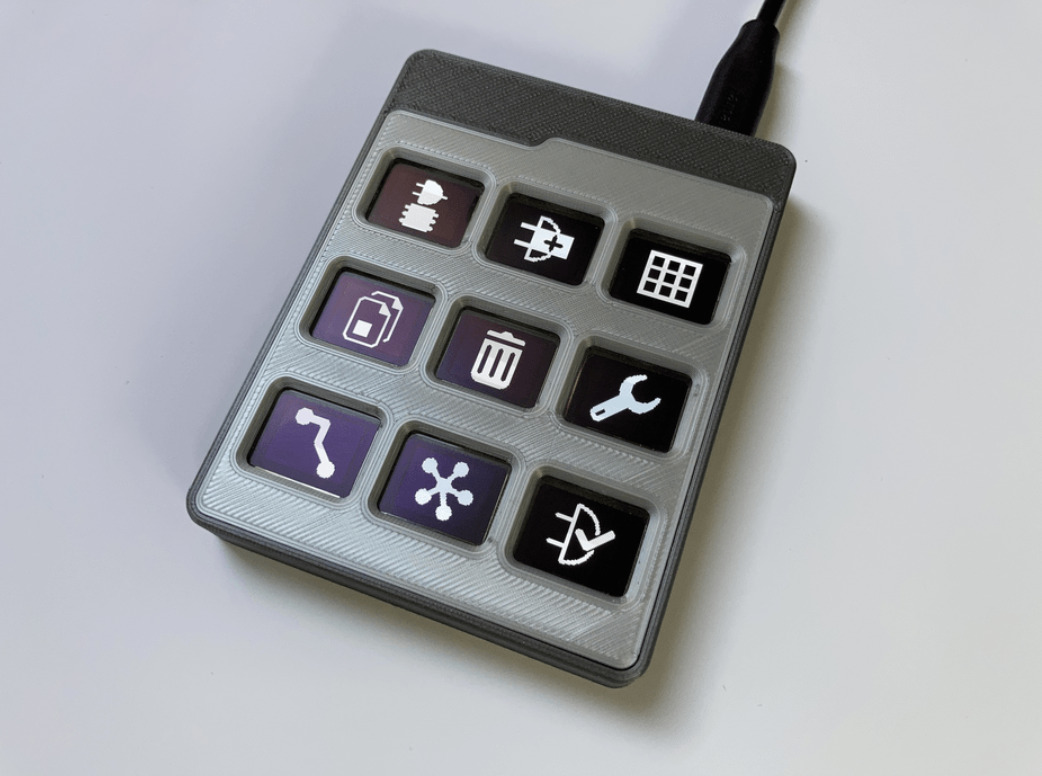
Today we are talking about a very interesting project, the Keybon, designed by Max Kern. It consists of an extremely customizable macro keyboard, at a very reasonable price point. It comes with a companion software, so that its key layout can accompany your workflow, by witching accordingly to the app running in your computer. From the outside, you will see its 9 tactile buttons, with an 0.66” OLED screen integrated into each one.
But how does it work? Well, it has two possible modes:
- In standalone mode, it is basically a simple HID keyboard, showing its preconfigured functions on the buttons
- With the companion software (which is for Windows only), allows you to create and customize your own keyboard layouts and even assign them to any application present on your computer. By monitoring the application in focus at the moment, the companion app then communicates via a virtual COM port with the Keybon to send the respective layout to the device and it in turn replies with the keys pressed
We already talked a lot about its functionality, now it is time to take a peek at the hardware: the Keybon is connected via USB (obviously) with the computer, and the brains of the operation had to be chosen carefully, due to the necessary RAM to display the images on the 9 OLED screens. Therefore, an STM32F1 with 20kB of RAM was used, which is officially compatible with the Arduino environment. Then, the 9 OLED screens are placed carefully on top, with mechanical switches and a cool casing. Since this is an open source project, you can access everything on GitHub, from the layout and STL files to the code, which allows you to either replicate it or tinker around it to make it even more to your liking. You can even personalize the companion app, which is a very nice touch from Max Kern. Laslty, we think this is a very cool project that can help your productivity and save you a lot of money in the process.
Keybon GitHub link: https://github.com/CoretechR/Keybon


