Installing The Micronucleus Bootloader To An ATtiny Via Arduino
In order to be able to upload Arduino sketches directly to the ATtiny84 over USB without the need to use a programming device, Shawn Hymel, an electrical engineer at Sparkfun Electronics, had published a guide showing how to install the micronucleus bootloader, which supports virtual USB (V-USB), onto an ATtiny84 using Arduino. The Atmel AVR ATtiny84 is a $3 tiny 8-bit processor with 8K of program space, 12 I/O lines, and 8-channel 10 bit ADC.
In order to be able to upload Arduino sketches directly to the ATtiny84 over USB without the need to use a programming device, Shawn Hymel, an electrical engineer at Sparkfun Electronics, had published a guide showing how to install the micronucleus bootloader, which supports virtual USB (V-USB), onto an ATtiny84 using Arduino.
The Atmel AVR ATtiny84 is a $3 tiny 8-bit processor with 8K of program space, 12 I/O lines, and 8-channel 10 bit ADC. It will run up to 20MHz with an external crystal and can be programmed in circuit.

To start following the tutorial, you will need these parts:
- USB Mini-B Cable
- USB microB Cable
- SparkFun FTDI Basic Breakout – 3.3V
- SparkFun microB USB Breakout
- Resistor 100 Ohm 1/4th Watt PTH – 20 pack
- LED – Basic Red 5mm
- AVR 14 Pin 20MHz 8K 12A/D – ATtiny84
- Electrolytic Decoupling Capacitors – 10uF/25V
- Arduino Pro Mini 328 – 3.3V/8MHz
- Jumper Wire Kit
- Breadboard – Self-Adhesive (White)
- 2x 68Ω Resistors
- 1x 1.5 kΩ Resistor
Micronucleus is a bootloader designed for AVR ATtiny microcontrollers with a minimal usb interface, cross platform libusb-based program upload tool, and a strong emphasis on bootloader compactness. It has a built in V-USB so that you can send compiled firmware over a virtual USB connection.
The process will use an Arduino as a programmer by loading an Arduino ISP to install the micronucleus bootloader on the ATtiny84. The next step is allowing USB programming on ATtiny84 by manually change fuses, then creating a board definition for ATtiny84 and installing any necessary USB drivers.
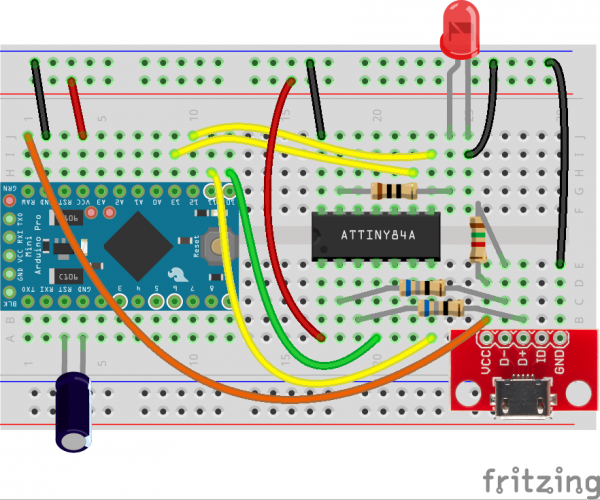
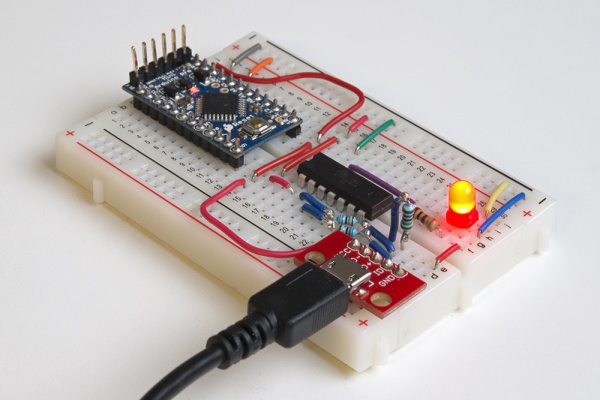
The hardware components should be connected as shown in the above circuit. At first you have to remove the capacitor and connect a FTDI breakout to the Arduino Pro Mini and upload the Arduino ISP firmware.
Before installing Micronucleus, a 10μF capacitor is added between the RESET and GND pins of the Arduino. It will prevent the Arduino from entering bootloader mode so that it will pass the compiled firmware to the connected ATtiny rather than trying to program itself.
AVRDUDE is used then to change the ATtiny fuses and set them as the following:
- No clock divider
- Brown-out detection at 2.7V (not necessary, but useful if running off battery)
- Self-programming
This tutorial should also work with ATtiny85, ATtiny841, and ATtiny167. You can find the detailed steps with a blink example on the main tutorial page.


