Arduino Based Sun Tracker Turret
Sun tracker systems are widely used in solar panel setups to get maximum performance. You may want to use one in your personal solar panel setup.
Sun tracker systems are widely used in solar panel setups to get maximum performance. You may want to use one in your personal solar panel setup. Now you can make your own with an Arduino, following the project that’s designed by RobotGeek Team and Wade Filewich.
Parts You’ll Need:
- RobotGeek Desktop Roboturret x1
- RobotGeek Rotation Knob x2
- RobotGeek Light Sensor x4
- RobotGeek Small Workbench x1
- Arduino UNO & Genuino UNO x1 (The RobotGeek Desktop RoboTurret comes with a Geekduino, but you can use official hardware from Arduino if you prefer.)
- (OPTIONAL) DFRobot Analog UV Sensor V2 x4
- OPTIONAL: In place of the light sensors, you can use UV Sensors if you’d like to accurately report the UV index for your project.
You should also upload the sketch in Arduino. So download it from GitHub –> desktopRoboTurretV3.
To upload the sketch in Arduino,
File → Sketchbook → desktopRoboTurretV3 → roboTurret3_solarTracker
Now click Upload.
Schematic:
Place the light sensors in correct position and wire them to Arduino accordingly. Any wrong positioning can generate strange behavior of the system. Jumpers for the servos (pin 9, 10, and 11) are set to VIN, so that your servos function properly.
(NOTE: A 6V power supply will work just fine, and RoboTurret Kit includes one). Here is the chart of wiring:
There are two potentiometers. One is for controlling the speed of servos, and another is for controlling the sensitivity of sensors.
Set Up The Turret:
You should follow Desktop RoboTurret Assembly Guide to build the turret. After building, attach your sensors to the top plates as close to center as possible. Look at the picture:
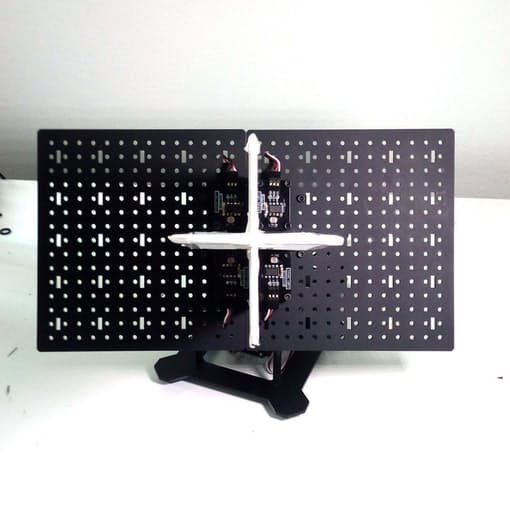
The “+” shaped fins cast shadow on sensors. So, position of sensors should be correct else fins can’t cast shadow on them accurately. Have a close view on sensor’s position:
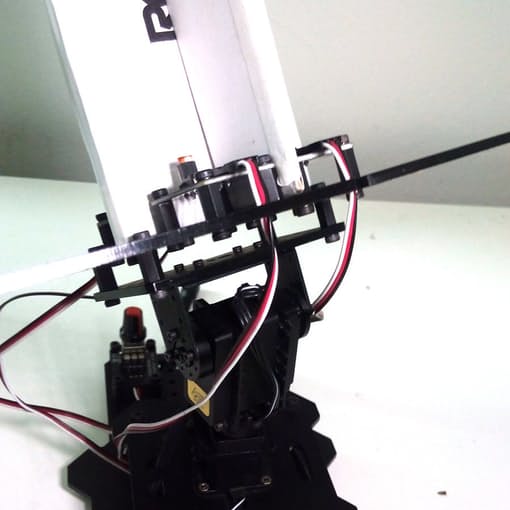
While wiring through the plate, keep wires loose enough so that turret can move freely to aim at the Sun. At the back of the turret base, there is plenty of room to mount the two potentiometers.
The fins are 8 inches tall, which should be plenty to cast shadow on the sensors. I’ve used scrap cardboard for the fins, but you can use whatever material suits you best, so long as it is opaque and can throw a shadow.
Test It:
So, you finished the building process. Now let’s test it. Upload the code to Arduino and power up the system. Now hold a table lamp and move it. The turret should follow the movement. Adjust speed and sensitivity using the two potentiometers. Watch the video that demonstrates the system:


