Lightweight GSM Mobile With Arduino UNO and Nextion Display
Avishek Hardin at Arduino Project Hub designed a lightweight mobile using a GSM module, an Arduino UNO, and a Nextion touch screen display. The lightweight mobile has the following features: Make calls Receive calls Send SMS Receive SMS Delete SMS In this project, he uses a GSM SIM900A module to establish the cellular communication.
Avishek Hardin at Arduino Project Hub designed a lightweight mobile using a GSM module, an Arduino UNO, and a Nextion touch screen display. The lightweight mobile has the following features:
- Make calls
- Receive calls
- Send SMS
- Receive SMS
- Delete SMS
In this project, he uses a GSM SIM900A module to establish the cellular communication. The GSM SIM900A is an all-in-one cellular module that lets you add voice, SMS, and data to embedded projects. It works on frequencies 900/1800MHz and uses the RS232 standard to communicate with MCUs. Baud rate of this module is adjustable from 9600 to 115200 through specific AT Commands.
This GSM mobile features a Nextion touch display to take input from the user and visualize the GUI. Its easy-to-use configuration software (Nextion Editor) allows you to design your own interfaces using GUI commands. All GUI data is stored in Nextion display instead of the master MCU. Thus, lots of program space in MCUs can be saved efficiently and it makes the development procedure effortless. The Nextion displays communicate with microcontrollers over UART which is supported by a wide range of MCUs.
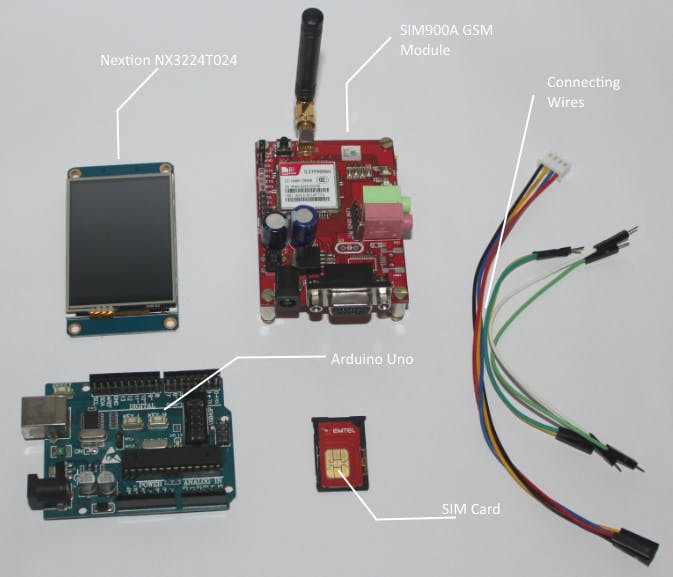
Required Parts
- Arduino Uno.
- SIM900A GSM module.
- Nextion TFT Intelligent LCD Touch display.
- SIM card.
- Connecting wires.
- External mic & speaker.
- Stylus.
Required Tools
- Nextion Editor.
- Paint.net.
- Arduino IDE.
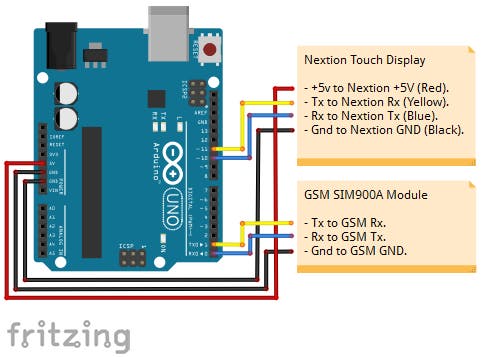
Connection
Connect the Nextion display and the GSM module with your Arduino using following instructions:
- Nextion +5V to Arduino VDD_5v.
- Nextion RX to Arduino pin 11
- Nextion Tx to Arduino pin 10
- Nextion GND to Arduino GND_0v.
- GSM Rx to Arduino pin 1
- GSM TX to Arduino pin 0
- GSM GND to Arduino GND_0v.
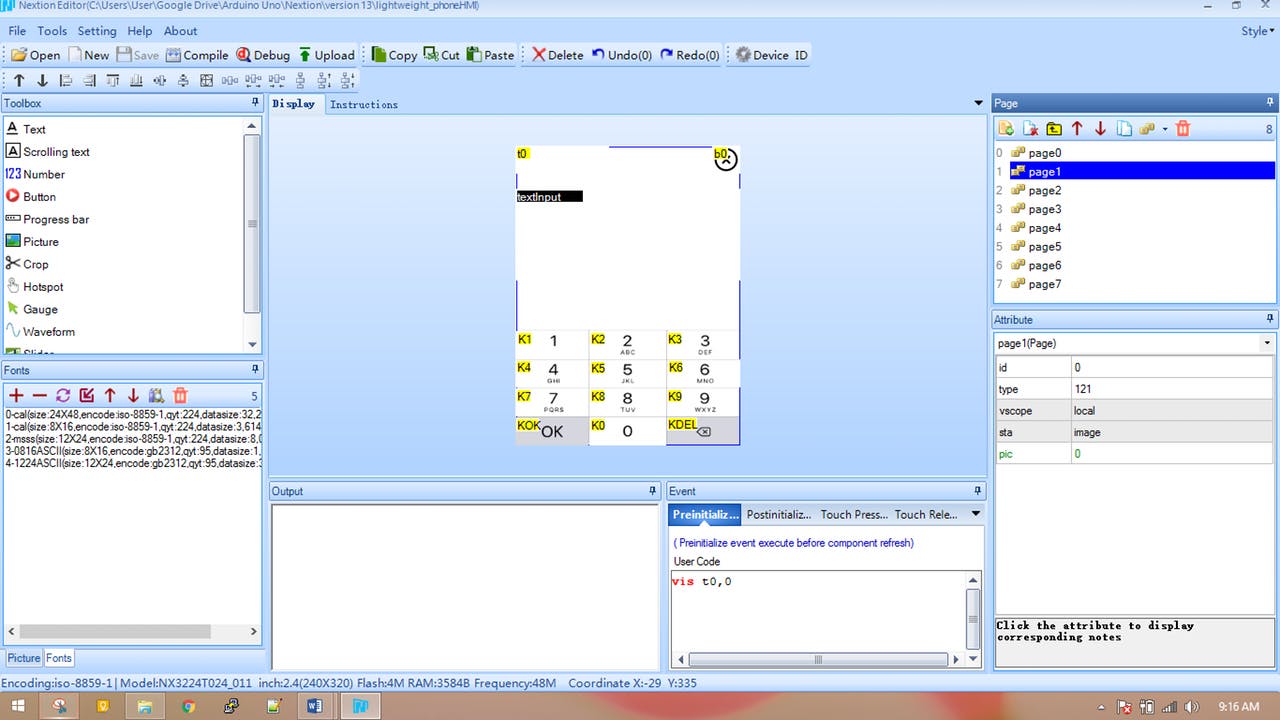
Program The Nextion Display
First of all, you need to design an HMI file using Nextion Editor. This editor allows you to design the interfaces using plug-and-play components like text, button, progress bar, pictures, gauge, checkbox, radio box, and much more. You can set codes and properties for each of these components later.
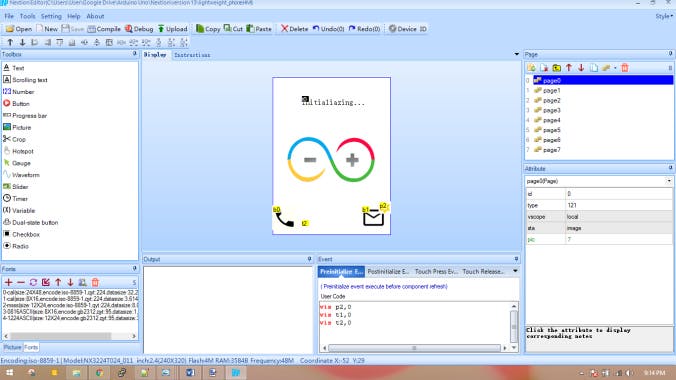
In this project, 8 different pages are used to design the GUI. All the icons used are easily available on the internet. Icons are resized and modified using an open source tool paint.net. Touch events like press and release are also covered when components are touched. More information on Nextion display commands can be found on this wiki page.
Steps To Upload
- Load the .HMI file into the editor. Link to the Github repository is here.
- Compile the .HMI file (just under the menu bar).
- Go to File > Open build folder > Copy the .tft file > Paste into SD card. Note: make sure the SD card is formatted to FAT32.
- Once copied, insert the SD card into the Nextion display and then turn the power on.
- Wait for the .tft to upload.
- Power off the Nextion, securely remove the SD card and then again power on the display.
- Now you should see your new interfaces on the Nextion Display.
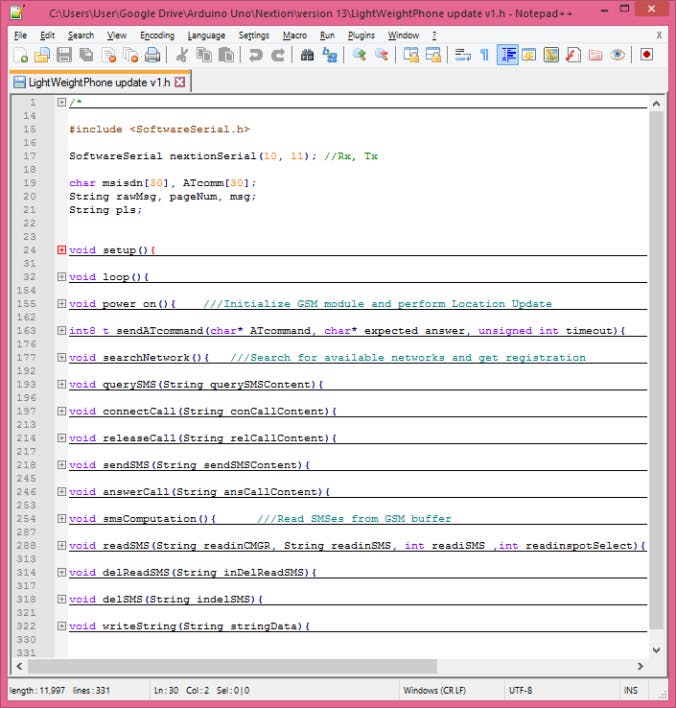
Program The Arduino
The Arduino is the brain of this project. It takes input from the Nextion display, sends commands to GSM module to create the cellular connection, and shows information on the display. This project does not use any Nextion library due to lack of documentations and difficulties to understand. Moving on without using libraries seems tough but it is really not.
The code can be found on the Github repository. Simply download it and upload to the Arduino board using the Arduino IDE. If you are using some other board than Arduino UNO, then don’t forget to select that specific board in Arduino IDE before uploading.
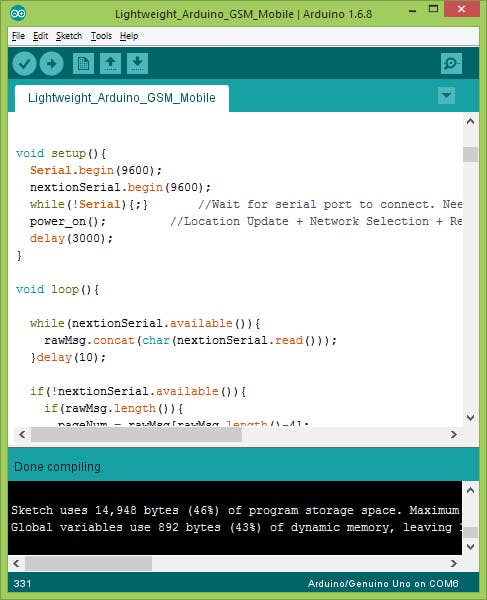
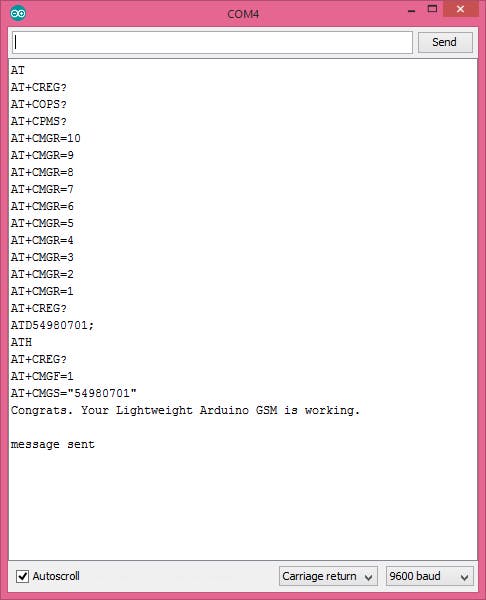
Open the Serial Monitor, you should see the AT command log for each event triggered from the Nextion Display.
Important Note
By default, the GSM module has an SMS buffer size of 20. Unfortunately, this Arduino-based mobile cannot display all the 20 messages at once on the Nextion display as it gives a buffer overflow while compiling the Nextion code. Hence, the Nextion display is programmed to show maximum 10 messages at once. If 10 or more SMS are present on the GSM buffer, the Low memory warning icon will be displayed on the Nextion display.

Video
Watch the demonstration video to understand how this Arduino-based lightweight GSMmobile works.


