PartFinder component inventory manager Helps You Organize Your Inventories
PartKeepr is one of the best known part invertory systems, and made it open source for anyone else to use. PartKeepr was developed with usability as its first priority.
PartKeepr is one of the best known part invertory systems, and made it open source for anyone else to use. PartKeepr was developed with usability as its first priority. You can sort and filter by virtually any field, drag and drop parts into any category, hide and show additional fields as required and customize the layout of PartKeepr as you require.
CSV and Excel export as well as CSV import helps you to interface with external systems. Barcode Scanner support allows you to retrieve part data without touching the keyboard but daily backups take very long due to the thousands of folders and files the software creates. The installation files have over 113,000 folders.
So Brian Dorey decided to build his own Part inventory management system called Part Finder.
The development of the Part finder has reduced the timing of daily backups among other advantages. Part Finder is the most advanced fitment search app for BigCommerce stores. It helps your customers find what they’re looking for, then uses those search results to analyze & grow your business. The following are other benefits of Part Finder:
- Helps customers find products faster & more accurately
- Increase conversion & customer confidence
- Reduces support staffing & product returns
- Improves marketing efforts
- Analyzes trends for inventory prediction
The Part Finder is an ASP.Net C# project and use SQL Server Express (or full) for the database and can also be run on a Windows desktop / laptop running Windows 10 Pro with the installation of the IIS services and SQL Server Express.
Now let’s take you through the installation process :
Installation
- To install and setup PartFinder, download the files from Github https://github.com/briandorey/PartFinder and extract to a folder.
- In SQL Manager, create a new database called PartFinder and run database.sql in partfinder/setup to create the database tables, views and add default data for footprints and part categories.
- Create a new user for the database and give the following permissions: Connect, Select, Update, Delete, Execute.
- Edit the web.config file in the PartFinder root and update the connection string MainConn with the username and password for your database.
- In Internet Information Services (IIS) Manager, create a new website and set the folder path to the location you extracted the files.
If you are running this application on a public-facing connection or server, you need to create a login using an email address and password.
To add the first user, go to the /setup folder in your web browser and create your first user account to sign into Part Finder.
Delete the setup folder once the setup is completed.
The system can be used on an intranet or local machine without the login requirement by commenting out the following section in the web.config file:
<authentication mode="Forms">
<forms name=".ASPXAUTH" loginUrl="/login.aspx" path="/" timeout="30" defaultUrl="/default.aspx" />
</authentication> <authorization>
<deny users ="?" /> <allow users = "*" />
</authorization>
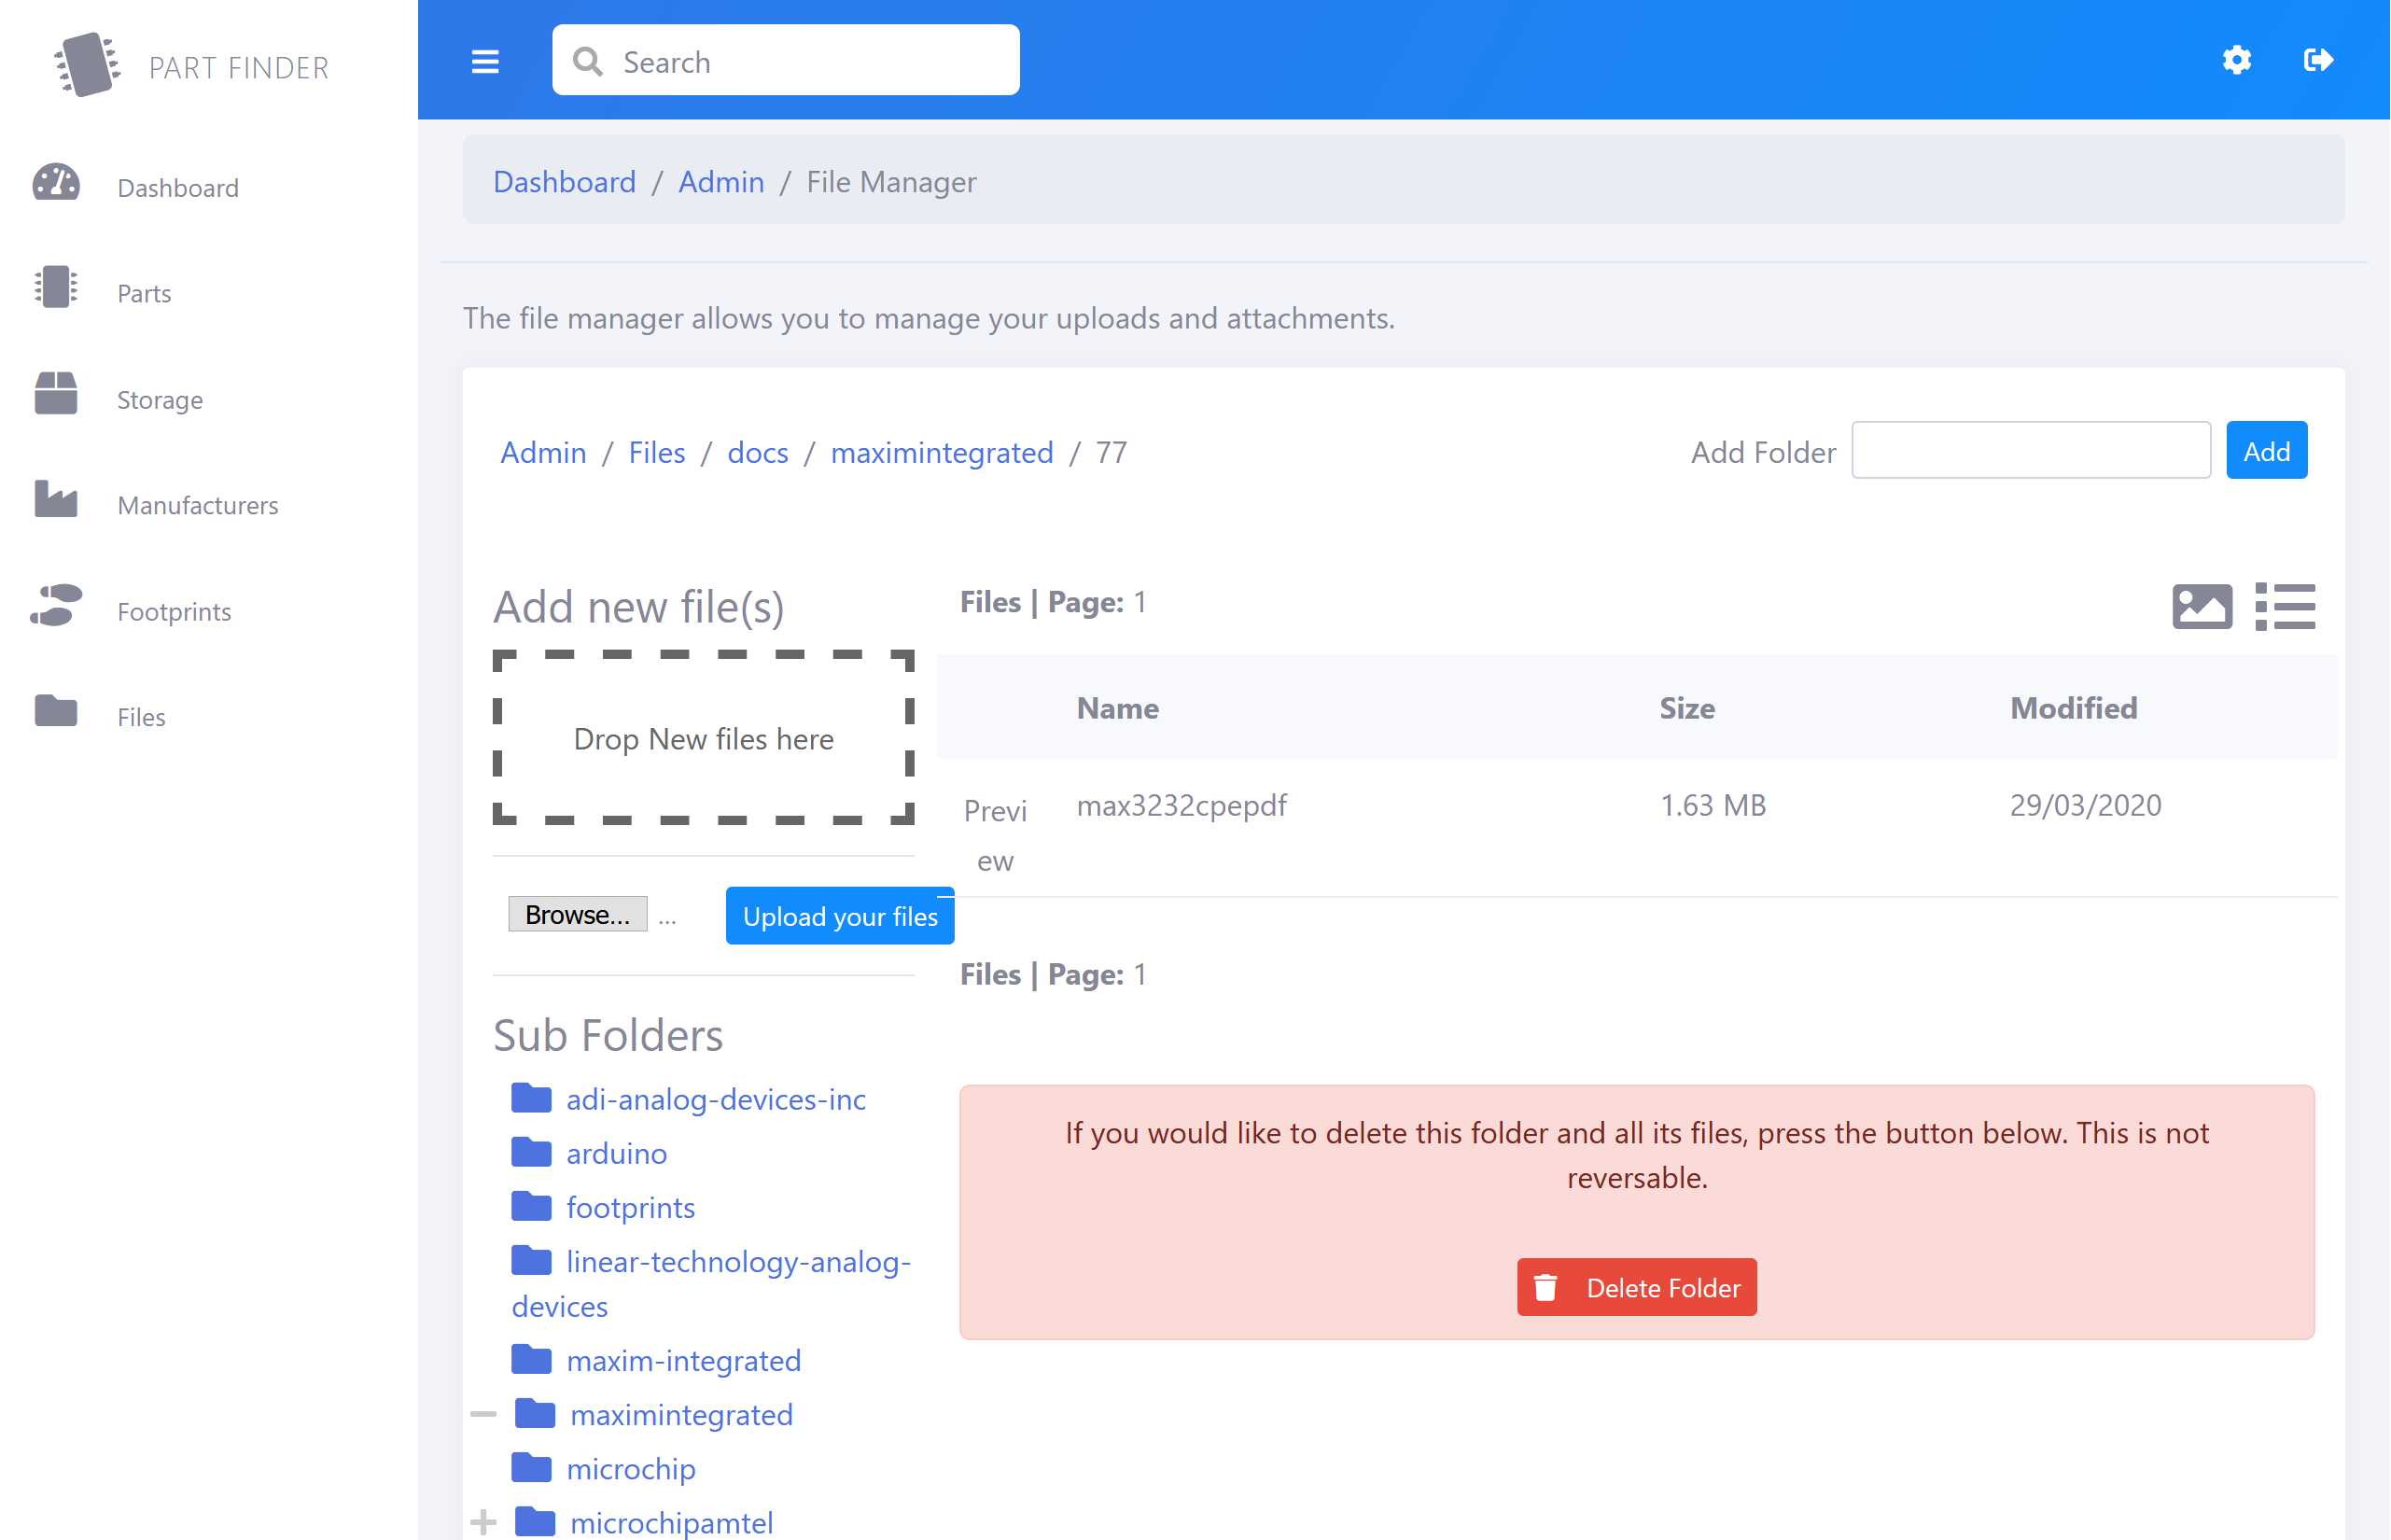
Images and File Manager Permissions :
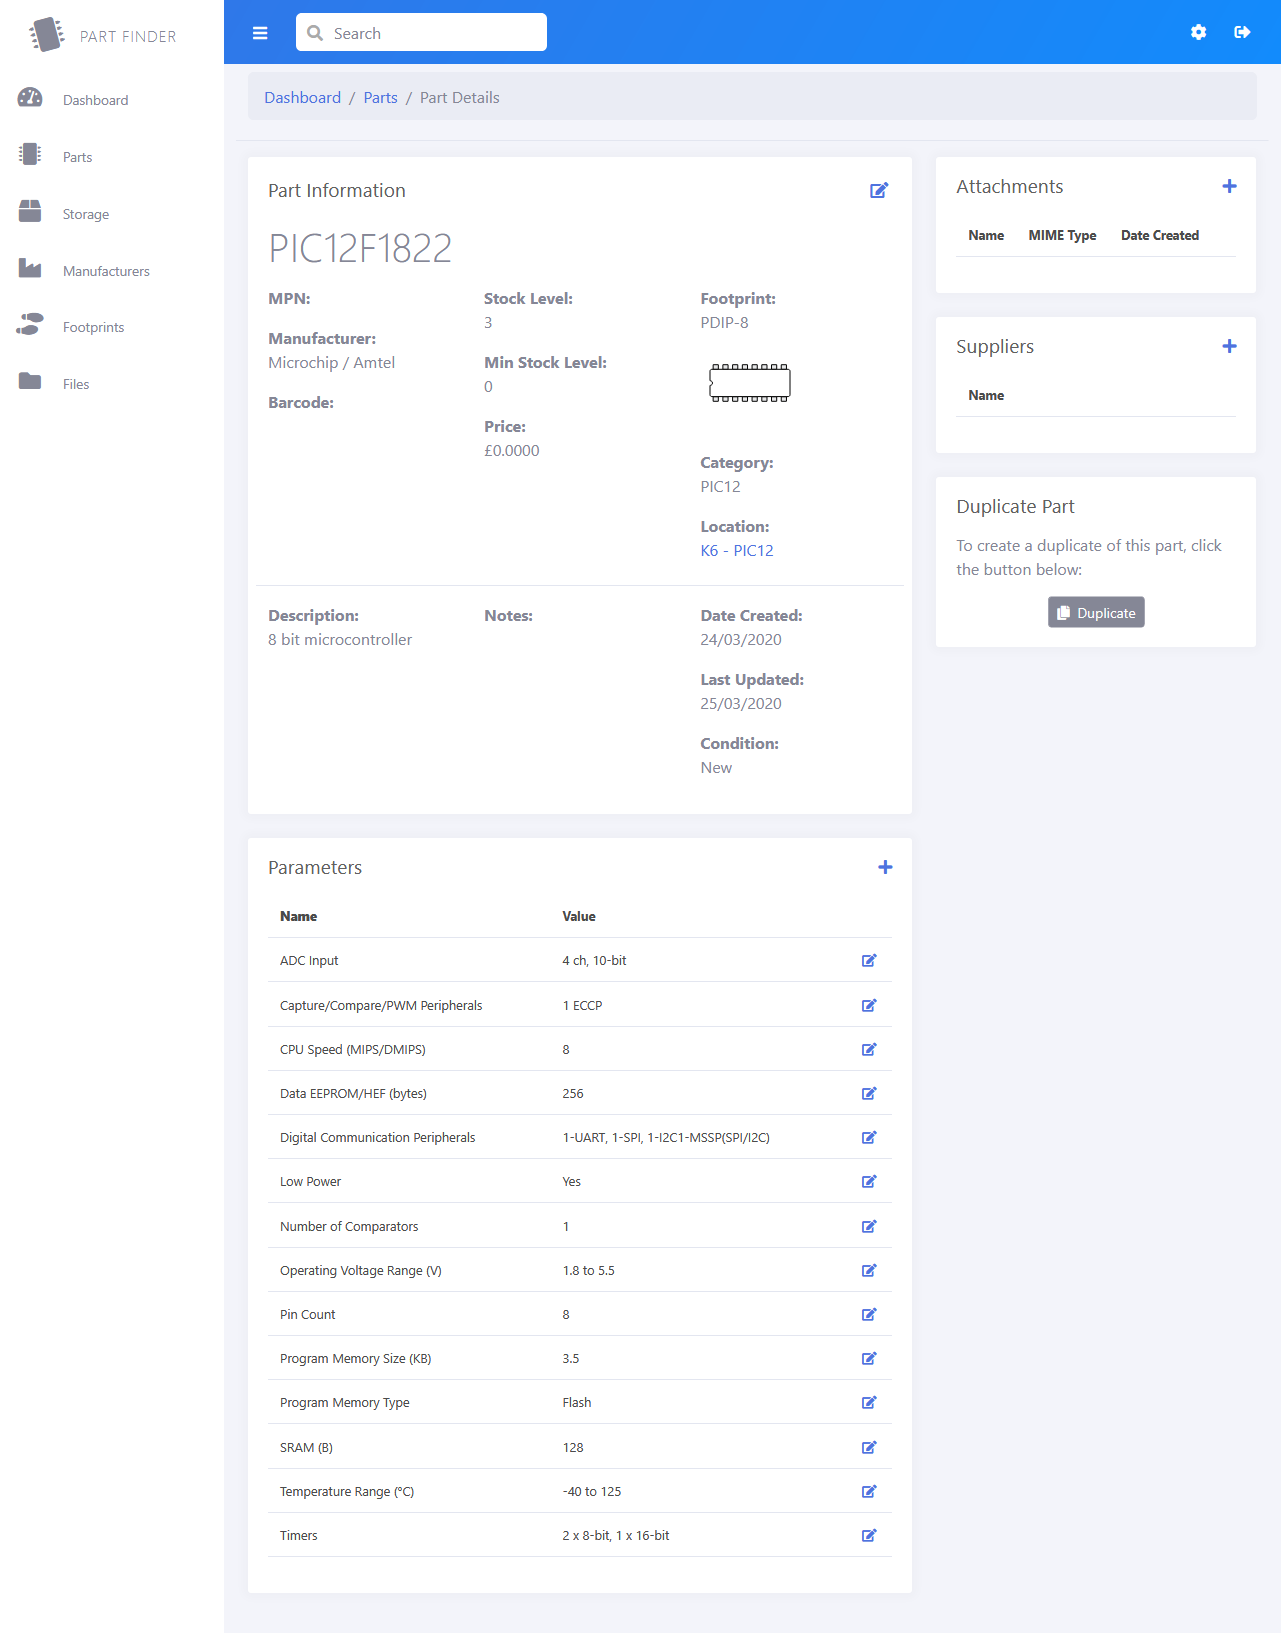
The admin section contains a file manager that allows you to create directories/folders and add files within the “/docs” folder in the website root. This will need to add read/write permissions for the IIS/User account on your server/computer for this folder. The Dashboard gives you an overview of the system with totals for Parts, Manufacturers, Attachments, and Storage Locations. It also lists any parts which have less than your low stock level available. The Parts section is where you manage all your components/parts with a tree-view or list view to find your parts and a parts details page with your item’s main details, attachments, suppliers, and parameters. You can also duplicate a part if you are adding similar new items.
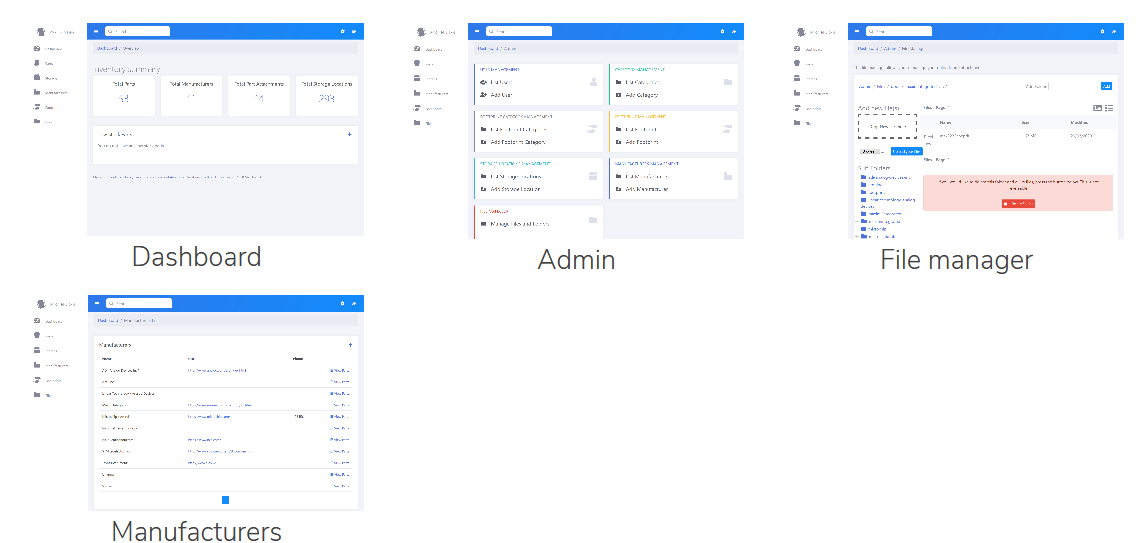
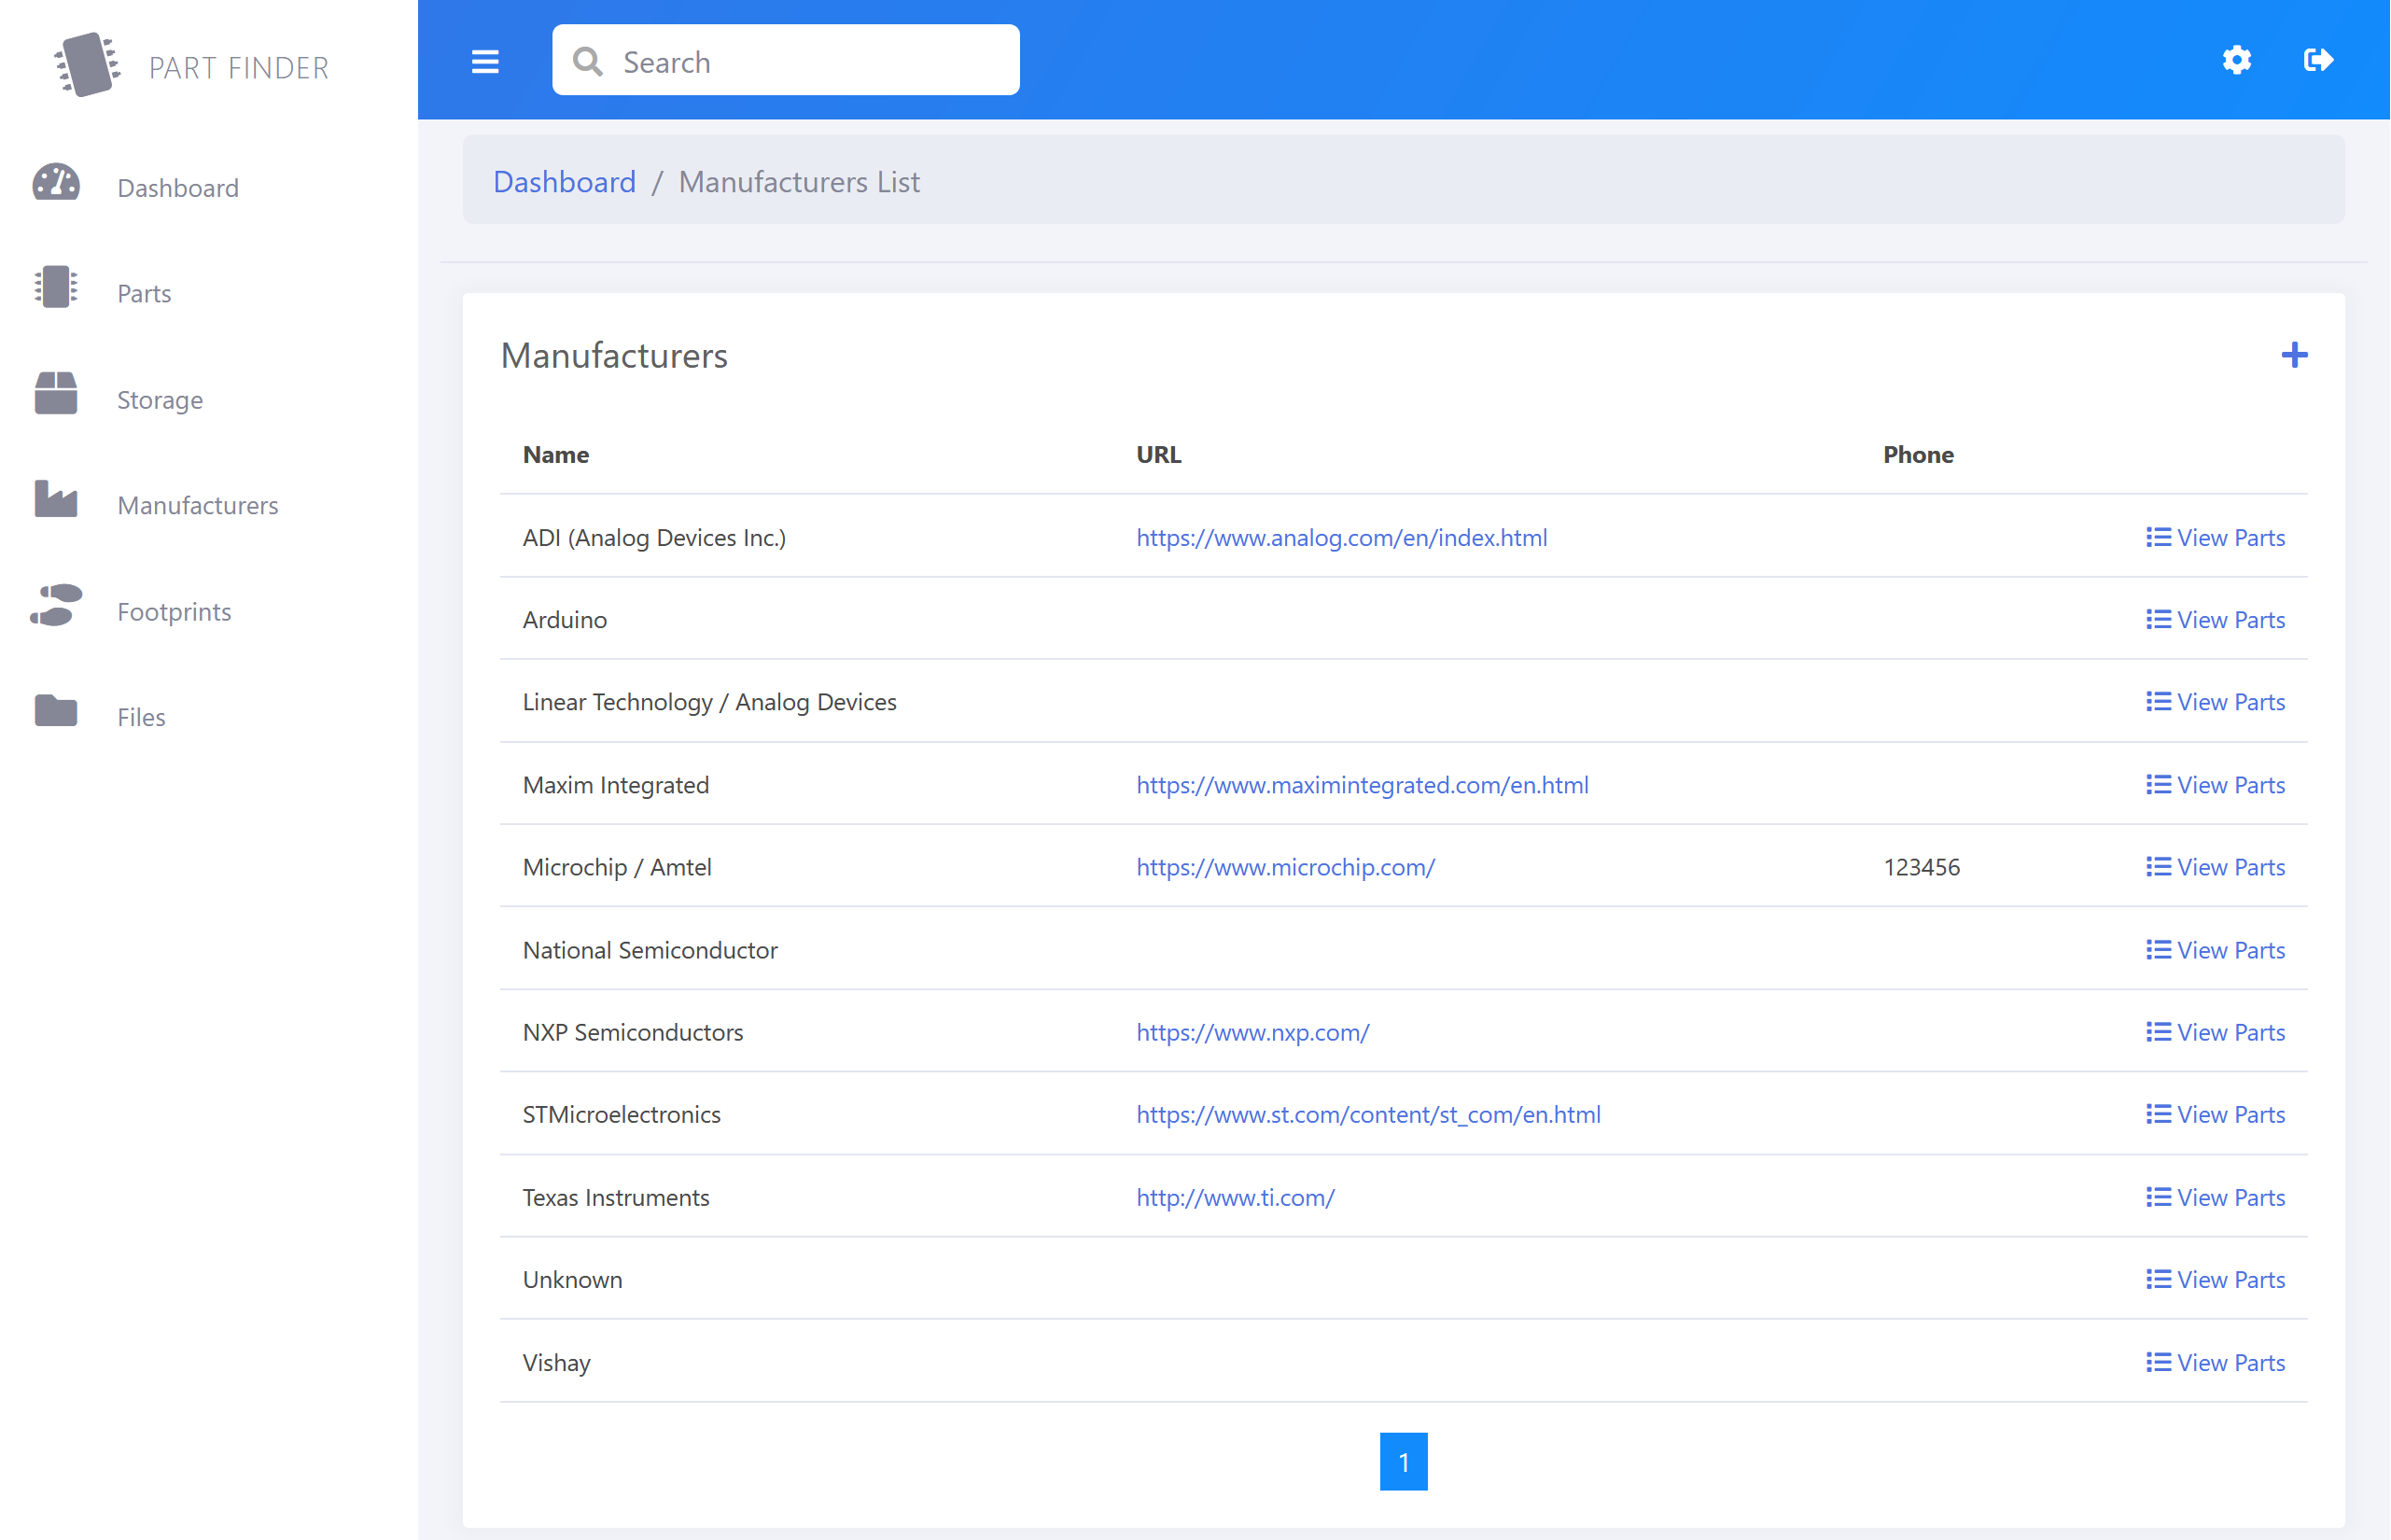
In the Storage section, you can add and edit your storage locations before adding new parts for each location. You can add storage locations one at a time or use the Storage Location Grid page to bulk add locations such as storage drawers etc. These can be edited in the admin section (cog icon). In the Manufacturers section, you can add and edit component manufacturers before adding new parts. These can be edited in the admin section (cog icon). In the Footprints section, you can add and edit your component footprints before adding new parts. These can be edited in the admin section (cog icon). The file manager allows you to view the /docs folder on your PartFinder website. You can add upload new files and create folders, view, and delete files.
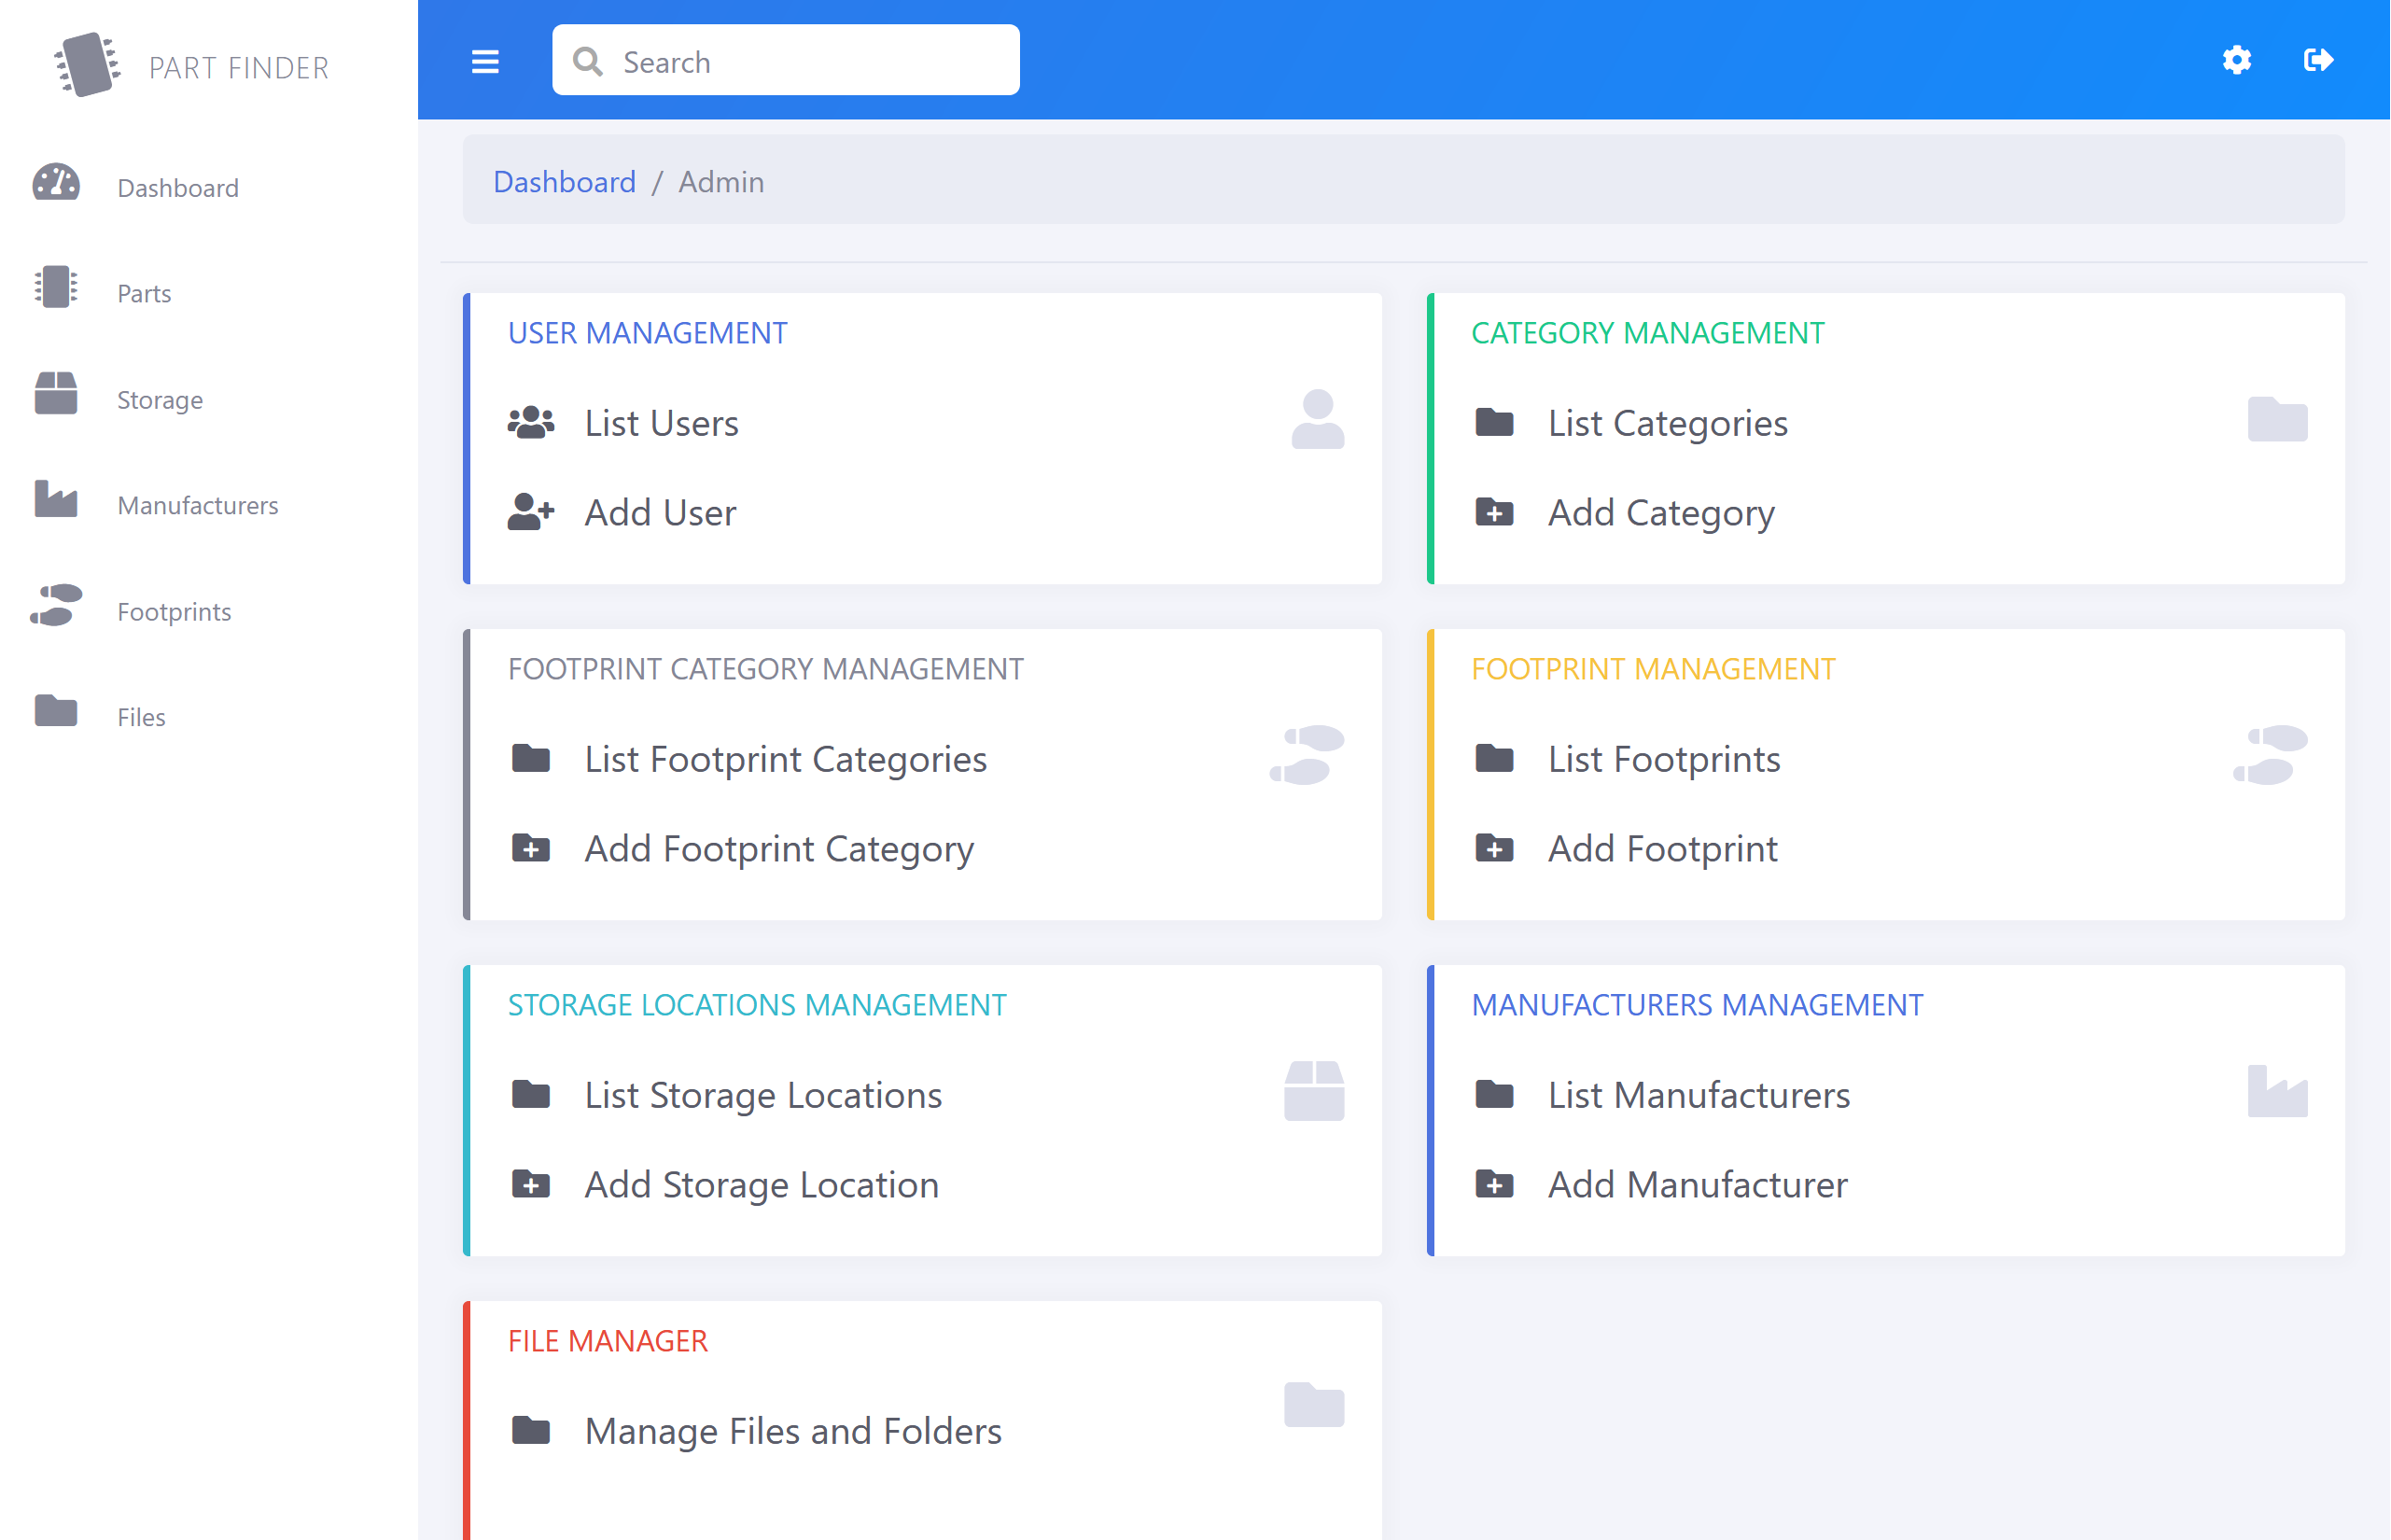
Please note if you delete a folder or file which is linked to an existing part, it will not remove the database record for the file. The admin section has Add, Edit, and List pages for Users, Categories, Footprint Categories, Footprints, Storage Locations, Manufacturers, and the file manager.
You can visit Brian Dorey’s website for more information


