Robust C Library and Utility for GPIO sysfs Interface in Linux
by Derek Hildreth - Technologic Systems This comprehensive and easy to read example C code is designed to work alone or included as a library for dealing with general purpose I/O via the sysfs interface in Linux. It can easily be applied to any computer which utilizes the GPIO sysfs interface (both pro and maker boards).
by Derek Hildreth – Technologic Systems
This comprehensive and easy to read example C code is designed to work alone or included as a library for dealing with general purpose I/O via the sysfs interface in Linux. It can easily be applied to any computer which utilizes the GPIO sysfs interface (both pro and maker boards). Getting started is a breeze. You just need to decide if you’re going to use it as a library (including it into your existing code) or as a stand-alone utility. We’ll talk about in this article, but first and foremost, here’s the source code we’ll be working with:
https://github.com/embeddedarm/gpio-sysfs-demo
To get started, download or clone this repository to your board, extract it, and change your directory to it, like so:
wget https://github.com/embeddedarm/gpio-sysfs-demo/archive/master.zip
unzip master.zip
cd gpio-sysfs-demo-master/
The two important files in this repository came from Technologic System’s GitHub pages:
- https://github.com/embeddedarm/ts4900-utils/blob/master/src/gpiolib.c
- https://github.com/embeddedarm/ts4900-utils/blob/master/src/gpiolib.h
The included Makefile makes quick work out of compiling the example code mentioned in the sections below, as you’ll see soon enough.
Stand-Alone Utility
As a stand-alone utility, you can easily copy the resulting gpioctl program to a directory in your current PATH and include in a script or use it for those one-off commands.
To do this, we’ll simply run sudo make install. The Makefile will compile the standalone utility using (essentially) gcc -D CTL gpiolib.c -o gpioctl and then automatically copy it to /usr/local/bin, which is popularly included in PATH. Then, you can run gpioctl –help for instructions on how to use it. For example, say you want to output logical high on DIO #59. You would first set the DIO to be an output, and then you’d set it. Here’s an example of toggling it:
gpioctl –ddrout 59
gpioctl –setout 59
gpioctl –clrout 59
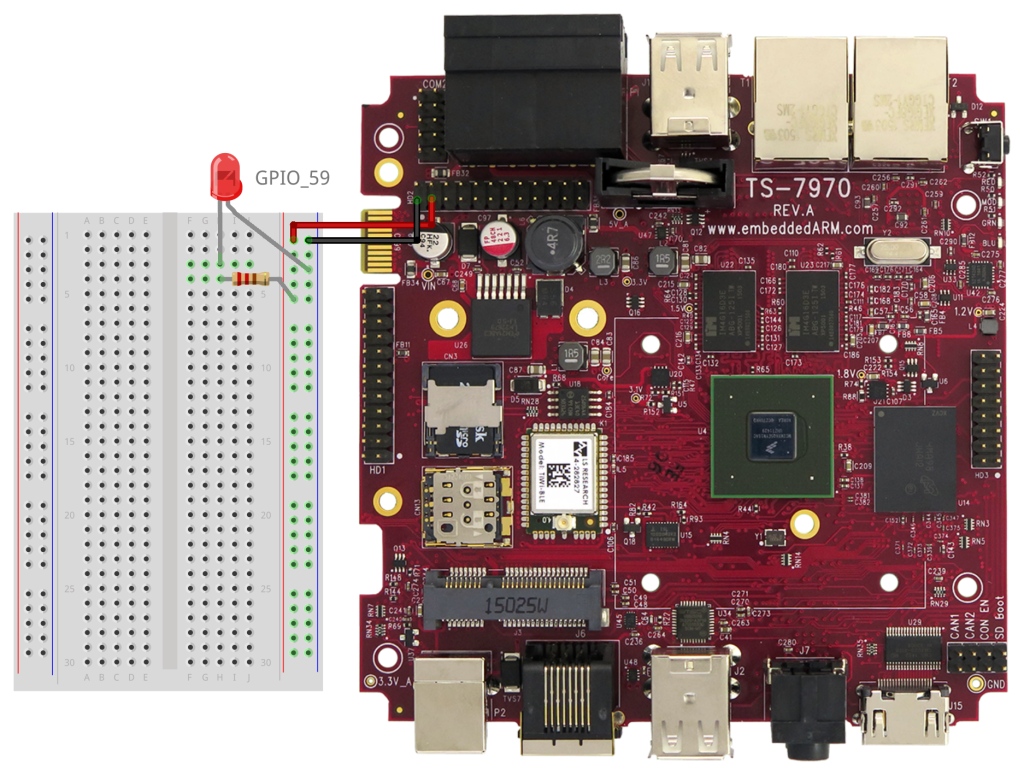
That’s it! If, say, DIO #59 was tied to an LED, you should see the LED turn on and off again.
Now you can easily include these commands into a bash shell script or Python system call or, well, you get the point.
Pro Tip: Keep in mind, the LED may be active low, so you might actually see the opposite (logic high output turns the LED off, logic low output turns the LED on).
Include as Library
Okay, so if you wanted to use this as a library, giving our own C program access to the helpful functions included in gpioctl.c, we need to include it as a source when compiling our program. You’ll find the example source code gpiodemo.c included in the repository you downloaded earlier:
#include <stdlib.h>
#include <stdio.h>
#include <unistd.h>
#include "gpiolib.h"

int main(int argc, char **argv)  {
    int gpio_pin = 59;
    gpio_export(gpio_pin);
    gpio_direction(gpio_pin, 1);

    for(int i = 0; i < 5; i++) {
        printf(">> GPIO %d ON\n", gpio_pin);
        gpio_write(gpio_pin, 1);

        sleep(1);

        printf(">> GPIO %d OFF\n", gpio_pin);
        gpio_write(gpio_pin, 0);

        sleep(1);
    }
    return 0;
}
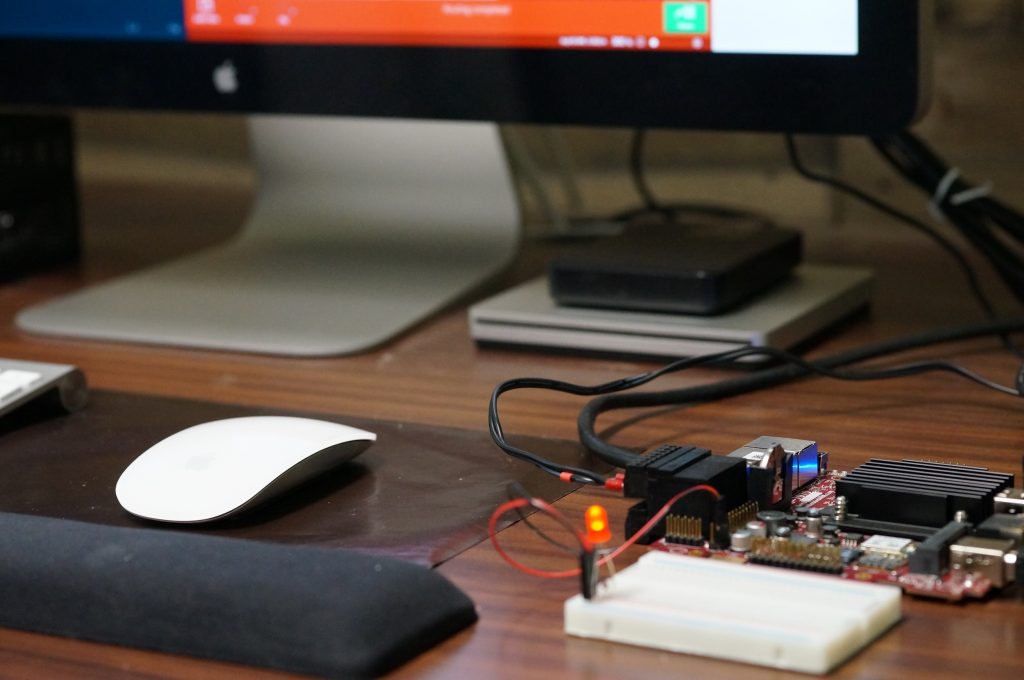
If you simply run make, you’ll get a compiled gpiodemo binary which simply toggles DIO #59, which is connected to an LED on a breadboard. Referring to the Makefile, you’ll see it’s compiling the example code by running gcc -o gpiodemo gpiolib.c gpiodemo.c. Now, you can take this knowledge and example and apply it to your own project.
Bonus: Very Fast GPIO
The sysfs API allows for very simple IO access, but it is not very fast. For example, on the TS-4900 sending out a square wave on a single CPU GPIO through the sysfs API will toggle at around 160 – 170 KHz. The same IO accessed through registers will toggle at 1.66 – 1.74 MHz. FPGA GPIO will always be slow at around 700hz. If you’re needing higher performance GPIO programming in order to meet very specific timing requirements, you might want to take a look at the gpiolib-fast.c solution. Basically, instead of going through sysfs, you’ll be using the GPIO memory registers directly. Take care in doing so, as the operations aren’t atomic and can therefore foul things up in unexpected ways. Kernel drivers or other processes accessing GPIO in the same bank performing a read/modify/write can rewrite the same register with old values causing unexpected results. Source code can be found here:
- https://github.com/embeddedarm/ts4900-utils/blob/master/src/gpiolib-fast.c
- https://github.com/embeddedarm/ts4900-utils/blob/master/src/gpiolib-fast.h
Conclusion
You should now be able to control GPIO through the sysfs interface like a boss! We hope this article was helpful in getting your project off the ground quickly. If it made your day, please consider sharing it! If you have questions, please use the comments below.